Croissants tend to be quite hit and miss when you buy them. In most cases, they are never as good as you remember – too dry, not flaky enough, lacking in ‘yum’ etc. The best way to avoid disappointment is to make them yourself… and it isn’t even that difficult! The main ingredient in making croissants (or any kind of viennoiserie for that matter) is time. The time spent physically making the dough is only about an hour and the rest is just waiting around letting the yeast and the fridge do their thing.
Viennoiserie could be described as the love child of puff pastry, bread and cake. A combination of everything good about baking, it’s a yeasted dough enriched with sugar, fat and egg and is often laminated. Because of this, you end up with the flavour from the yeast, fats and sugar; the flake of a laminated pastry; a rise from the yeast and the laminations in the dough; and a certain softness from the fats and egg which is not present in puff pastry. All in all, fresh viennoiserie is incredible.
The croissant is believed by many to have started life not in France, but in Austria (Vienna to be specific…). Although there is no hard evidence to confirm this, all circumstantial evidence points to the kipferl being the ancestor from which the croissant evolved. These were crescent shaped confections (kipferl meaning “crescent”, hmmmm I wonder what croissant translates as…) which were eaten around Europe. Kipferl are a yeast leavened crescent shaped roll eaten in Austria (there are many varieties around Europe and the Middle East including kifli, kifla, giffel, rogal and rugelach). There are, however, another origin stories for the croissant. One of the more interesting ones is the evolution from the Egyptian dish feteer meshaltet, a layered pastry consisting of thin layers of dough separated by ghee. Specifically, feteer halali was a similarly layered, flaky pastry but was in the shape of a crescent and was around well before the croissant.
However it was originally produced, fresh croissants are a thing of beauty and are very much worth the effort it takes to make them. With a bit of planning, they won’t even be that disruptive to bake. Fillings can be included but I feel that it is worth trying the plain ones before getting clever as if things go wrong, it is always helpful to know which step the problems occurred in. I hope you discover how easy and delicious these can be for yourself – and it doesn’t hurt that they will make your house smell wonderful.
Croissants
Work time: 60-90 minutes
Rest time: 15-20 hours
For the Viennoiserie dough:
500g plain flour
75g sugar
1 ½ tsp salt
100g cold butter
10g instant yeast
1 large egg (about 60ml)
2 tbsp milk
140 ml water
Optional: food colouring
Optional: 1 egg for egg wash
For the butter block: 250g butter
Cut the butter into cubes and rub into the flour until the mixture resembles fine breadcrumbs.

Make a well in the centre of the flour and butter mix.
Around the edge of the well, tip the salt, sugar and yeast – try to avoid the yeast and salt touching.
Pour the water, milk and egg into the centre of the well.
Mix with a spoon until the dough starts to come together and then knead for about ten minutes until a smooth, shiny dough is formed – it will not be as smooth as bread dough as there is less gluten but it should still be homogenous and slightly bouncy.

Place the dough back into its bowl, cover with clingfilm and leave in the fridge overnight (at least twelve – eighteen hours).

To make the butter block:
Take a piece of greaseproof paper and fold over the edges so a 6”x6” (15cmx15cm) square is formed. DO NOT CUT THE PAPER.

Unfold the paper, place the butter inside the square and refold the paper around it.
Use a rolling pin to pound out the butter until you get an even layer. By folding the paper, you ensure that the butter will end up in the shape you want it to as it will not spread past the folds!
Place the butter back into the fridge for half an hour.
Optional:
Take 100g of the dough and add a few drops of concentrated food dye. Knead this in, rewrap the coloured dough and place it back into the fridge for later.
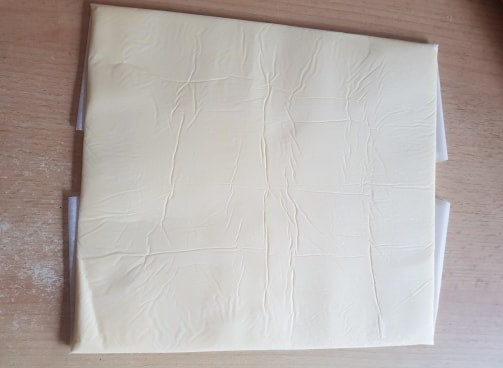
Roll out the (remaining, uncoloured) dough until it is a little wider than the butter block and just over twice as long.
Remove the butter from the fridge and lay it at one end of the dough.
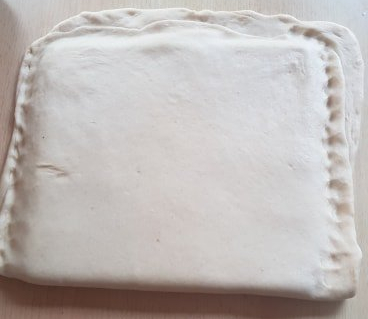
Fold the dough over the butter and seal it around the edges to create a package. If you have lots of overhand of dough, feel free to trim it but remember to leave the butter parcel sealed.
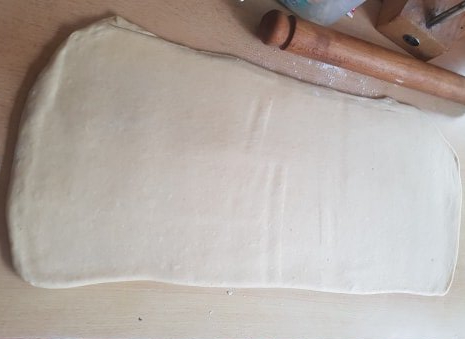
Roll out the dough until it is about 6/7mm thick (about ¼ inch).
Fold the ends to the centre and then fold down the central line to create four layers. This is a book fold.

Wrap the dough and let rest in the fridge for at least an hour.
Remove the dough from the fridge and roll out lengthwise until it is the same thickness as before.
This time fold the top third of the dough down and the bottom third up. This is a letter fold.
Refrigerate for another hour.
If you are using the coloured dough:
Roll out the coloured dough until it is the same size as the laminated dough.

Brush any excess flour off it and gently moisten the dough with a little water.
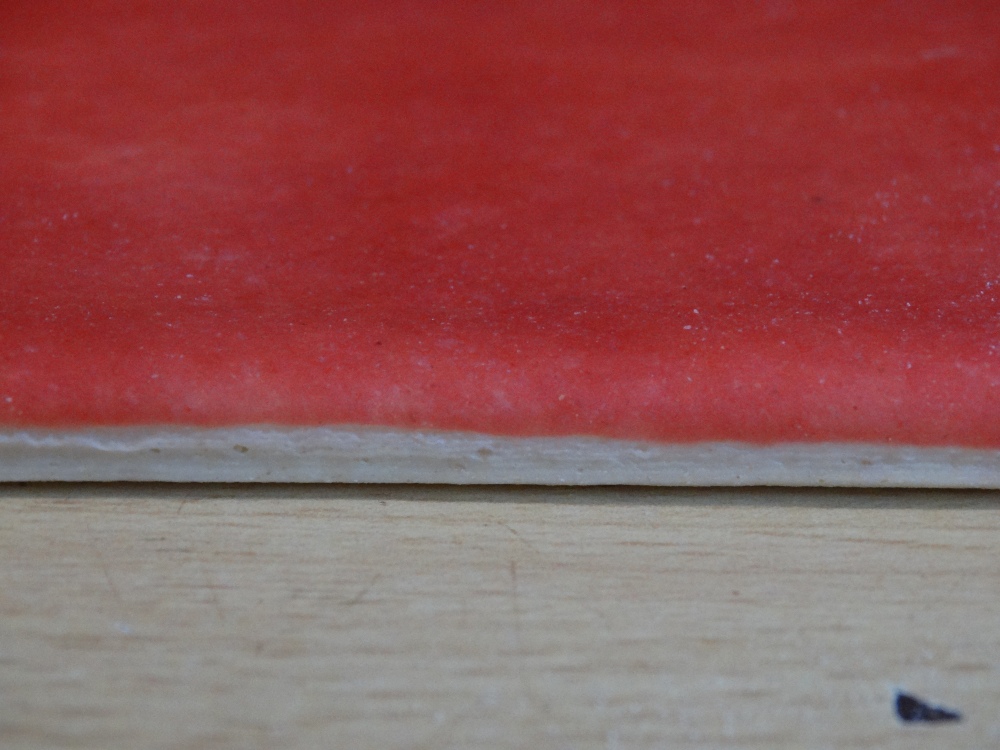
Lay the laminated pastry on top and lightly press down to seal.
Flip the pastry so the colour is on top and ensure there are no air bubbles.
Roll the pastry until it about just over 5mm thick. You want a long oblong of dough with a short side of about 30cm (one foot).

Trim about a cm off the edges to reveal the coloured pastry on top of the laminated dough.
Cut width wise across the pastry to get 6 smaller rectangles.
Cut each of these down the diagonal.
Line two baking sheets with baking parchment.
Take a triangle of dough and lay it coloured side down on the work surface.
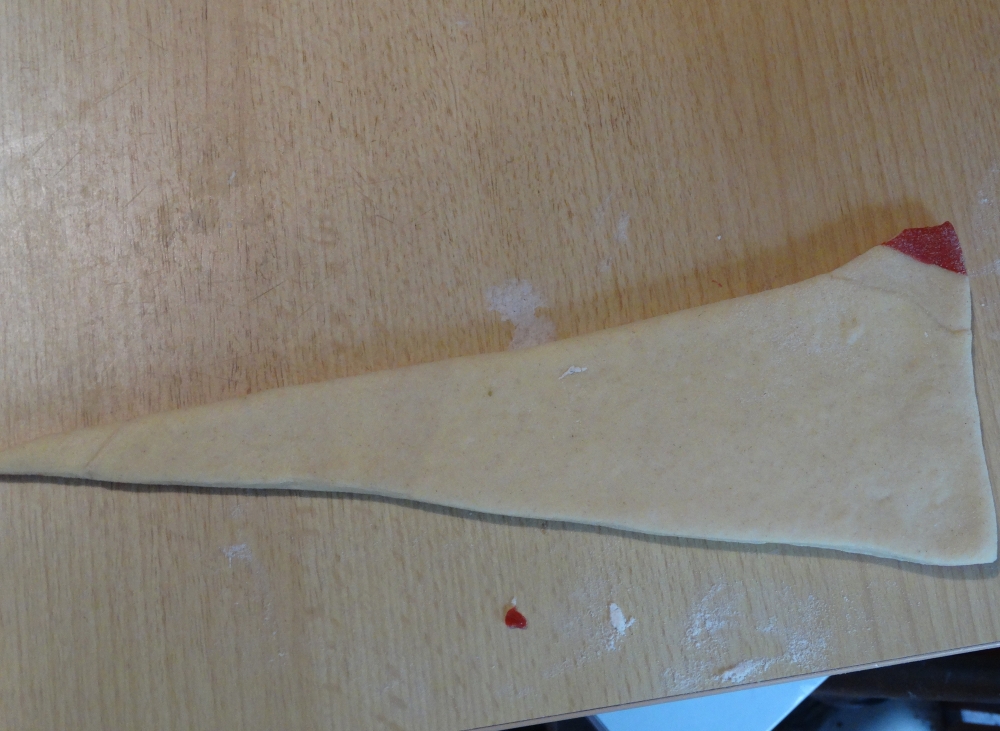
Gently stretch it so it is more of an isosceles triangle shape.
Make a 1cm slit in the short side.

Gently tug the edges apart and begin to roll up the dough from the short side to the long.

When it is fully rolled, lay the croissant on the baking sheet with the tip of the original triangle underneath the croissant to make sure that it doesn’t unroll.
Repeat with the rest of the pastry laying no more than 6 croissants on each sheet. Allow them to space to rise!
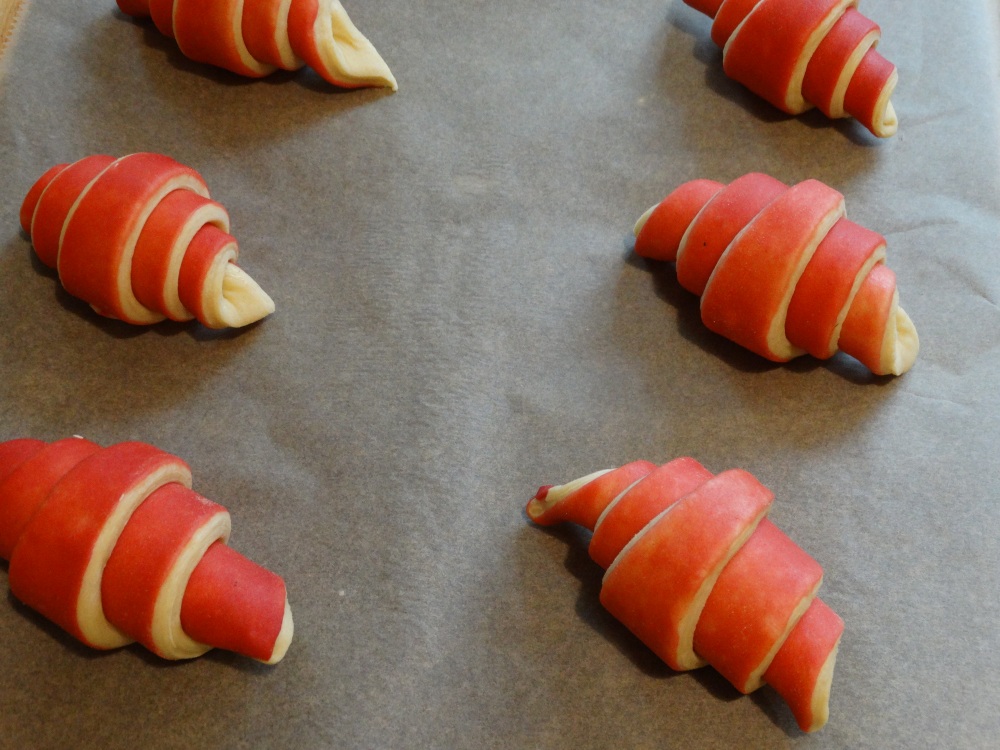
Optional: Egg wash the croissants now.
Place the sheets into a draft free zone and let rise for two to three hours. I like to use a turned off oven to leave them in because it prevents the croissants drying out. Make sure to remove them from the oven before the next step!

Preheat the oven to gas mark 6 (200°C).
Optional: Egg wash the croissants again. This will make them super shiny.
Bake the croissants for 6 minutes.
Reduce the heat to gas mark 4 (180°C) and bake for another 6 minutes.
Remove from the oven and allow to cool on a wire rack.

These are best served still warm from the oven but can be kept in an airtight container for up to two days before they start to go bad. I would recommend reheating them either in the microwave or for five to ten minutes on your oven’s warm setting if the croissants are any older than that.

I hope you enjoyed the recipe. If you are a fan of laminated pasty, you should check out my recipe for puff pastry and all of the amazing things you can do with it from Beef Wellington to Pastéis de Natas
Have a good one. I will be back next week with a recipe for a slightly faster recipe you can make for a delicious dinner.
H

Oh wow! So so beautiful and delicious 😋
LikeLiked by 1 person
Thank you! They really were amazing. Let me know if you try them.
LikeLiked by 1 person
Reblogged this on Crackling Pork Rinds.
LikeLike