This cake marks the sixth in my series of Proms cakes. These are cakes inspired by pieces of music which performed at the BBC Proms, which is the largest classical music festival in the world. A lot of composers take inspiration from nature, life, myth and paintings and these cakes are designed to embody some aspect of a piece that makes it stand out.
The chicken foot cake is based on a movement from Pictures at an Exhibition, by Mussorgsky – an orchestral suite inspired by a series of paintings; the cake is specifically inspired by a movement based on a painting of a character from Russian folklore: Baba Yaga. Baba Yaga was a witch who lived in a hut on chicken legs (paintings disagree whether the hut was on one or two legs but that is beside the point). I did think after making the cake that maybe I could’ve based this year’s Proms cake on the movement Bydło or Cattle which depicts cattle pulling a cart and feels like it is pushing through thick mud – I could’ve made a Mississippi Mud Pie or something – but maybe that could be a different blog post. Interestingly, one of the Baba Yaga stories includes a character which was the basis for my first ever Proms cake as well the inspiration for a ballet by Igor Stravinsky: The Firebird.
When it came to designing the cake, I knew that the foot would have to look a little cartoonish, after all if you have ever seen a chicken leg you would have noticed how thin it is. A cake with proper proportions would not only be unable to stand up but would probably serve only two people. I knew that the cake would have to be a bit chunkier than the foot it was modelled on but one thing I really wanted to keep was a nod to the angles which a hen’s leg stands at – that is to say, I did not want the leg to be perpendicular to the foot. To give the leg some angle, I built it up in layers – sliding each layer about half a centimetre further towards the back of the foot than the one it was lying on. Of course this technique only works to a certain point before everything topples over but if you are careful, you can get a good inch of lateral direction on the leg without any disasters occurring.
I would classify the Proms cakes as some of the more creative things that I bake. In the past they have included mirror glazes, biscuits, a 3D gingerbread piano which opened, a cake where each slice looked like a piano keyboard and a giant marshmallow square hammer. I really enjoy making themed cakes because they give me the opportunity to sit down and plan out what I want the cake to look like. Do they always work? Well not always in the way in which I originally intended but they are still good fun and they have never not worked – to an extent……
Let me know if you try making this as I would love to see your creation!
Chicken Foot Baba Yaga Cake
Ingredients:
For the cake:
6 eggs
250g sugar
240g flour
2 tbsp freeze-dried raspberries
2 tbsp warm water or raspberry juice
For the fillings and icing:
100g raspberries
400g chocolate ganache (200g dark chocolate and 200g double cream)
200g unsalted butter
300g icing sugar
Yellow food dye
Vanilla extract
Make the ganache by heating the cream with the chocolate over a double boiler, whist stirring continuously, until they come together to form a homogenous, glossy mixture.
Remove the ganache from the double boiler and set aside to cool completely and harden up.
To make the cake:
Preheat your oven to gas mark 6.
Line the bases of two swiss roll tins with baking parchment and lightly grease and flour the edges of the tins.
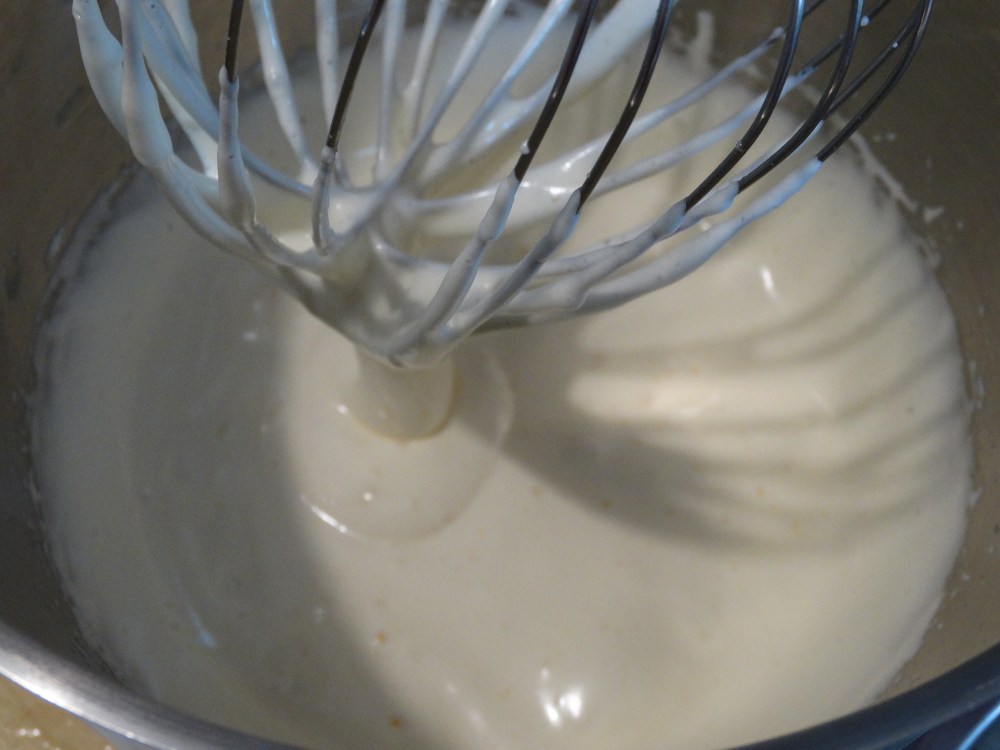
Use a stand mixer to whip the eggs and sugar until super light and fluffy – this will take a few minutes. The mixture should be thick and slowly fall off the whisk when you lift it out of the bowl. If in doubt, give it another 30 seconds.
Sift the freeze dried raspberries into the flour and then sift the flour and raspberry powder into the eggs.
Fold this through until it is almost completely combined.

Drizzle the water or raspberry juice (made by squeezing about 50g fresh raspberries through a sieve) around the edge of the cake mix and fold it in until everything is mixed evenly. Be careful not to overmix and deflate the batter.

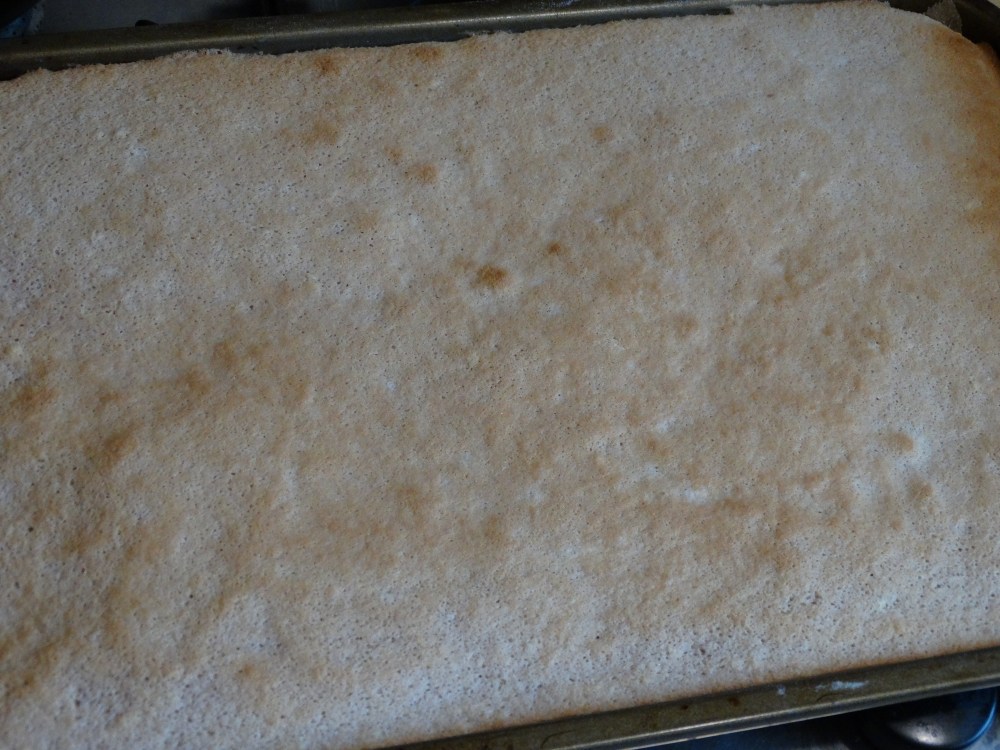
Split the batter between the two trays and bake for 10-12 minutes until the cakes are risen and golden on top. They should also have started to come away from the sides of the pan if it was greased.

Sprinkle a little icing sugar on the top of the cakes and turn them out onto another sheet of baking parchment.
Remove the parchment which was lining the tins from the cake (this should’ve come out with the cake and be stuck to its base).
Cover the cakes with a damp tea towel and leave to cool.
Tip the raspberries into a sieve and use a wooden spoon to push them through. This will squeeze as much liquid out of them as possible. You should be left with a dryish looking pulp which can be discarded.
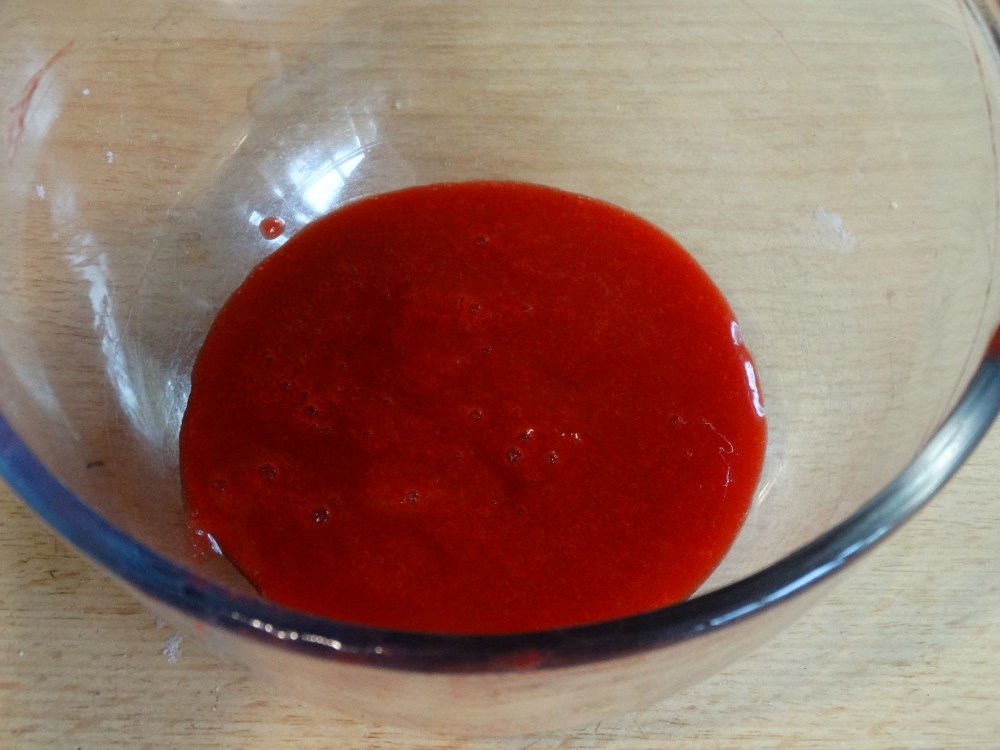
Mix a tablespoon of water into the raspberry juice.
To assemble the first part of the cake:
Once your ganache has hardened, use a stand mixer to whip it until it is soft. The colour will lighten considerably during this. You may have to gently warm it a bit to soften it up but be careful not to fully re-melt the ganache!

Take one of the cake layers and cut one third of it off (widthwise). This will become the base of your cake.
For the following section, before adding any layer of cake, brush the base of the cake to be added with the raspberry juice and spread a layer of ganache over it.
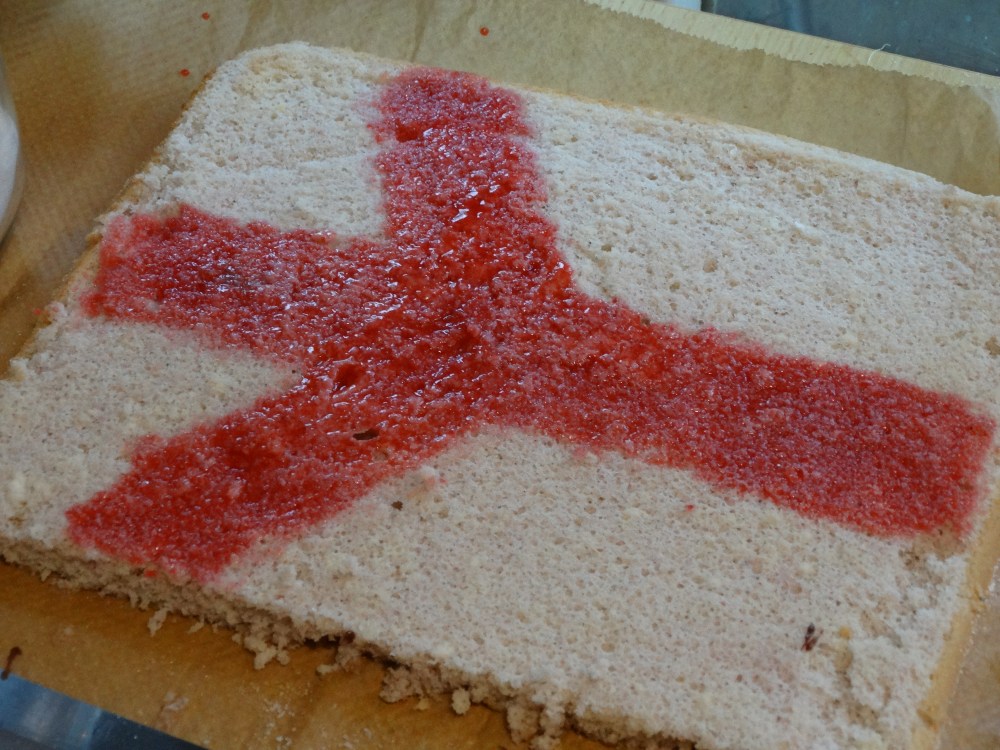
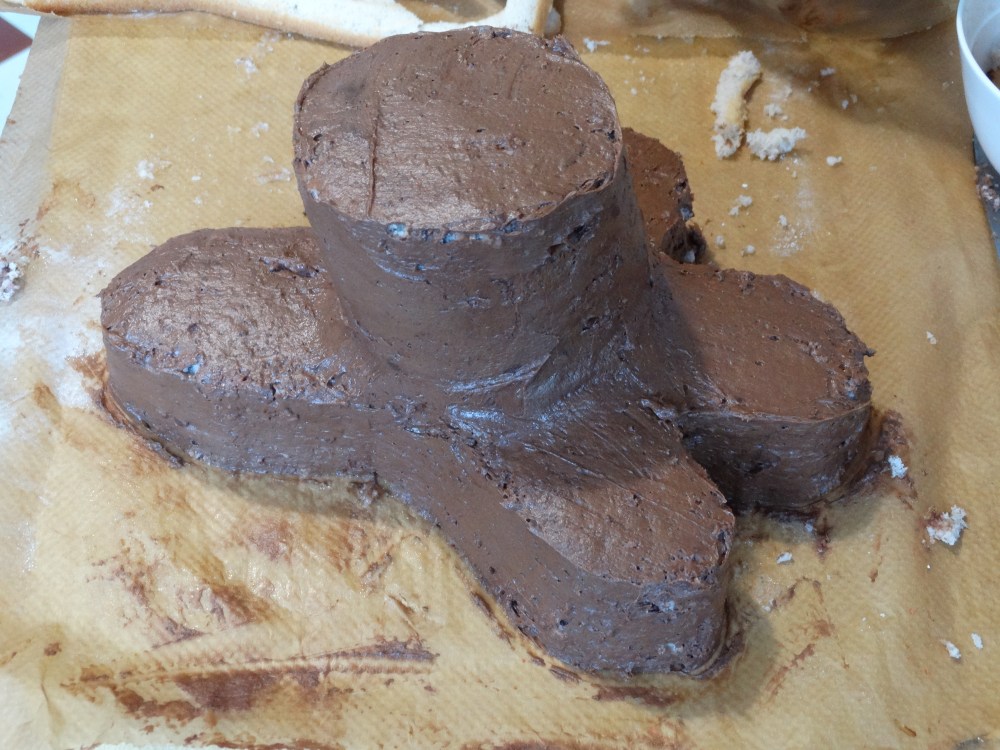
Cut the remaining section of cake into moderately thick strips and lay it over the other piece to build it up in the chicken foot shape below (shown in blue).

Cut the bottom right and left sections of cake off the base and add them on top for more height.

Trim the edges of the cake to round off the hard corners.
Find a circular cutter the same size or slightly smaller than the intersection at the centre of the foot (shown in red on the diagram). Cut circles from the remaining cake and layer them on top of the intersection remembering to brush with raspberry and spread chocolate ganache over the top.

You should now have a roughly chicken foot shaped cake.
Spread the rest of the ganache over the outside of the cake to create a crumb coat. You can use this to cover rough edges and smooth sharp angles.
Leave the cake in the fridge for at least an hour to set.
To make the buttercream, beat the butter in a stand mixer using the paddle attachment for about five minutes. The butter will be super light and fluffy and shiny now.
Sift in half of the icing sugar and beat for another two minutes on high. Make sure to start your mixer off slow to avoid covering your kitchen in icing sugar.
Add the rest of the sugar and beat again.
Take a couple of tablespoons of icing and set aside to make the claws with.
Add a teaspoon of vanilla extract and yellow food dye until your desired shade is reached.
For black claws, colour your reserved icing with black food dye. For white claws, leave it as it is.
To make the claws, spit the reserved icing into four and make a pyramid coming out of the end of each of the spurs on the chicken’s foot.
Load the yellow icing into a piping bag and pipe on scales around the claws to cover up the base. Pipe scales all over the chicken foot or alternatively, add scales to the ends and a light layer of icing over the rest.
Use the back of a knife to make horizontal lines across the toes (are they called that?) of the foot and up the front of the leg.

Your chicken foot cake is now complete!
I hope you enjoyed the recipe. The cake in this can also be turned into a swiss roll if you don’t fancy the whole chicken foot thing – check out my instructions on how to make this into a slightly simpler dessert!
Have a good one and next week everything will be back to normal food with a delicious savoury, vegetarian dumpling dish.
H

Reblogged this on Crackling Pork Rinds and commented:
You know? This blog doesn’t say this cake is perfect for the Halloween table, you know, next to spaghetti insect hairs, treachery entrees and other things like blood-cursed sides — but I think you really can. The chicken foot is a Wiccan sign for Satan!
Okay, enough said.
LikeLike