Macarons can be the stuff of nightmares. A single streak of unmixed meringue in the batter can cause the entire batch to crack, unsieved ingredients can make the macarons go lumpy and bad luck can ruin an entire tray for even the most competent baker. That being said, if you can master the art of making macarons, you can succeed at almost anything in the kitchen.
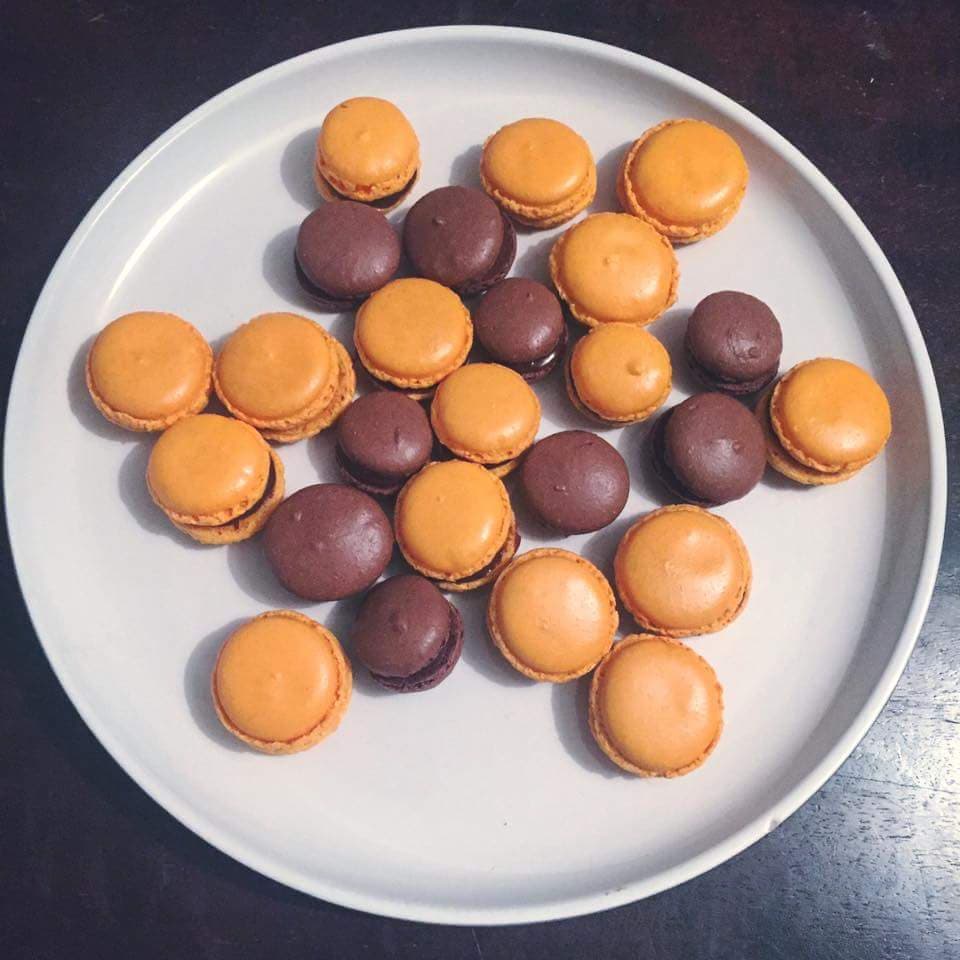
One of the most distinctive elements of a macaron is its foot. Observing the foot of a macaron can give you a good indication of how it was made. Both oven temperature and mixing techniques affect its formation. The foot should be even all the way around, either completely vertical or with a light outwards bulge, and have lots of small pockets of similar sizes. If the foot goes over the top of the shell (giving a cracked appearance), your batter is not mixed evenly; if the feet bulge massively outwards and appear as more of a skirt, you have over mixed your batter. If your macarons are consistently not developing feet, allow them to dry longer before baking as the formation of a skin over the top of the shells will encourage rising from the base of the macaron, helping with the formation of the feet. The lack of feet can also indicate that your oven temperature is too low and a skirt can indicate the temperature is too high so I would encourage investing in an oven thermometer if you wish to make macarons semi-regularly.
Everyone’s oven is different and macarons are a very good way to discover where the hot spots in yours are. If a single batch of macarons has very different results across the tray, this indicates that there isn’t great circulation in your oven. If you don’t have a fan oven, there isn’t much you can do about this but you can adapt in the future by removing macarons in hotspots early and then baking the rest for another few minutes.
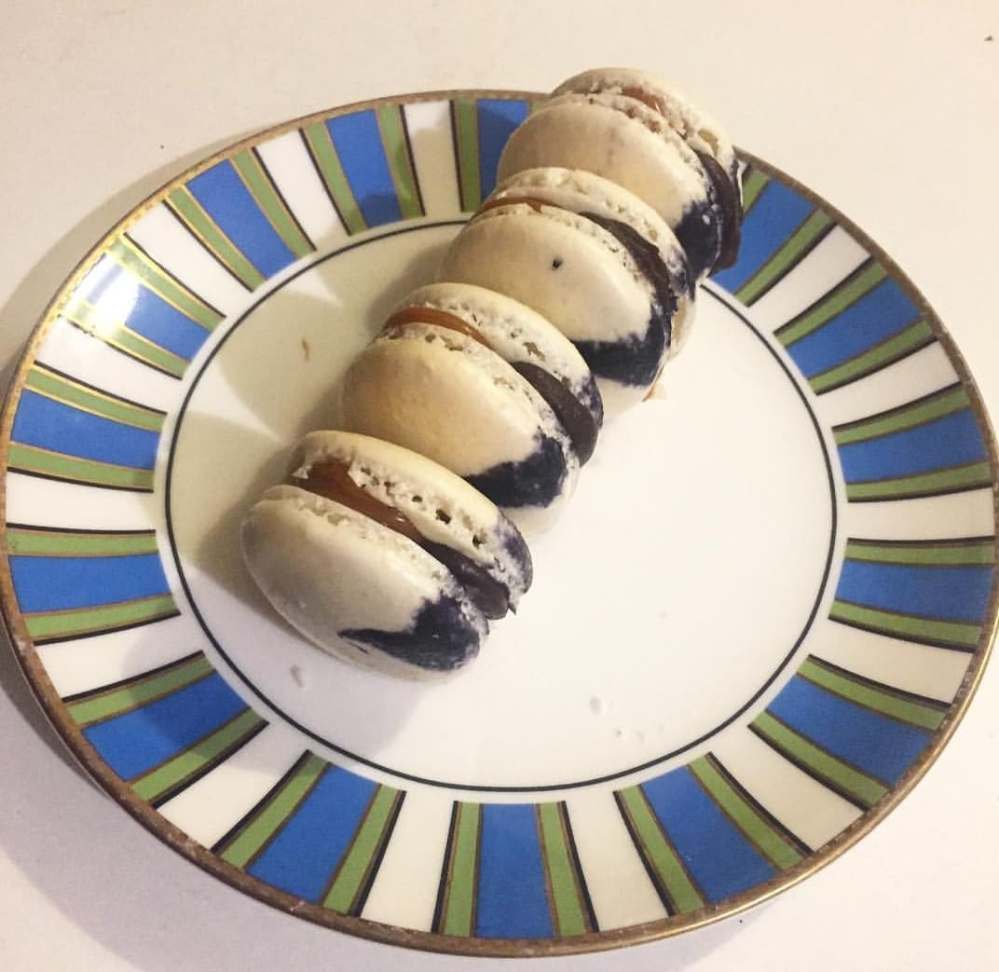
The classic image of a macaron is a brightly coloured shell with a smooth filling. The colour of the shells is often indicative of the flavour. When it comes to choosing flavours, the list of things you can choose is almost limitless. I have eaten savoury macarons, I have eaten sweet macarons and there are a particularly interesting set of flavours in the middle where the macarons are sweet but use traditionally savoury flavourings. One that I tried whilst baking for this post was a rosemary and olive oil flavoured macaron and it was delicious!
Once you have mastered the basic macaron, you can begin to experiment with different fillings and flavours. Why not use them as decoration on cakes or a dessert? They don’t just have to be a delicacy on their own.
I hope you enjoy baking them and that your macarons come our perfectly every time.
Macarons:
2 egg whites
140g icing sugar
65g ground almonds (or almond flour)
35g granulated or caster sugar
Pinch of salt
Gel food colouring
Flavourings (these could be extracts like vanilla or orange, rose water, cocoa, green tea etc.)
Ganache filling:
Dark chocolate:
150ml double cream
150g dark chocolate
1 tsp sugar
White chocolate:
100ml double cream
200g white chocolate
Flavourings
Place the icing sugar and almonds into the bowl of a food processor and blend for a minute.
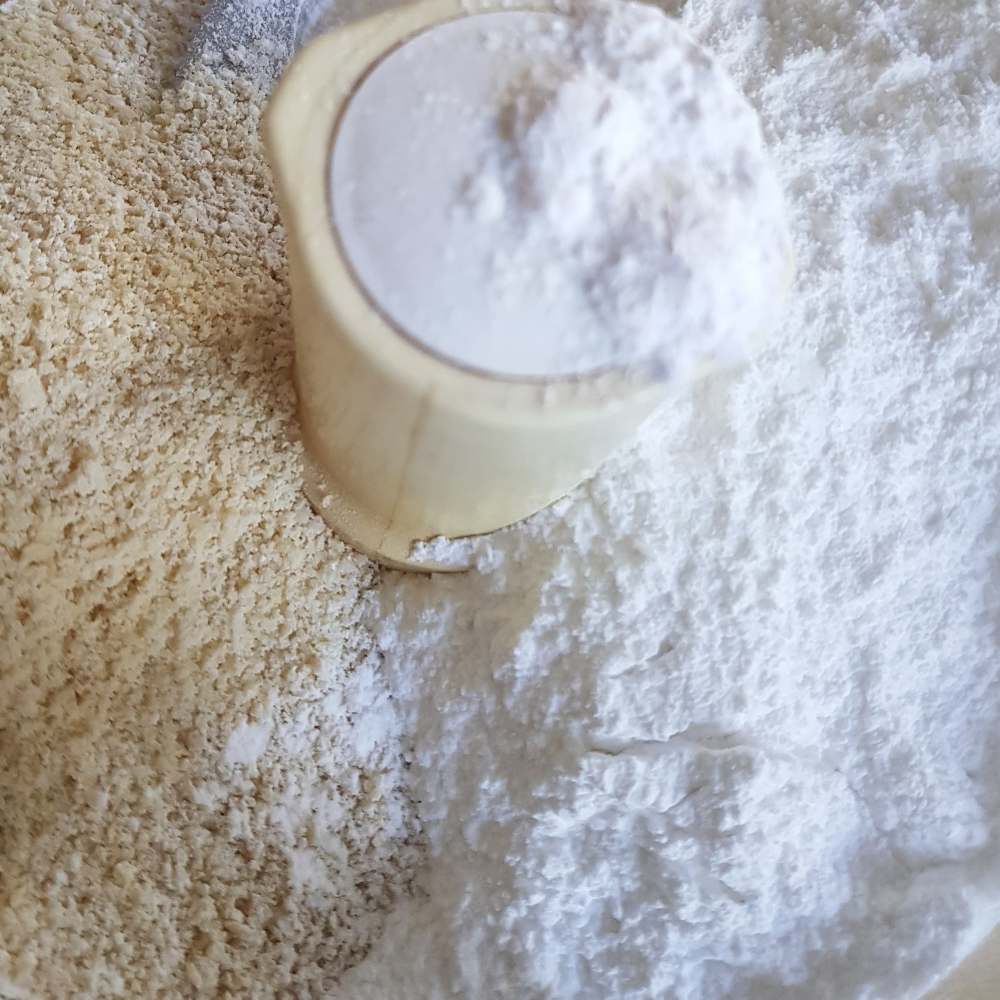
Push the mixture through a fine mesh sieve – this step takes time but is important if you want your macarons to have a smooth, glossy top. Once there is only a tablespoon of bigger chunks of almonds left in the sieve, you can discard these and stop. If you would like to make chocolate shells, replace one tablespoon of the mixture with one tablespoon of sifted cocoa. Use the same technique for green tea shells but with two teaspoons of matcha green tea powder instead.

Add the egg whites to the granulated sugar and salt in a separate bowl and whisk with an electric hand beater until a stiff meringue is formed. You should not feel any grains of sugar if you rub a little between your fingers and you should be able to turn the bowl upside down without anything falling out.

If you wish to colour and flavour your macarons, use the tip of a knife to add a small amount of gel colour to the meringue. Do not use liquid food dye as it will make your meringues collapse and will also fade in the oven. If you are using a flavoured extract, add a quarter of a teaspoon to the egg whites and beat it in.
Add half the dry ingredients and fold them in.
Once the first batch of dry ingredients starts to mix in, add the rest and continue to fold. Ensure that you use a spatula to scrape the bottom of the bowl as any unmixed in bits of meringue will cause the macarons to crack.
Macarons are surprising forgiving at this stage. You want to keep as much air in during the folding as you have to knock it out again later to get the mix to the correct consistency and this is easier when you have a lighter mix to start with – it will make sure you don’t over mix the batter.
Once the almonds and icing sugar have been incorporated into the meringue, continue to mix until you reach the right consistency. This is when you can lift some batter on your spoon and as you drop it back into the bowl, you can draw a figure of eight with it without the stream of batter breaking. The batter should be thick but still flow a little, any blobs you make on the surface should slowly ink in over about twenty seconds.
Line a baking tray with parchment paper or a silicone mat.
Pour the batter into a piping bag and pipe circles of batter about an inch and a half (about 4cm) wide leaving at least an inch (2.5) between them.
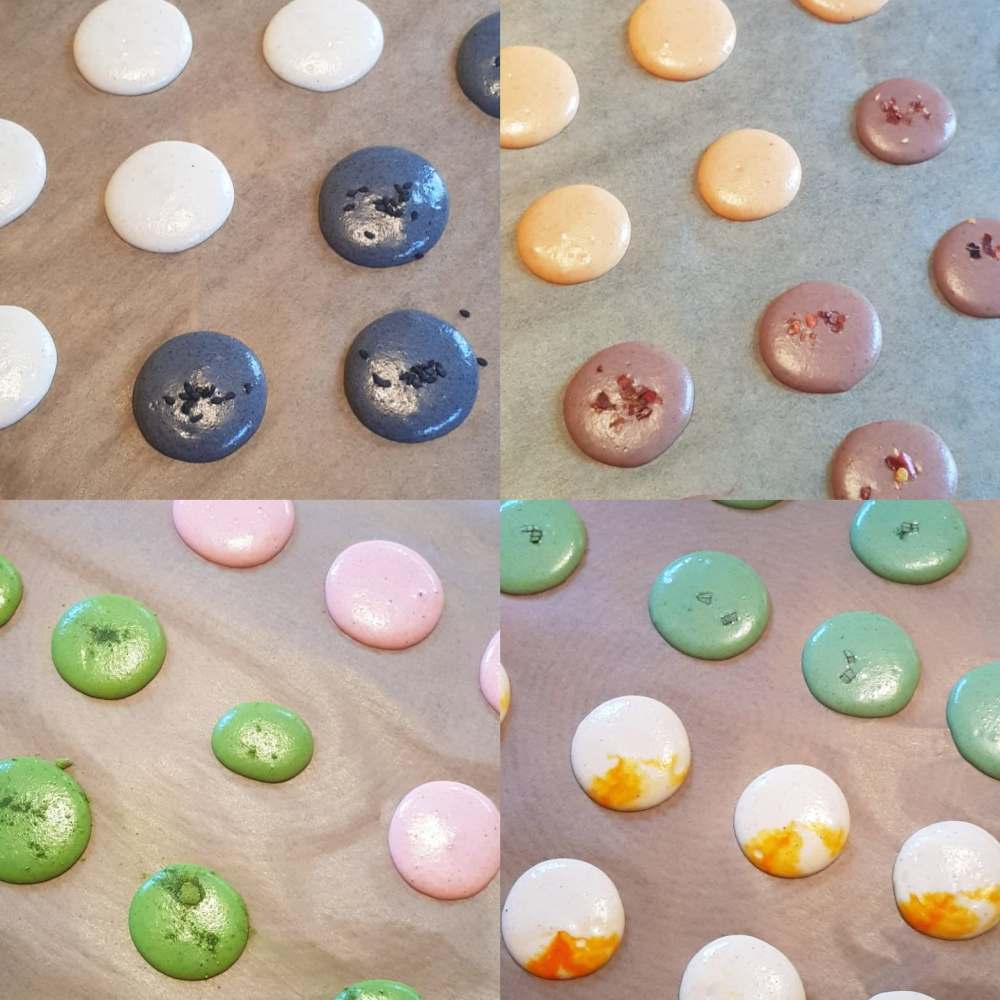
Lift up the baking tray and bang the base of it onto the surface ten times. Rotate the tray round so the other side can be banged too and repeat the ten bangs. This will remove air bubbles from the macarons which you will see popping on the surface. You can sprinkle the centre of your macaron shells with sprinkles or something related to the flavour to give a more exciting finish.
Place the macarons in a warmish dry place for half an hour to an hour until a skin has formed over the top of them (you can touch the surface of them without it sticking to you). Some people say this step is optional and I have made macarons before without letting them dry and they did work but the best way to work out if it works for you is practice. Make a couple of batches, leave some to dry and place other straight into the oven and see how they come out!
Preheat the oven to 150°C (gas mark 2).
Place the macarons one tray at a time on the top shelf of your oven for twenty minutes or until you can lift one off the tray without it sticking. If they stick a little, just give them another two minutes and try again.
Once the shells are cooked, let them cool on the tray until you can touch them without burning yourself. Peel them off the baking sheet and place the shells onto a wire rack to cool.
To make a ganache filling, heat the cream until almost boiling and pour it over finely chopped chocolate.
Leave for two minutes for the heat of the cream to melt the chocolate and then stir the two together. You can add flavourings of your choice or sugar to the ganache at this point.
Let the ganache cool until it has thickened up to a thick piping consistency and is no longer warm to the touch.
Match up macaron shells of similar sizes in pairs. On one of each pair, pipe a small dollop of ganache and sandwich the two shells together.
Leave the macarons overnight in the fridge so the ganache can set fully and the flavours can meld between the filling and the shells.

I hope you enjoyed the recipe. For other sweet treats, check out my list of baked goods – last time was a sophisticated chocolate and hazelnut tart – or if you are looking for something a little bit more on the savoury side, why not make yourself a classic bowl of spaghetti and meatballs.
Have a good one and I will be back next week with a recipe for another delicious soup – it’s super easy and an absolute classic.
H

Thanks! Let me know how it goes!
LikeLiked by 1 person
Looks delicious!!!😍
Will definitely try this recipe!
Kindly follow my site also sis
zaraahmedwrites.wordpress.com
LikeLike