A few months ago, I did a post on making foolproof meringues. This comes as a sort of follow up because what is important about the three different types of meringue is that they are all good for specific, and different, things. I don’t tend to make meringue for any other reason than using up egg whites left over from other recipes – however I have been known to make the odd meringue cake or pavlova in the past.
Unlike French and Italian meringue, swiss meringue is heated before baking. The sugar is added at the start of the recipe and the additional weight literally weighs down the egg whites during the beating resulting in a strong but dense mixture. When making a classic (French) meringue, you can also add the sugar at the start but, because the eggs are not heated, this doesn’t have as much of an effect as it does when making the Swiss variety. One of the benefits of the thicker mixture achieved in a Swiss meringue is that you end up with a super marshmallowy centre without going through the stage that we all want to avoid where putting the meringue into your mouth is like eating a tube of superglue.
Where Swiss meringue really comes into its own is when you are making layered meringue cakes. As the mixture is denser, the final baked product is much less fragile and the rigidity of the meringue makes it a safe option for stacking without any of the edges snapping off. The stability of the uncooked meringue is also far superior to both French and Italian meringues. If left for too long, French meringue will deflate – this is irreparable; beating it again will not help – and, once made, you have a limited time (around 24 hours) with Italian meringue before the sugar starts to recrystallise leading to a gritty mouthfeel with is rather unpleasant.
Unlike both of these, Swiss meringue will stick around for a long time making it perfect for use in icing – most famously, the Swiss Meringue Buttercream. With a much higher butter:sugar ratio than traditional American buttercream, the icing is far less making it nicer for those of us without a sweet tooth. The high proportion of butter does unfortunately come with a cost. This can be a dangerous icing to use in summer as the butter can melt. The meringue does help prevent it getting too runny but there is only so much you can do to hold together a frosting that has become 50% liquid in the heat. Of course the very butter that can cause this catastrophe in the summer is also what allows the icing to set solid in the fridge making it a perfect base layer to have underneath fondant and ganache as you can scrape things off the cake without damaging any crumb coats that you may have already applied. I would definitely recommend using a Swiss meringue buttercream if baking for adults (assuming you have the time) as it has a far nicer flavour and texture that its American counterpart – just make sure that it is at room temperature before you serve it.
I hope you enjoy the recipe for the meringues and that the baking gods prevent any cracks from occurring.
Swiss Meringue
Prep time: 20 minutes
Cook time: 90 minutes
3 egg whites
6 oz. caster sugar
¼ tsp cream of tartar or ¼ tsp white vinegar or ¼ tsp lemon juice
Put the egg whites and sugar into a large mixing bowl.
Add about an inch of water to the bottom of a saucepan and stand the mixing bowl over the top – the bowl should not touch the water.
Bring the water to a gentle simmer whilst stirring the egg mixture.
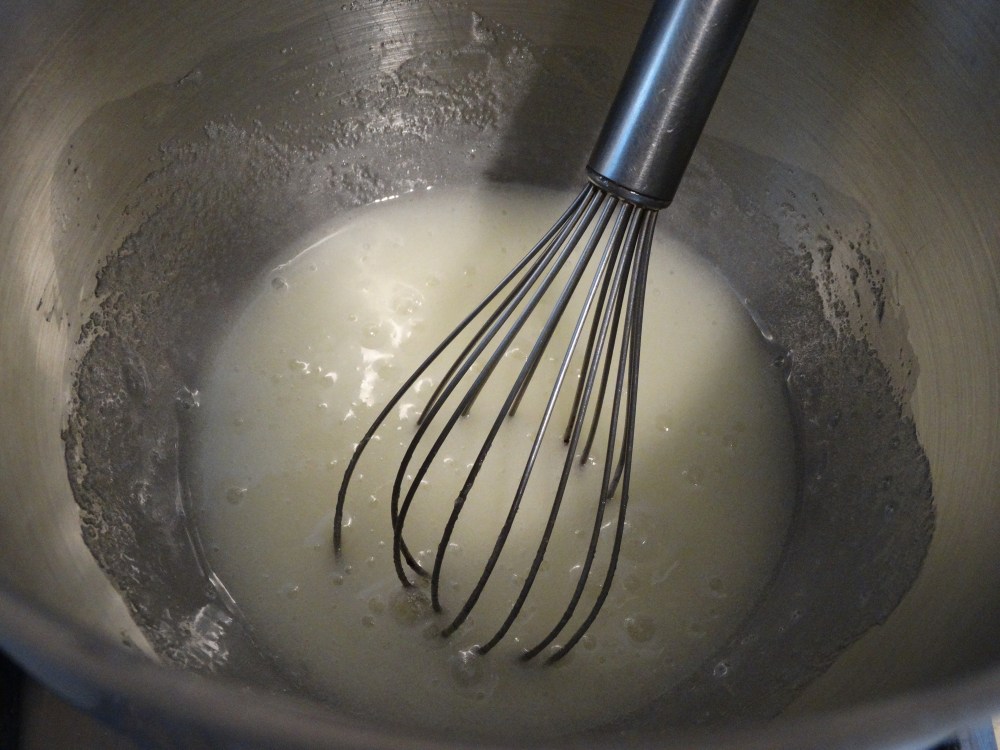
Continue to beat the egg mix (by hand as you don’t want to whip the eggs yet, just dissolve the sugar) until all of the sugar has dissolved. The egg mix will feel slightly warm to the touch and a small amount rubbed between your fingers will feel smooth and not grainy. At this point, it will be glossy white and have the consistency of double cream.

Remove the egg and sugar from the heat.
Turn the oven to gas mark 1 (140°C) to preheat.
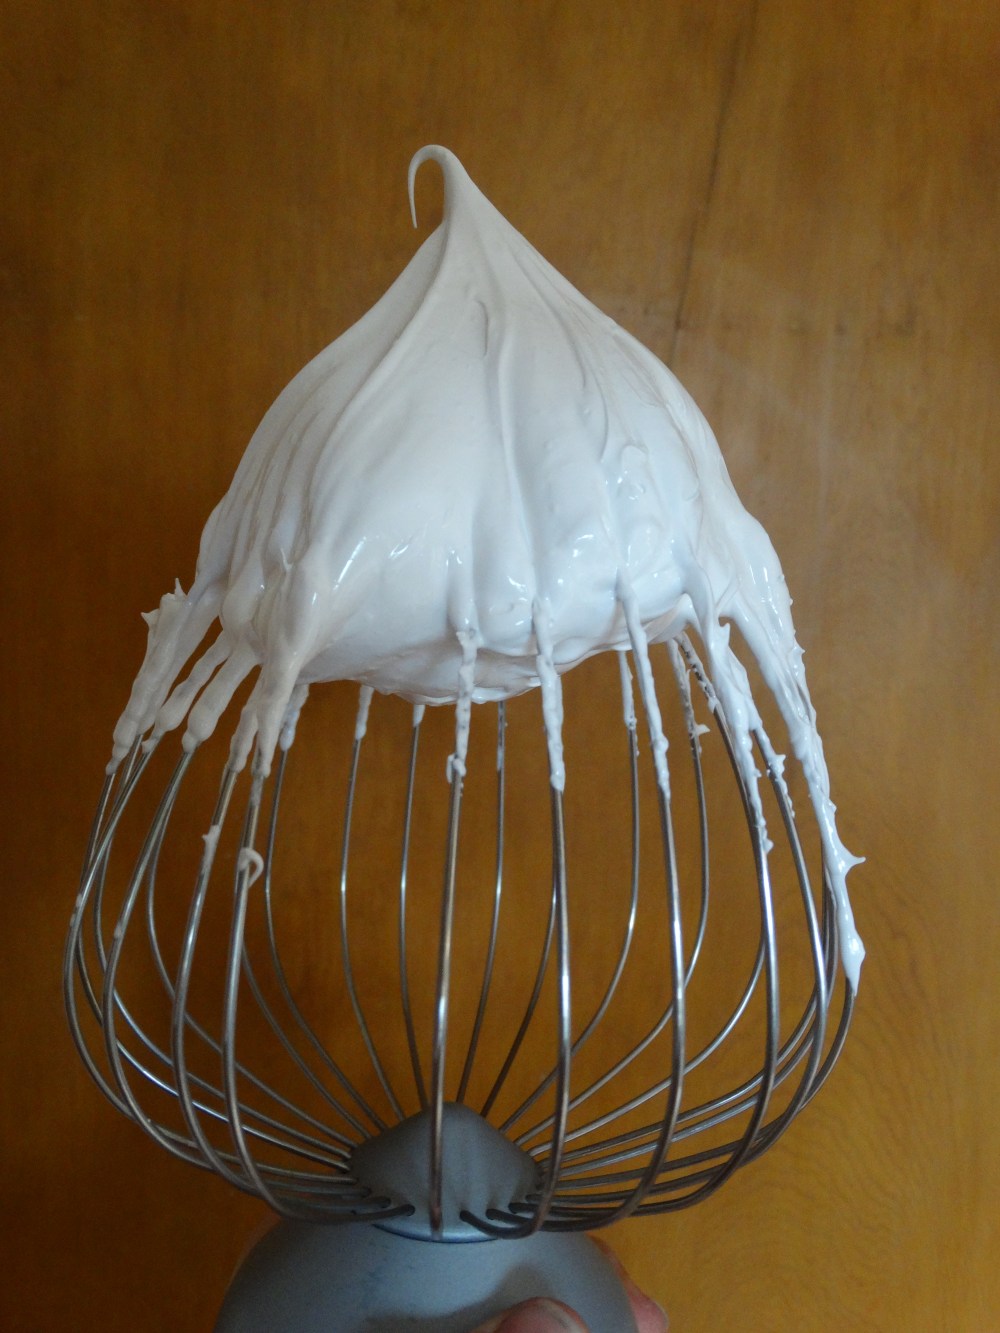
Add the cream of tartar/lemon juice/vinegar and whisk with electric beaters until the meringue has increased massively in volume and is thick and glossy. It should be able to mostly hold its shape when the beaters are removed. This will take about seven or eight minutes.
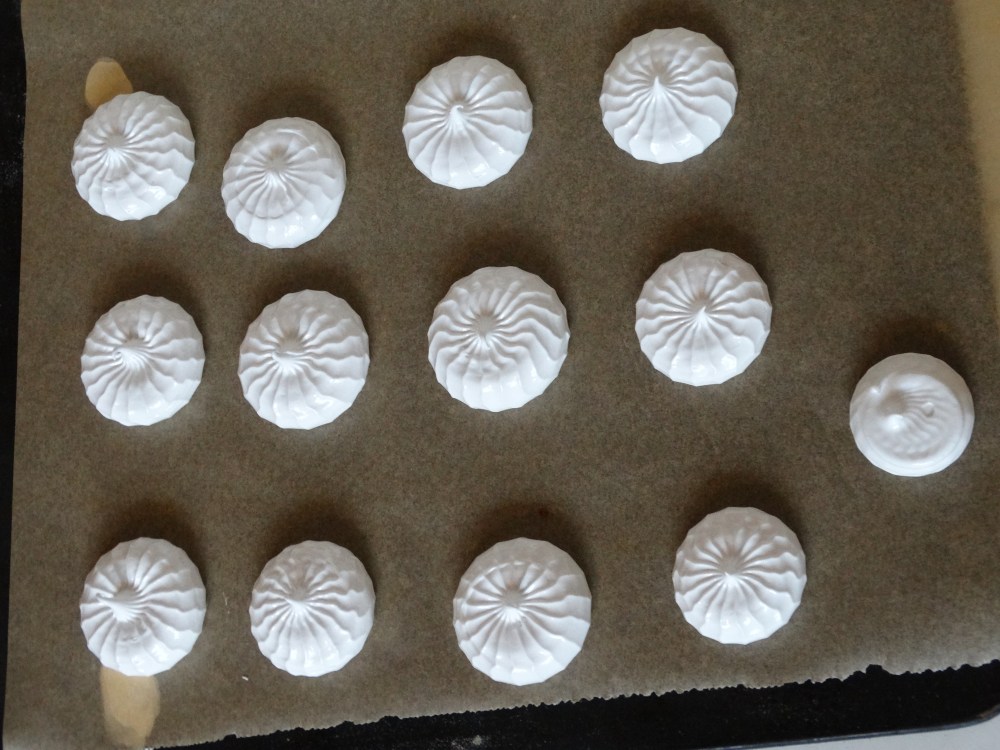
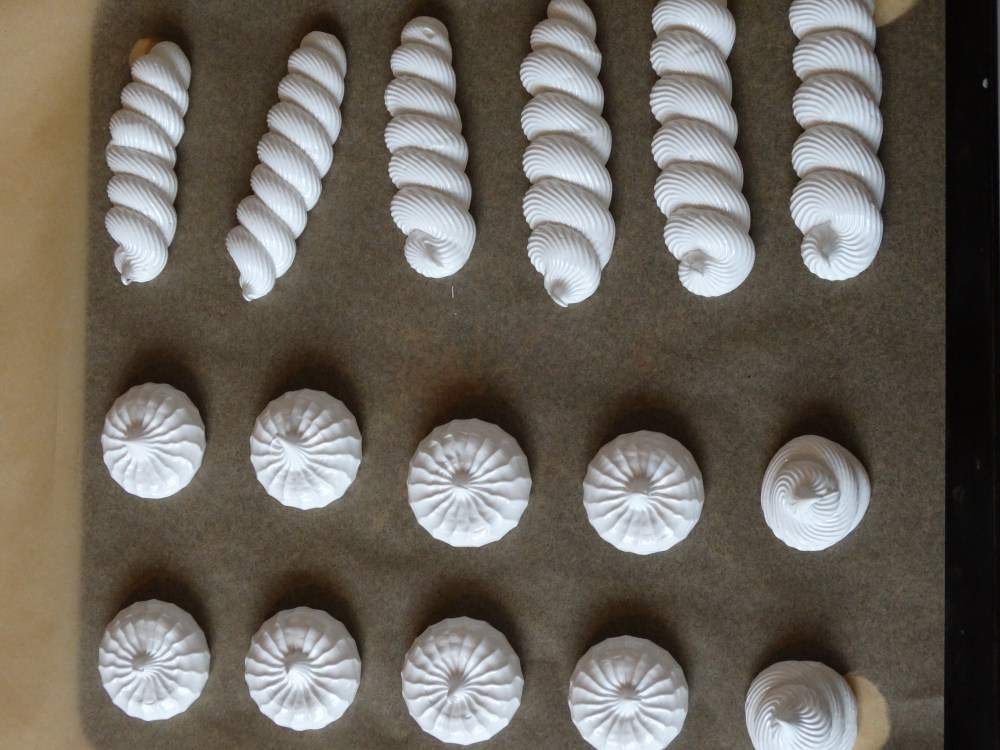
Pipe the meringue onto baking sheets – larger meringues will take longer to cook. For an added stripe of colour, take a small amount of gel food colouring and straw a strip down in the inside of your piping bag before filling it.
Place the meringues into the oven and prop the door slightly open with a wooden spoon (only about one or two centimetres).
Bake for 90 minutes or until one of the meringues comes off the tray without sticking.
Turn the oven off, remove the spoon from the door and let cool for at least an hour before removing the meringues from the oven. This will help prevent cracking and the formation of a cavity at the base of the meringue.
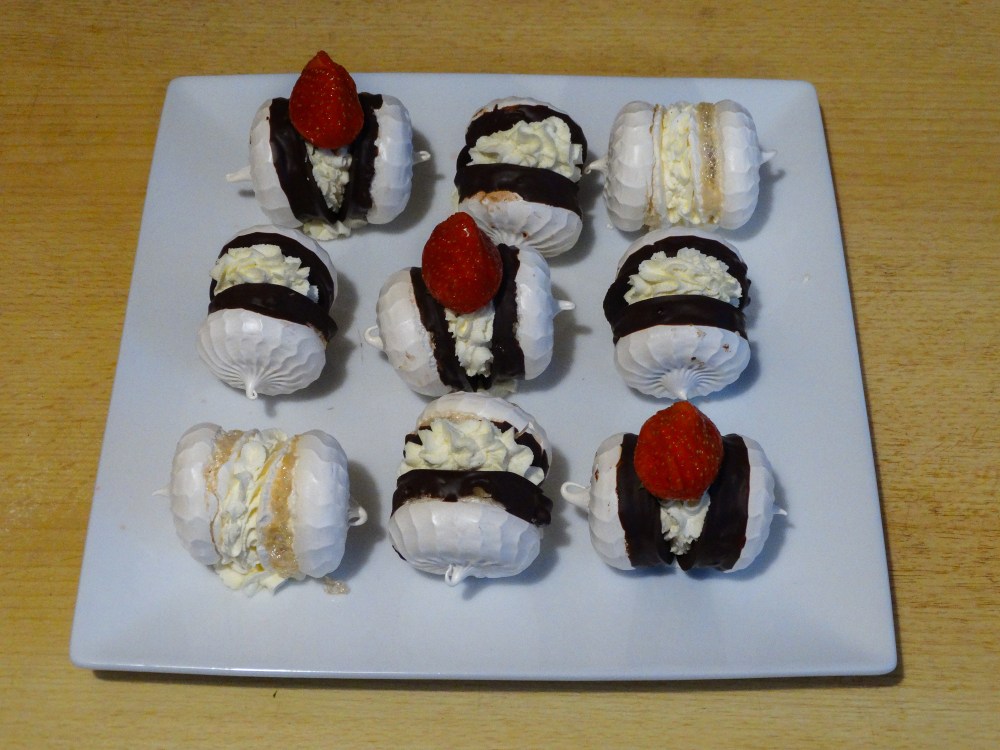
I hope you enjoyed the recipe. These can be served with whipped cream and fruit for miniature pavlovas or Eton mess. You can also melt a little chocolate, dip the meringues into it and leave them to cool to get a lovely, chocolate layer around the base of the meringues. They also make great snacks when you just need a little bit of sugar.
Have a good one and I will be back next week with a delicious dinner.
H

2 Comments Add yours