This cake makes a perfect, child-friendly dessert for a Halloween party. It’s not too in your face with the spiders but there are enough of them to make the cake look a little bit creepy. The cobwebs are also super fun to create which is always a bonus when baking. Hidden away beneath the spiders is a rich devil’s food cake sandwiched together with whipped cream. The cream cuts through the richness of the cake, helping to balance the flavour, and acts as a strong glue to keep the cake in one piece.
Devil’s food cake has been around for just over one hundred years. It is a variation of the red velvet cake and is generally distinguished from a classic chocolate cake by the addition of water as the primary liquid. This increase in water (and decrease in egg content) results in a very dense, rich, moist cake which I far prefer to a classic chocolate sponge cake, which can get very dry. The other main difference between a devil’s food cake and a classic chocolate cake is the addition of not only baking powder but also bicarbonate of soda. The raising of the pH by the bicarbonate of soda causes the cocoa to turn a far darker shade of brown, leading to the almost black appearance of the cake.
The decoration on this cake looks really cool but I would check with the people you are making it for because, although they are not real, the spiders on top can really upset some people. Arachnophobia is an interesting condition because it would have helped our ancestors to avoid contact with spiders – they knew that spiders were dangerous but didn’t know which ones could kill. It is interesting that such a small creature can pack such a powerful punch and it makes sense that a healthy fear of them keeps you alive longer. The thing about arachnophobia is that the extremeness of the fear is not healthy. Like all phobias, arachnophobia isn’t just having an aversion to arachnids, it is an overwhelming sense of fear and panic which is completely disproportional to the danger being posed. For some people, the sight of webs or a picture of a spider can cause heart palpitations, panic attacks or even fainting.
Spiders permeate many different cultures. From Arachne in ancient Greek mythology, to Anansi in African folklore, to Aragog from the Harry Potter series, spiders have woven their way into stories for thousands of years. They are usually representative of some sort of trickster god or betrayal – whether this came before the fear of spiders or after is a cause for debate – and rarely have positive connotations. It is interesting that such a small animal can have such a big effect on ancient stories and even how we act today.
Living in a country where you can almost guarantee that any spider you see will not be dangerous, I find it fascinating how strong a reaction some people can have to them. Even for people without a genuine phobia, the unease felt around spiders is what gives this cake its creepiness and what makes it perfect to serve up around Halloween.
Chocolate Spider Cake
75g cocoa
150g brown sugar
1 ½ cups (375ml) boiling water
180g unsalted butter
225g caster sugar
340g plain flour
¾ tsp bicarbonate of soda
¾ tsp baking powder
1 tbsp vanilla extract
3 eggs
For the filling and icing:
200g soft butter
300g sifted icing sugar
50g sifted cocoa
1 tbsp milk
300ml double cream
2 tsp vanilla
To decorate:
200g marshmallow
Small round chocolates (Halloween themed spheres and maltesers both work)
50g milk chocolate
Preheat the oven to gas mark 4.
Grease and line three eight-inch tins with butter, cocoa and baking parchment.

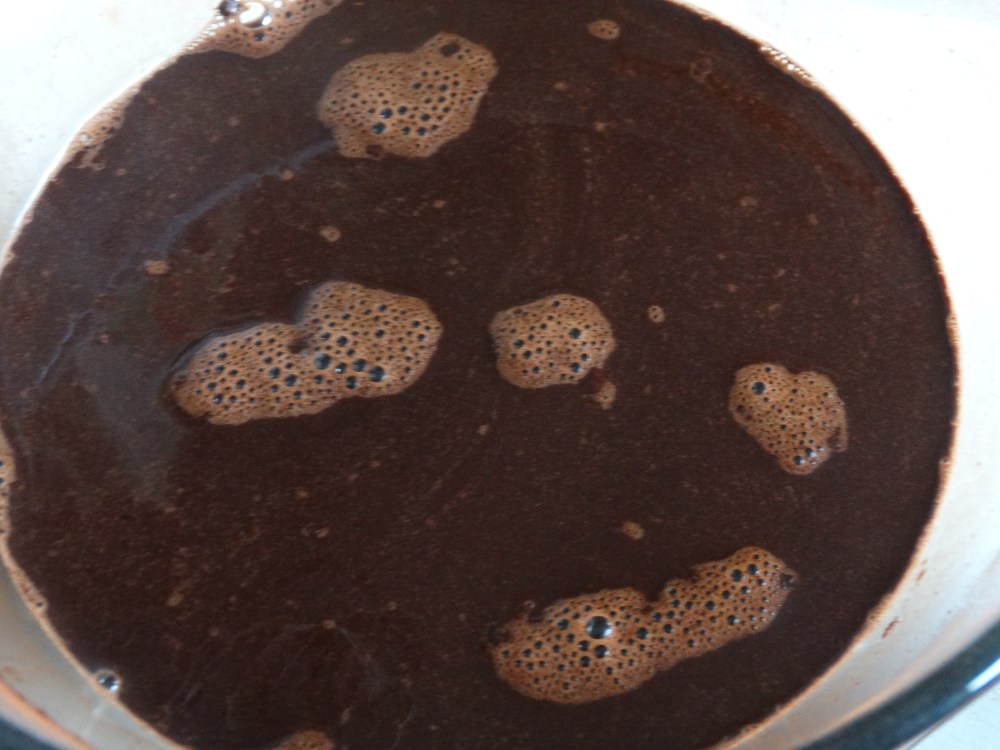
Place the brown sugar and cocoa into a bowl together and pour over the hot water. Stir until combined.
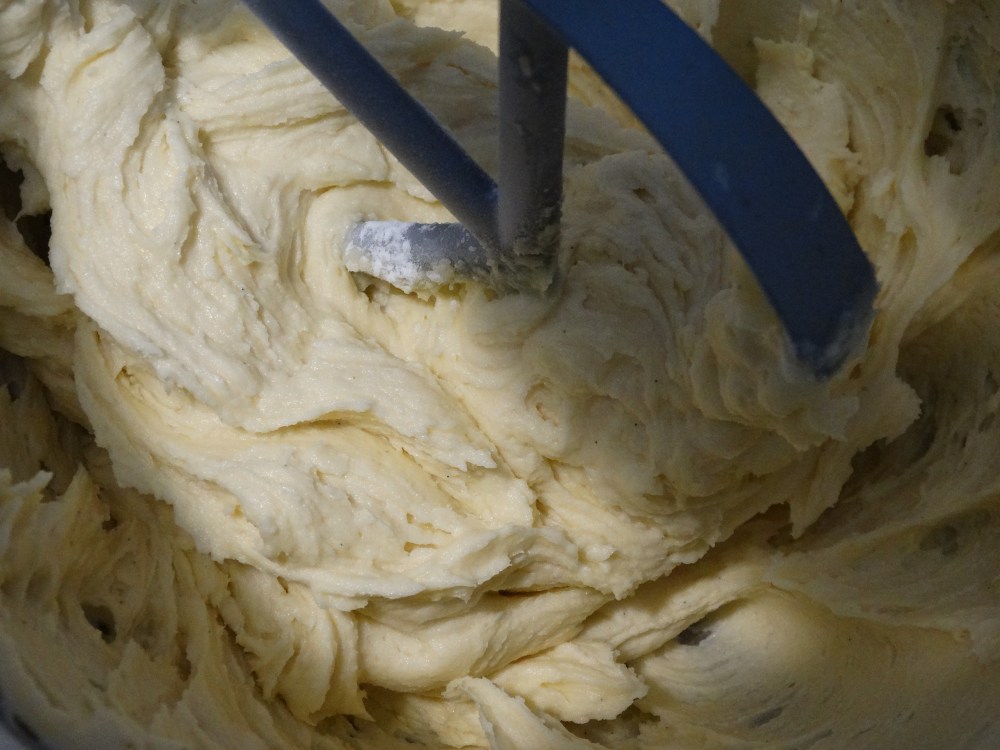
Cream the butter and caster sugar together in a bowl.
Add one egg and a spoon of flour and beat to combine.
Repeat with other eggs to mix them in.
Add the bicarbonate of soda and baking powder along with half of the remaining flour.
Turn the mixer onto slow to avoid covering the kitchen in a cloud of flour.
Once the flour has mostly mixed in, add the rest and beat again to combine.
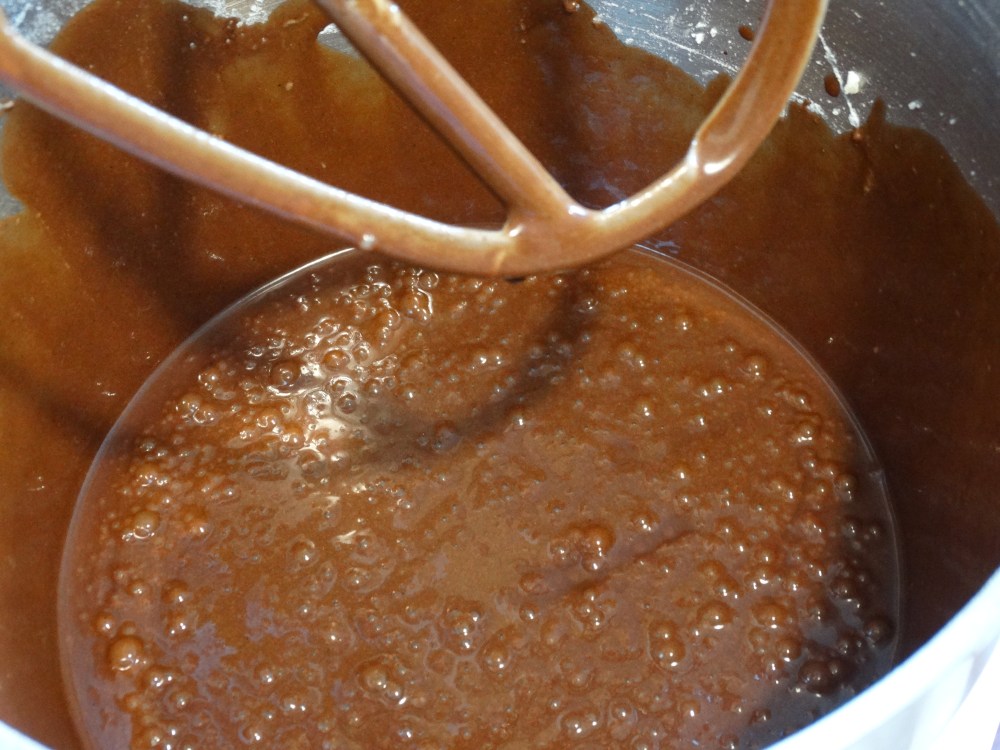
Finally, pour in the liquid chocolate from earlier and slowly mix together until you have a smooth, glossy, chocolaty batter.
Divide this batter between the tins and bake for 25-30 minutes until the cakes have risen and a skewer inserted into the centre of each cake comes out clean.

Turn the cakes out onto a wire cooling rack and leave until they are cold.
To make the icing, beat the butter with the whisk attachment on a stand mixer until it is soft and fluffy. Using a stand mixer is far easier than a hand held one but if you don’t have one, any electric set of beaters will do!
Add half of the icing sugar and beat slowly until the sugar has been mixed in. Then increase the speed of the mixer and beat the icing for another minute.
Repeat the above step with the cocoa and then with the remaining icing sugar.
Tip in the milk and beat the icing for another five minutes to make it ultra fluffy.
Once the icing is done, add the vanilla to the cream and beat until the cream just reaches hard peaks. Make sure not to overwhip it or you will end up with butter!
To assemble the cake:
Level each layer of cake – it doesn’t have to be perfect as you can bulk out small dips with extra cream and icing (no one will mind).
Place the bottom layer on a cake board and pipe a circle of icing around the edge. Fill the centre with the cream.
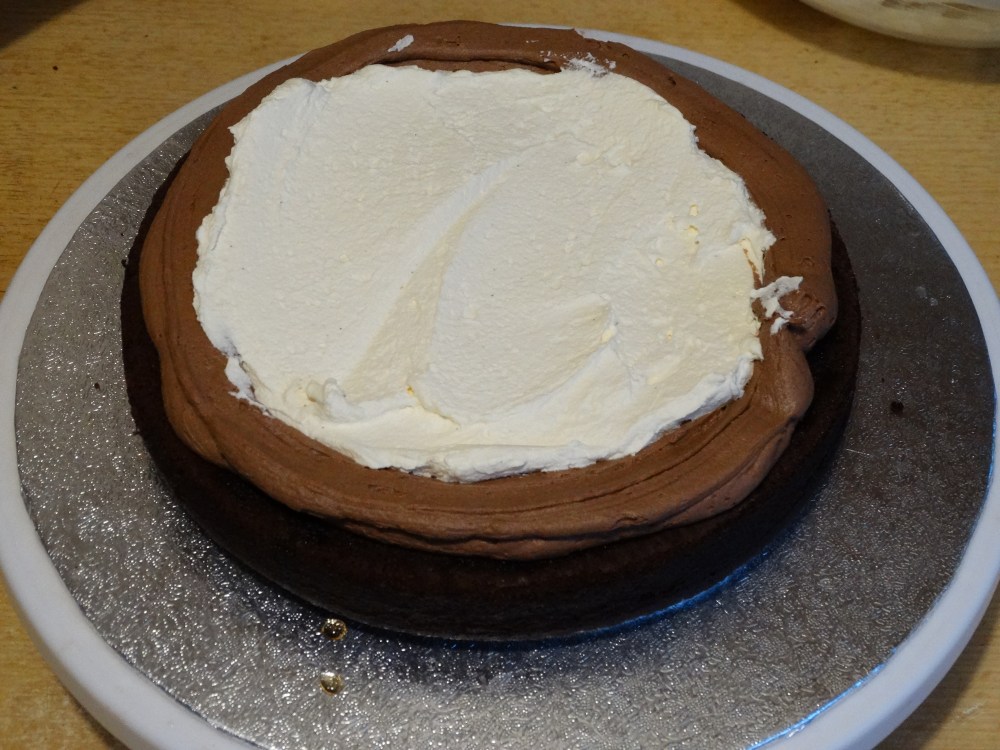
Add the next layer and pipe more icing onto it before filling the centre with cream.

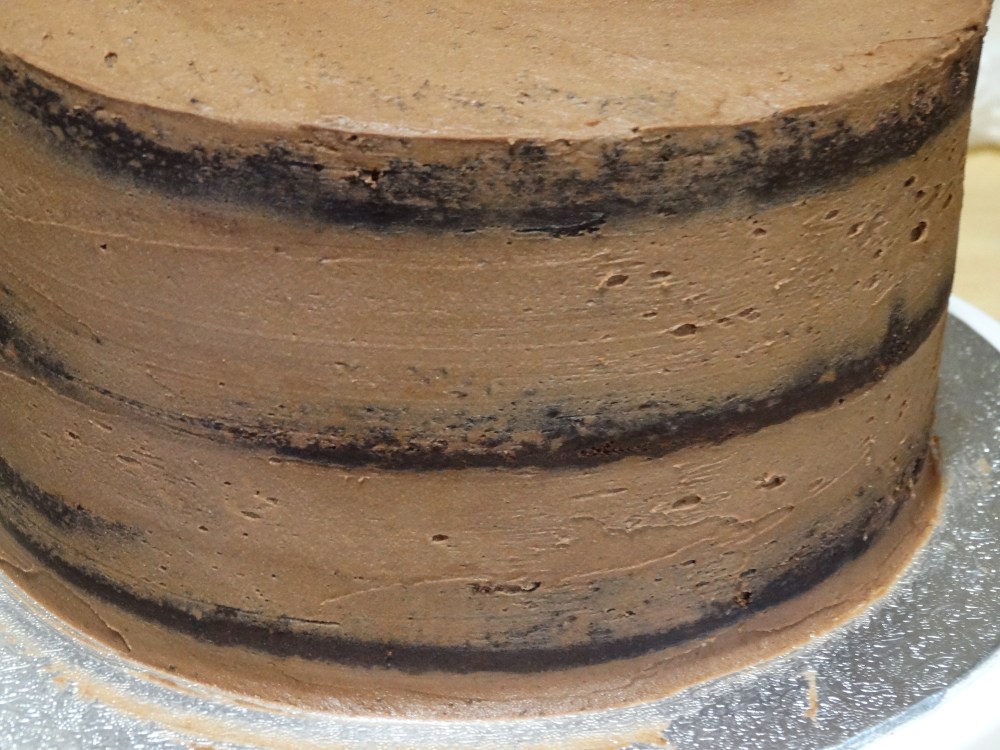
Finally, place the top layer onto the cake and cover the cake with the remaining icing. There should be enough to give a thin layer of icing on the top and the sides of the cake – you will still be able to see the cake layers through the side of the icing. If you want a completely opaque layer around the outside, multiply the icing recipe by 1.5 and make the layer around the cake much thicker.
Place the cake into a fridge for at least half an hour to set the icing.
To decorate the cake:
Melt the chocolate.
On a sheet of baking parchment, pipe lots of little chevrons about 1cm tall and 1.5-2cm wide. These will become the legs of the spiders so make sure to pipe at least 9 per spider so you have a spare for when one of them inevitably snaps. Put these in the fridge to set.
Cut the base off each chocolate sphere (about ¼ of the way up the sphere)
Once the cake has been sufficiently chilled, you can make the webs.
Pour the marshmallows into a bowl and microwave for 30 seconds.
Stir them and microwave again until all of the marshmallows have melted. You may want to stop heating when there are a few lumps left as these will melt if you stir the mixture.
Continue to stir the marshmallow for three or four minutes until it becomes super stringy.

Pick up a blob and use all of your fingers (wash your hands first!) to stretch it out into a white sheet or a large number of strings. Wrap this around the cake and continue to wrap the strings or marshmallow around the outside until they snap.

Continue to add layers of cobwebs to your cake until you are happy with the appearance. You want to still see the icing underneath as it gives a good contrast. (Wash your hands again to remove residual stickiness!)
Use the stickiness of the marshmallow to stick the balls of chocolate all over the cake and add eight legs to each of them. Pipe a small head at one end of each spider.
For added colour, brush a tiny amount of lustre dust over the back of each spider.

This cake looks really cool and is perfect to serve up on Halloween for a party or just to an arachnologist at any point of the year. It can look super creepy and with multiple layers of cobweb, the 3D effect stops the cake looking too flat and boring.
I hope you enjoyed the recipe. If you are looking for another Halloween recipe, check out my amazing brain cake – it’s super gory but looks really cool! Of course, if you want something a little bit more tame, why not treat yourself to a wonderful coffee and walnut cake – or even a lemon drizzle cake!
Have a good one and I will be back next week with a recipe for a delicious lunch which is as good cold as it is hot.
H

This is really nicely done!! I love the spiderweb effect on the cake!!
LikeLiked by 1 person