Glazing is a great way to get a beautiful result with minimal effort. When made correctly, all that needs to be done is to drizzle the glaze over the top of the cake and suddenly this glorious, shiny dessert appears. Of course, this assumes that the dessert is chilled, the glaze is not too hot and that everything is the correct consistency – if any one of these is not right, the glaze will slip straight off the cake. You don’t want this, it is messy and upsetting (and may or may not have reduced me to tears before). As long as you plan carefully and do everything in the correct order, it is not that hard to make sure that the glaze will stick.
I have two main memories of glazes. One is the first time I made a mirror glaze – it looked incredible although I messed up the proportions of ingredients and ended up with a shiny layer with the consistency of rubber. It was not great. The other memory is of playing Scrabble. This is a popular game in my family and we had started a round with my grandma who, as one does, tried to get the z (worth 10 points) onto a triple word score. There was a significant amount of confusion when she laid the word “EZALG” down on the board happily grabbing herself a large number of points and moving comfortably into the lead. You aren’t allowed to play words back to front in Scrabble but it is always worth a try.
The most famous of the dessert glazes is the Mirror Glaze. Made famous a few years ago by a Russian baker whose photos and videos went viral the mirror glaze gives a shiny, colourful finish to any dessert it is applied to. The shine comes from the mixture of condensed milk with glucose or corn syrup before gelatine is added to help the mixture set on the cake. This is classically used for entremets or other such mousse-based desserts as these can be frozen before the glaze is applied to help it stick. Before this glaze can be used on a cake, the naked cake must first be surrounded by a smooth layer of buttercream which is then set in the fridge, preventing it from melting when the warm glaze is applied.
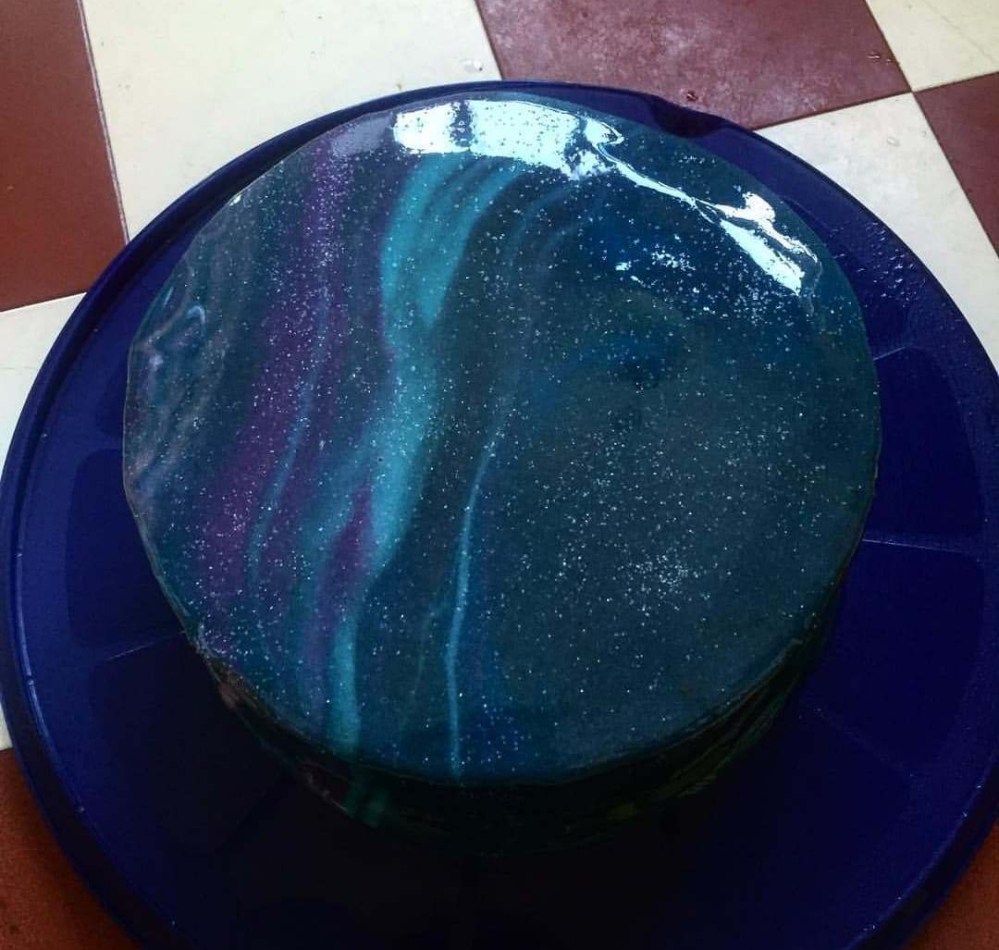
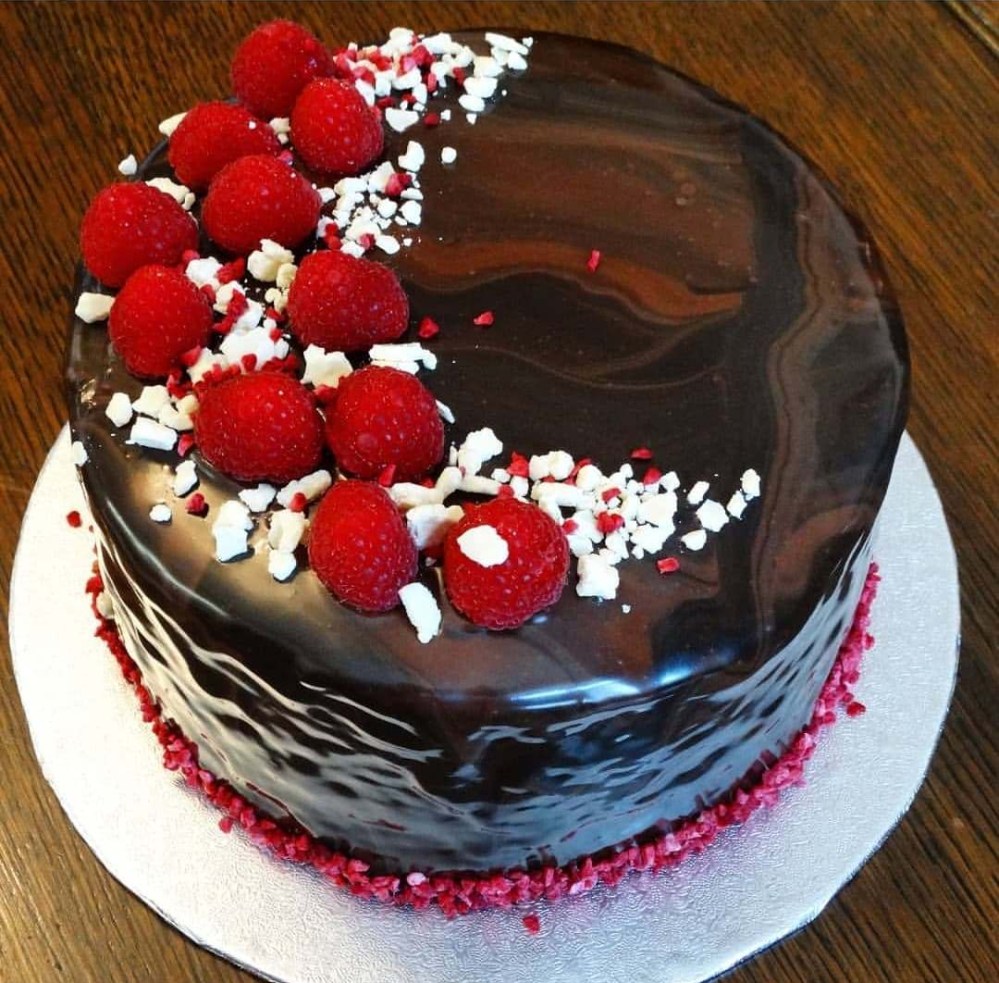
For those of you who do not eat gelatine, chocolate ganache can also be used to glaze a cake which is what is done in this recipe. The chocolate ganache is drizzled over the cooled cake to give a marbled effect, making every cake decorated like this unique. I hope you enjoy!
Chocolate Raspberry Cake
75g cocoa
150g brown sugar
1 ½ cups (375ml) boiling water
180g unsalted butter
225g caster sugar
340g plain flour
¾ tsp bicarbonate of soda
¾ tsp baking powder
1 tbsp vanilla extract
3 eggs
Jam:
150g raspberries
150g jam sugar
Filling:
250ml double cream
100g raspberries
Icing:
110g unsalted butter (softened)
150g sifted icing sugar
20g cocoa
Glaze:
175g dark chocolate
175g milk chocolate
350ml double cream
2 tbsp glucose syrup
To Decorate:
50g raspberries
Chocolate Chips
Start by making the jam
Place the raspberries and sugar into a saucepan. Heat and stir until the raspberries have broken down and the sugar has dissolved.
Boil for two minutes, stirring regularly to prevent any burning.
Remove from the heat and leave to cool.
Preheat the oven to gas mark 4.
Grease and line three eight-inch tins with butter, cocoa and baking parchment.
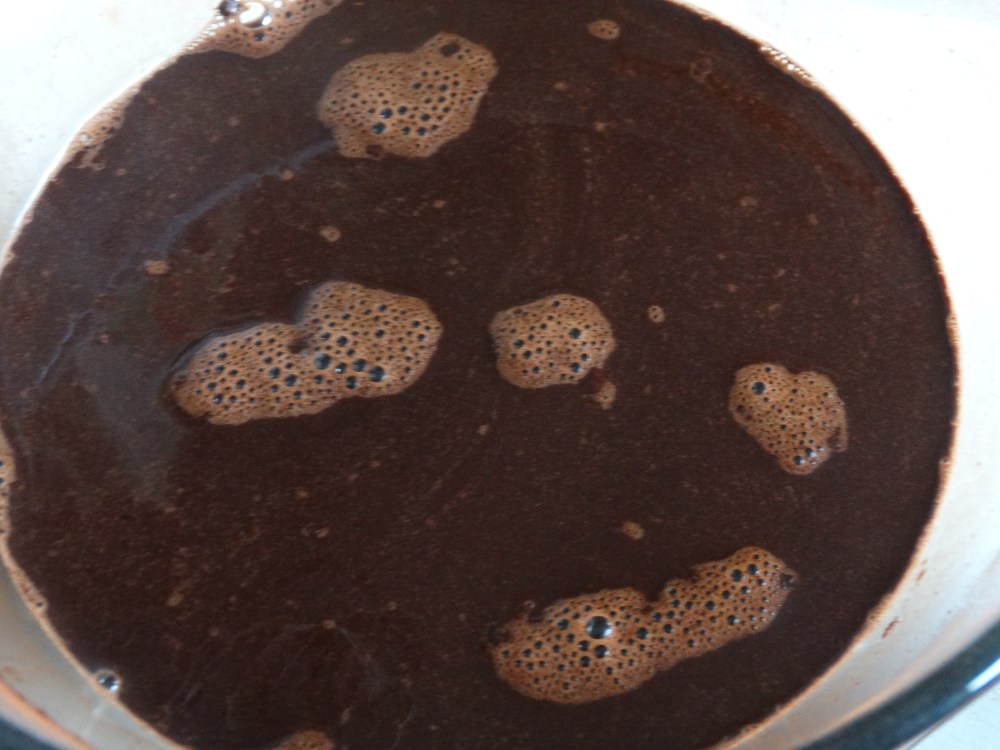
Place the brown sugar and cocoa into a bowl and pour the hot water over them. Stir until combined.
Cream the butter and caster sugar together in a separate bowl.
Add one egg and a spoon of flour and beat to combine.
Repeat with the other eggs to mix them in.
Add the bicarbonate of soda and baking powder along with half of the remaining flour.
Turn the mixer onto slow to avoid covering the kitchen in a cloud of flour.
Once this flour is almost fully mixed in, add the rest of the flour and beat again to combine.
Finally, pour in the liquid chocolate from earlier and slowly mix together until you have a smooth, glossy, chocolatey batter.

Divide this batter between the tins and bake for 25-30 minutes until the cakes have risen and a skewer inserted into the centre of each cake comes out clean.
Turn the cakes out onto a wire cooling rack and leave until they are cold.
When the cakes have cooled, make the butter icing to crumb coat the cake with:
Using a whisk attachment, beat the butter until it is light and fluffy.
Add the icing sugar in three batches whisking until each one is fully incorporated before adding the next.
Sift in the cocoa and mix again.
Whisk the cream until it just reaches stiff peaks. Make sure not to over whisk it!
Lightly crush 100g of the raspberries with a fork to break up the shape and fold them through the cream.
To assemble:
Place a layer of cake on a cake board.
Add half of the jam to the cake and spread it out until it is an inch from the outer edge.

Add half the cream and spread it out leaving a quarter inch around the edge.
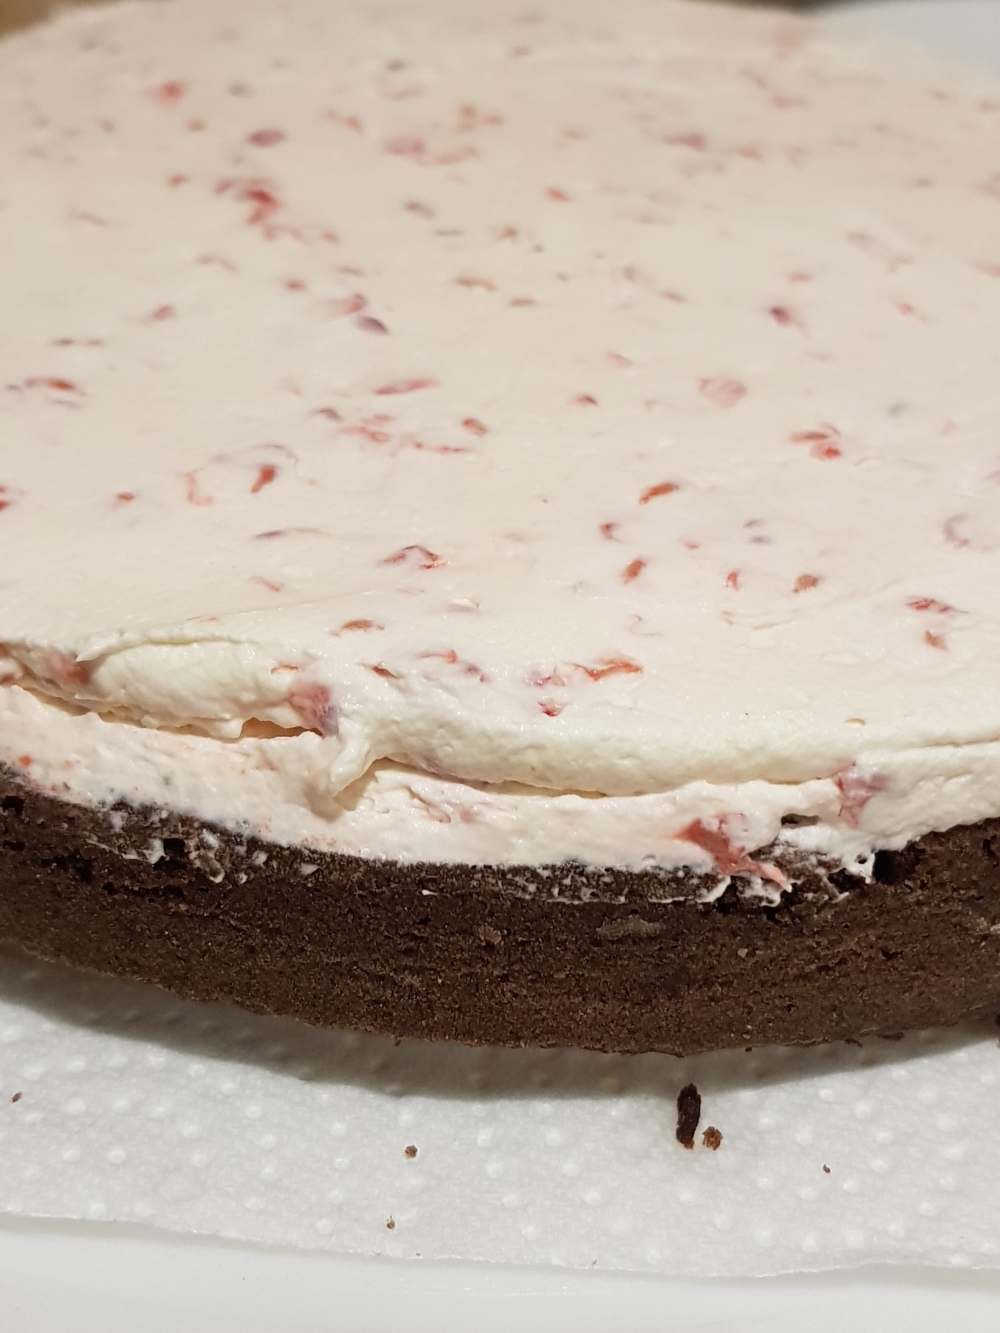
Place the next layer of cake on top and repeat.
Top with the final layer of cake.
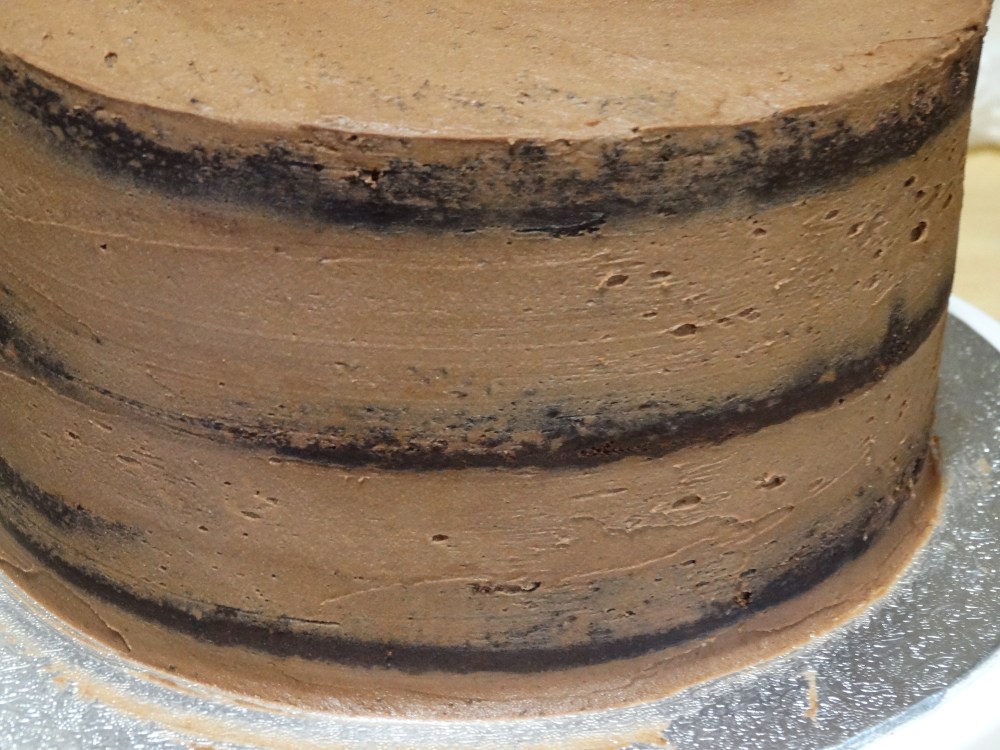
Cover the entire cake in a crumb coat* with the icing. This will be covered with ganache so it doesn’t matter if it isn’t pretty as long as it is smooth. You have to ensure that everything is covered by the icing as any exposed areas are visible on the finished cake.
Let the cake cool in the fridge for several hours before glazing.
*a crumb coat is a thin layer of icing applied directly to the cake’s surface. It is then set in the fridge to hold all of the crumbs in place so any following layers of icing are smooth and clean.
Half an hour before you glaze, place the cake in the freezer so the icing can firm up as much as possible without the cake actually freezing.
Chop the milk chocolate put in a bowl. Do the same with the dark chocolate.
Gently heat the cream with the glucose until just before it starts to boil. You should be able to see steam rising and it will feel hot to the touch. If the cream boils, the ganache can split.
Pour half the cream into each bowl and leave for 90 seconds.
Stir each bowl until a smooth ganache is formed.
To glaze:
Remove the cake from the freezer and place it on a raised surface so the glaze can run off the edges.
Tip half the milk ganache into a jug followed by half the dark ganache.
Add the rest of the milk chocolate ganache followed by the rest of the dark ganache. DO NOT STIR – this is what will create the marbled effect.
Pour the ganache from the jug over the cake drizzling it over the edges if it doesn’t flow over everything evenly.
Lift the cake from the base and gently shake/vibrate it with your hands which will smooth out the ganache.
Let the cake stand for five minutes before using a sharp knife to remove drips from the base of the cake.
Decorate with raspberries and chocolate.

I hope you enjoyed the recipe. This cake is beautiful and sure to wow anyone who sees it. If you love chocolate cake (and also love spiders) be sure to check out my chocolate spider cake with marshmallow webbing or if you are looking for something a little bit more classy, why not try a white chocolate and raspberry tart?
Have a good one and I will be back next week with a stunning circular woven vegetable bread.
H
