Pavlova is another one of those foods which has debatable origins. Both Australia and New Zealand argue that it started with them, however there does not seem to be any conclusive evidence to decide between their claims. This is primarily because the earliest recipe we have for a dessert labelled pavlova is not meringue… it’s gelatine based. What we do know is that the pavlova in the form that we see it today was named after the Russian ballerina Anna Pavlova.
Pavlova should have a crisp outer shell and a marshmallowy centre. This differs from normal meringue which is usually hard all the way through. This difference is attributed by most chefs to the cornflour added to the recipe, however this is probably done to help stabilise the meringue so it does not deflate. What makes the centre ultra-soft is how the dessert is cooked. By using a slightly higher baking temperature at the start, and then reducing it, the outside of the pavlova is cooked substantially more than the centre so it hardens up before the temperature of the oven is reduced. The pavlova is also cooked for less time than you would use for crisp meringues. If you think about it size wise, the pavlova is far bigger than a standard meringue but is cooked for the same amount of time so the central area will not be cooked as much.
I have talked a lot about whisking eggs in recipes on this blog and I thought that, seeing as it is such a crucial element in this dish, I would go into the actual science behind the meringue. Egg whites are about 90% water and 10% protein. Of this protein, the majority is a substance known as ovalbumin. Ovalbumin has a bizarre property: one end is hydrophilic (that is to say, it loves water) and the other is hydrophobic (it hates water, rather like oil does). This is simplified on the diagram below [1] where the green end is the water loving side and the red is water hating. When in the unbeaten egg white, the protein is suspended in water but this is not good for the hydrophobic side. To avoid the water, the ovalbumin curls up [2] encasing the water-hating region inside the water-loving one. As you beat the egg white, two things happen: one, the ovalbumin is unravelled exposing both sections of the protein (the most stable position for it is on the surface of the liquid [3] where the hydrophilic side can sit happily in the water, and the hydrophobic side can float in the air) and two, air bubbles are beaten into the egg white. As you beat the egg white more and more these bubbles are broken up and made smaller and smaller, increasing their surface area. The surface of the bubbles is the perfect place for the freshly uncurled protein to sit so as the proteins come into contact with the bubbles, they begin to surround them [4]. The proteins then form chemical bonds to each other which causes the giant mesh of air and water to become, at least, semi-stable.

When you add sugar to the pavlova, you must do it slowly. This gives the sugar time to dissolve in the water in the egg whites (N.B. this is why you should use caster sugar instead of granulated as the crystals are smaller and thus dissolve faster). If you add the sugar too fast, the weight of the solid grains will break the bonds between the protein molecules and cause the meringue to deflate. This is often unsalvageable – you can try to keep beating the mixture on high speed to thicken it up but it will never be as fluffy as it once was.
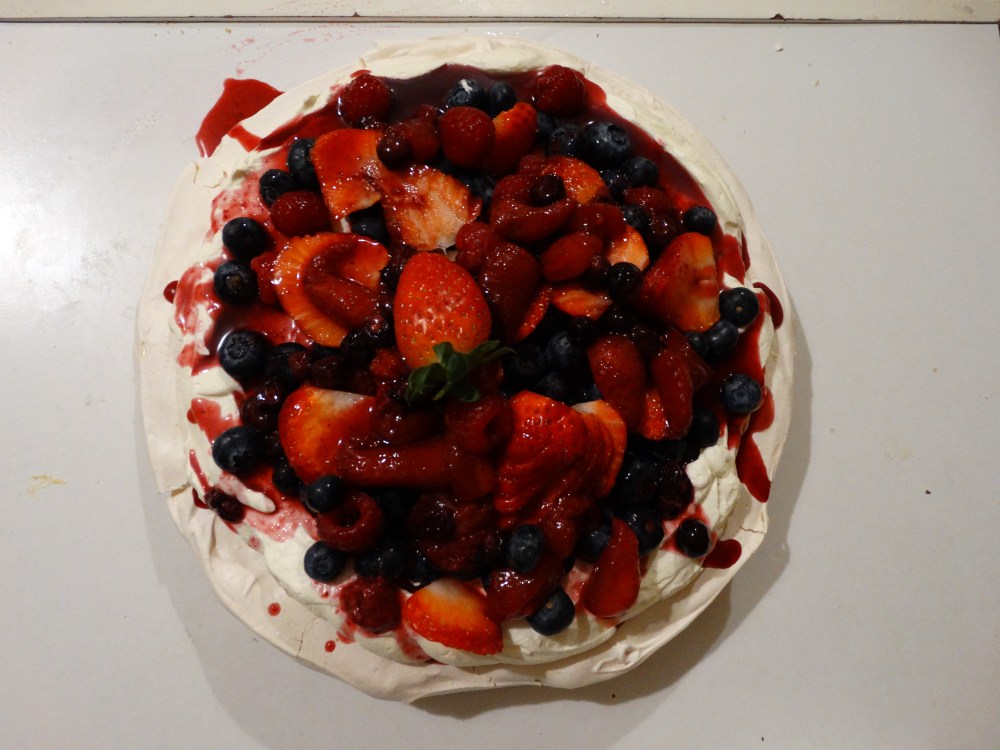
After baking, you should get as much cream onto the meringue as possible. The fruit choice is up to you – more colours, and more vibrant colours, will have a more striking effect but really no one will mind as long as it tasted good. Be careful if you use a coulis as this can flow off the edge and dissolve the meringue, so try to make the edges of the cream higher than the centre (like a shallow bowl) as this will help prevent any leakage.
I hope you enjoy the recipe!
Pavlova
Prep time: 20 mins
Cook time: 2 hours 10 mins
Cool time: 2 hours
8 egg whites (at room temperature)
450g caster sugar
1 tbsp cornflour
1 tbsp lemon juice/white vinegar
Pinch of a salt
600ml double cream
Fresh fruit
Preheat the oven to gas mark 1 (140°C).
Draw a nine inch wide circle on a sheet of baking paper.
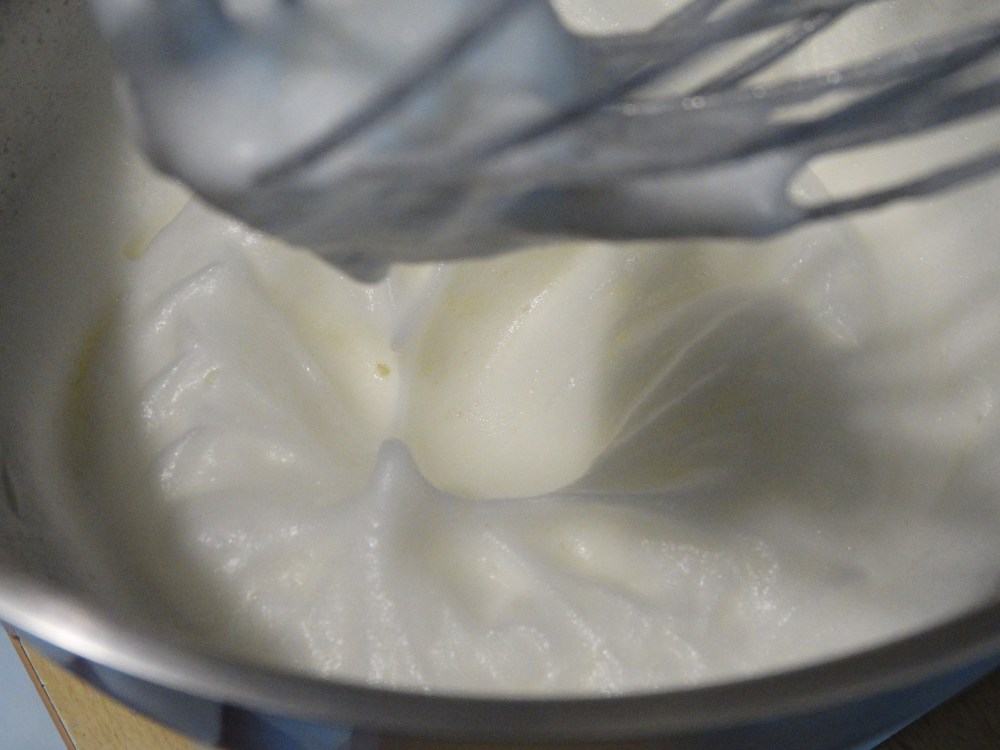
Beat the egg whites to stiff peaks in a stand mixer. You should be able to invert the bowl without the egg falling out at this point. It’s fun to do this over an unsuspecting friend/parent/child/housemate/loved one (but only if you are certain that it won’t go wrong… accidentally)
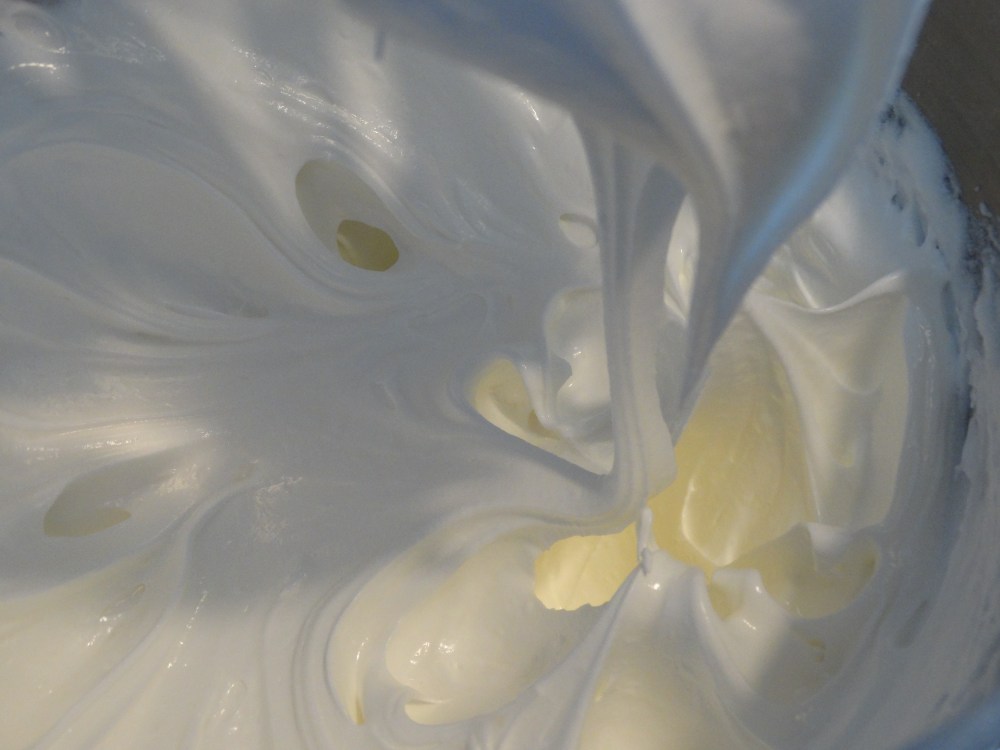
Add the sugar a tablespoon at a time with the mixer running.
Once all the sugar is added, continue beating the meringue until the sugar is fully dissolved.
Beat in the cornflour and vinegar.
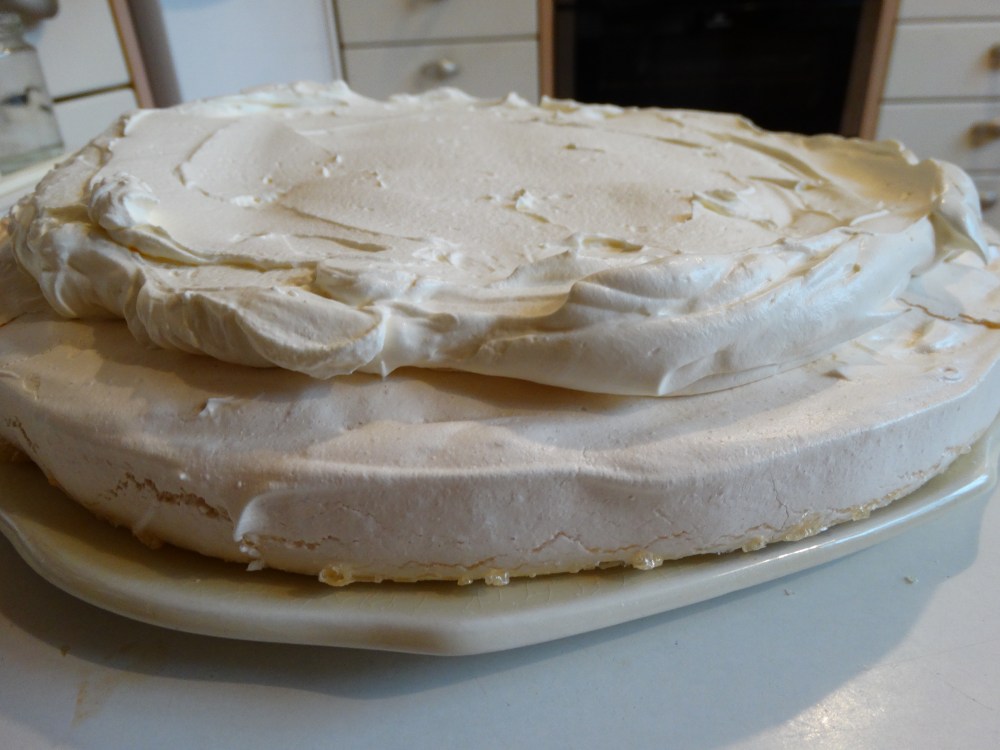
Spoon the meringue into the centre of the circle on the baking sheet.
Spread it out to edges. You can decorate the boarder with peaks of meringue or just smooth it off so it is flat at the sides if you want a cleaner look.
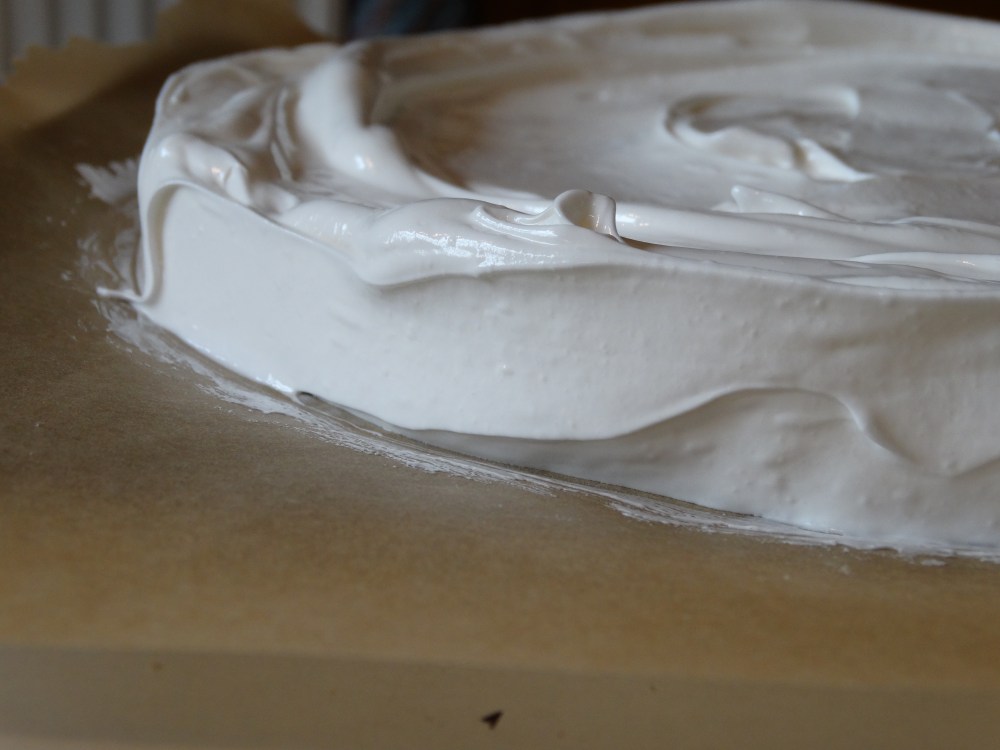
If you manage to get maximum volume out of the egg whites, the pavlova will be tall too. It is common to use the end of a spatula or palette knife to drag indents up the side to give the meringue a bit more structure when it bakes. It can also help to make the sides a little higher than the centre to help hold the filling in.
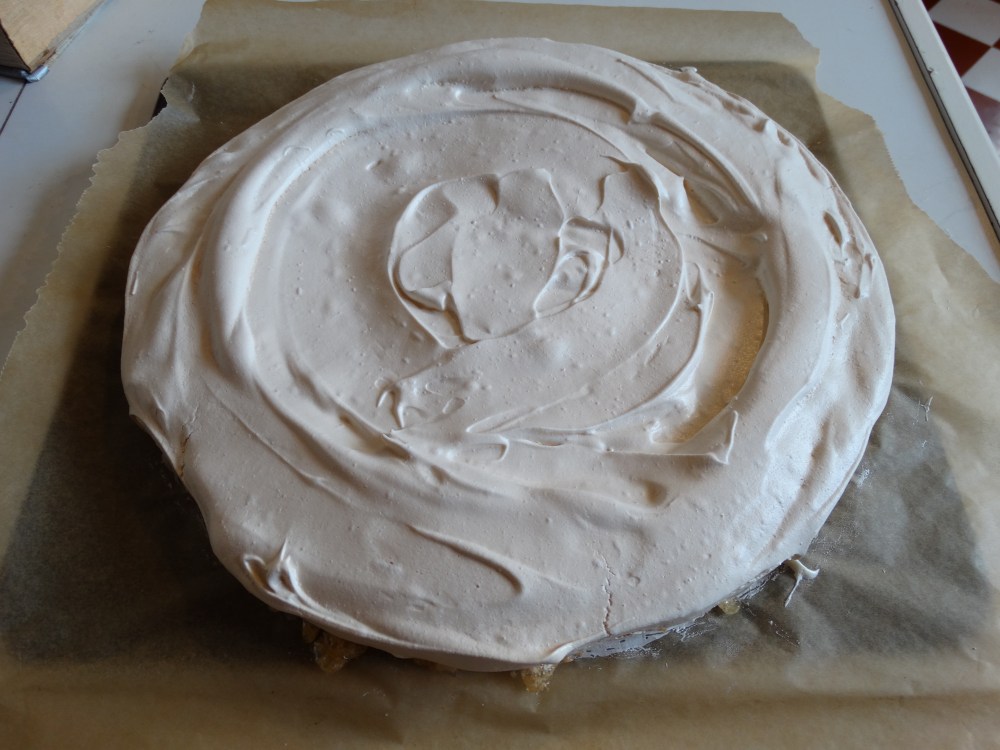
Bake for ten minutes before reducing the temperature to 90°C in an electric oven or leaving the oven on gas mark 1 but wedging the door slightly ajar with a wooden spoon.
Bake for another two hours.
Turn the oven off and leave the pavlova to cool in it. If you used a spoon to wedge the door open, shut it now. If you take it out now, it will sink and crack.
To assemble, beat the cream to soft peaks and spoon over the top of the meringue.
Decorate with the fruit.

I hope you enjoyed the recipe. If you are interested in trying a different type of meringue (which can also be used for this), check out my recipe for swiss meringue – it’s crispy and delicious.
Have a good one and I will be back next week with a recipe for a Mediterranean dish that is great for lunches.
H
