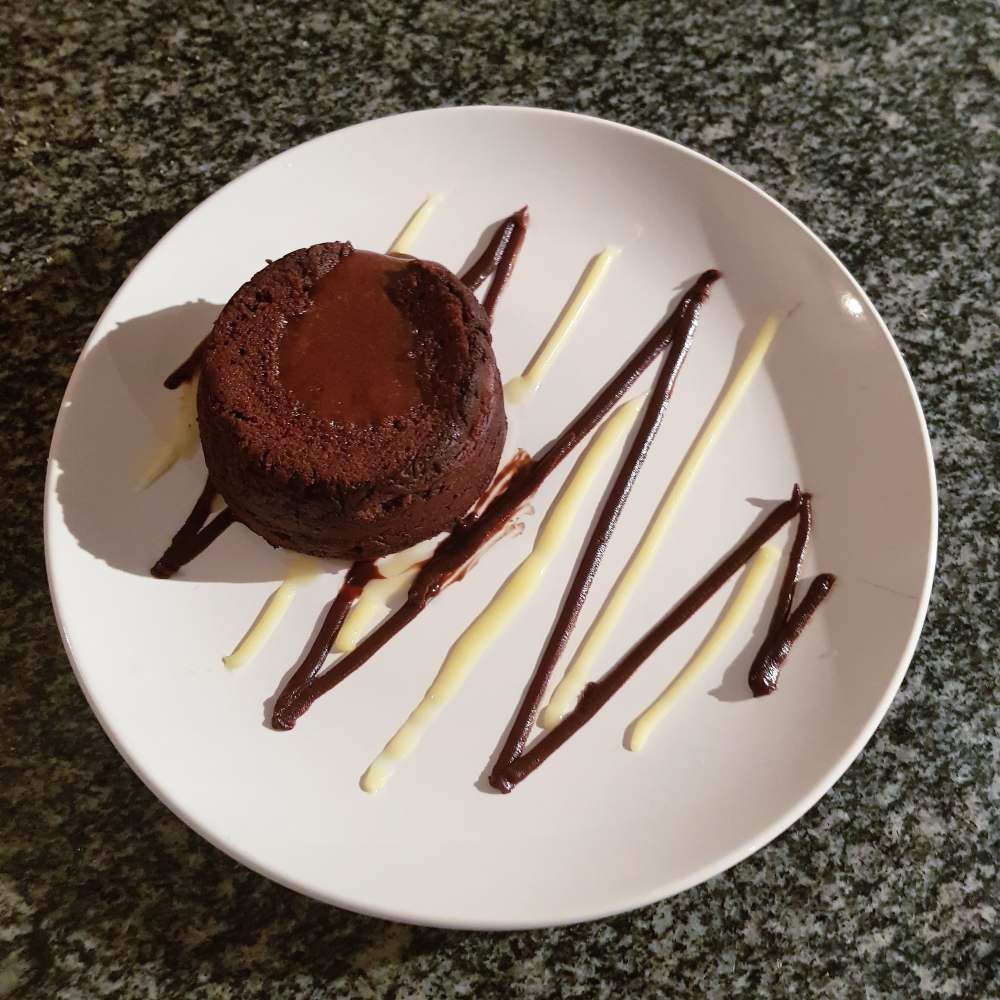
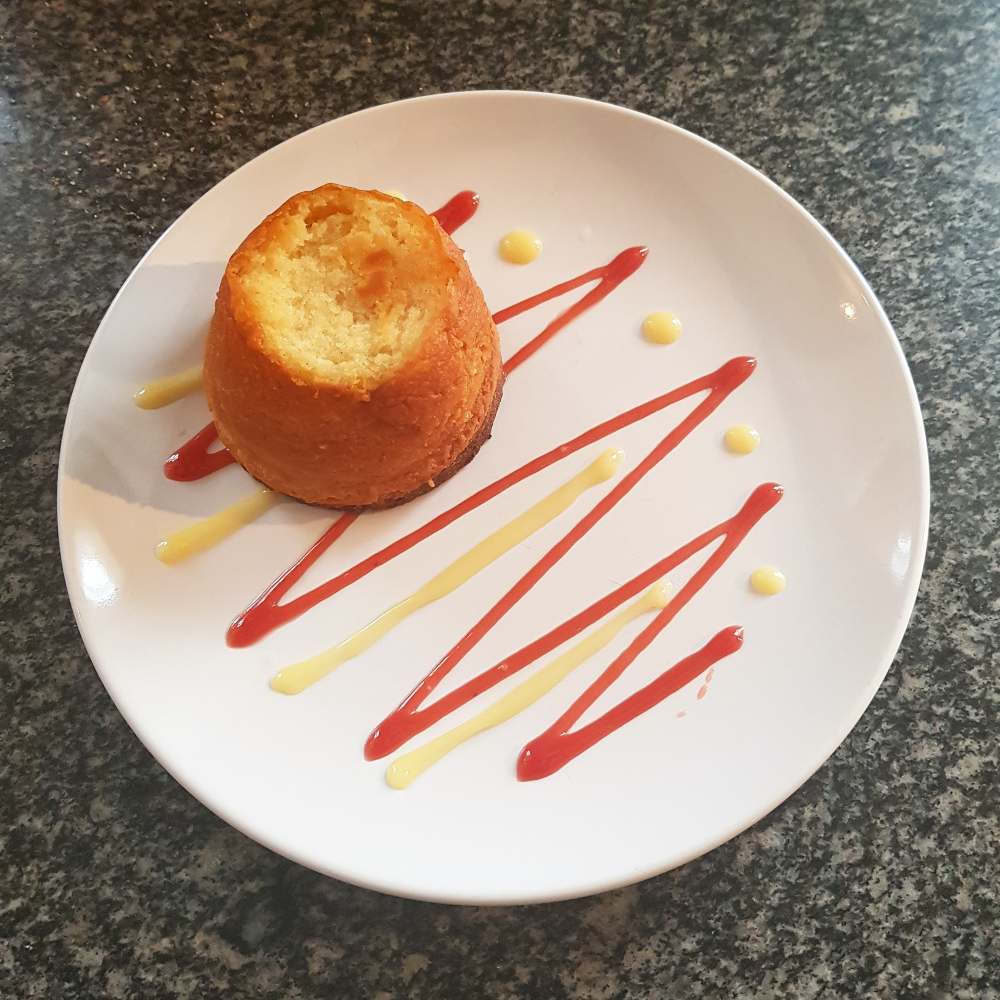
A hot, gooey chocolate fondant is one of the most indulgent ways to end a meal and, like many baked goods, they are not as hard to make as most people think. There is something exciting about cutting into a cakey looking dessert only to have a chocolatey soup pour out ready to act as a sauce to the rest of the pudding.
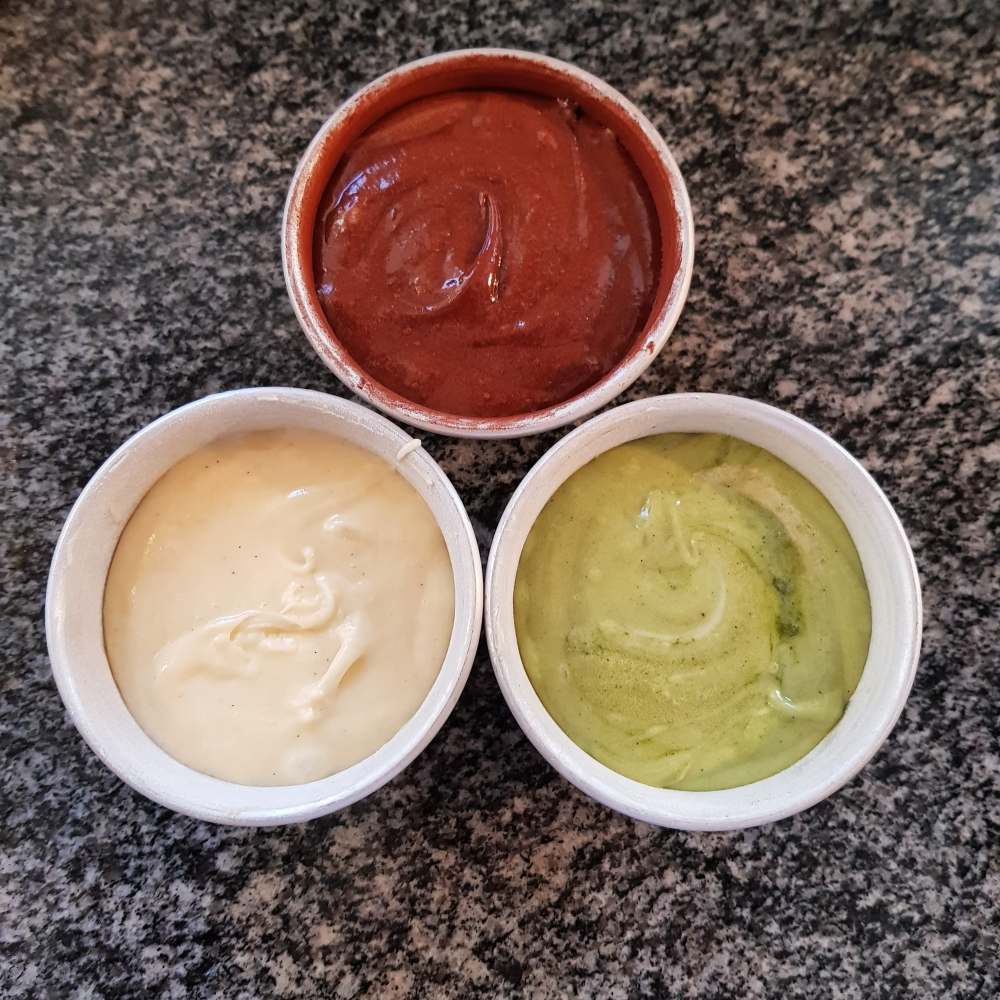
Although fondants and lava cakes are relatively recent desserts in the grand scheme of things, appearing in the last 50 years unlike cakes and cheesecakes which are hundreds of years old, they have become incredibly successful. Many high-end restaurants serve them and they are a staple in the home bakers’ repertoire. They can be flavoured with fruit, coffee, caramel and all manner of different things so you can mix and match to make them perfect for you.
Fondants, unlike lava cakes, are made by creaming butter and sugar before adding the eggs and flour and finally stirring in the chocolate. The high chocolate levels and low amount of flour make them dense and fudgy with a melt in the mouth texture. Perfectly cooked fondants will still ooze when they are cut but the centre is thick and viscous and incredibly rich. On the other hand, lava cakes are made by whipping eggs and sugar until thick before folding in melted chocolate and butter and finally the flour. This whipping gives the cake surrounding the centre a light and airy texture and the high butter content means the centre is super runny and flows out of the dessert when it is cut.
Lava cakes and fondants are ideal desserts for entertaining as they can be made up to two days in advance and stored in the fridge until needed when they can be whipped out and shoved into the oven just prior to serving. Even better is that as a result of the refrigeration, it takes far longer for the centres to set so you are much more likely to get the runny centre you desire which looks so impressive on the plate.
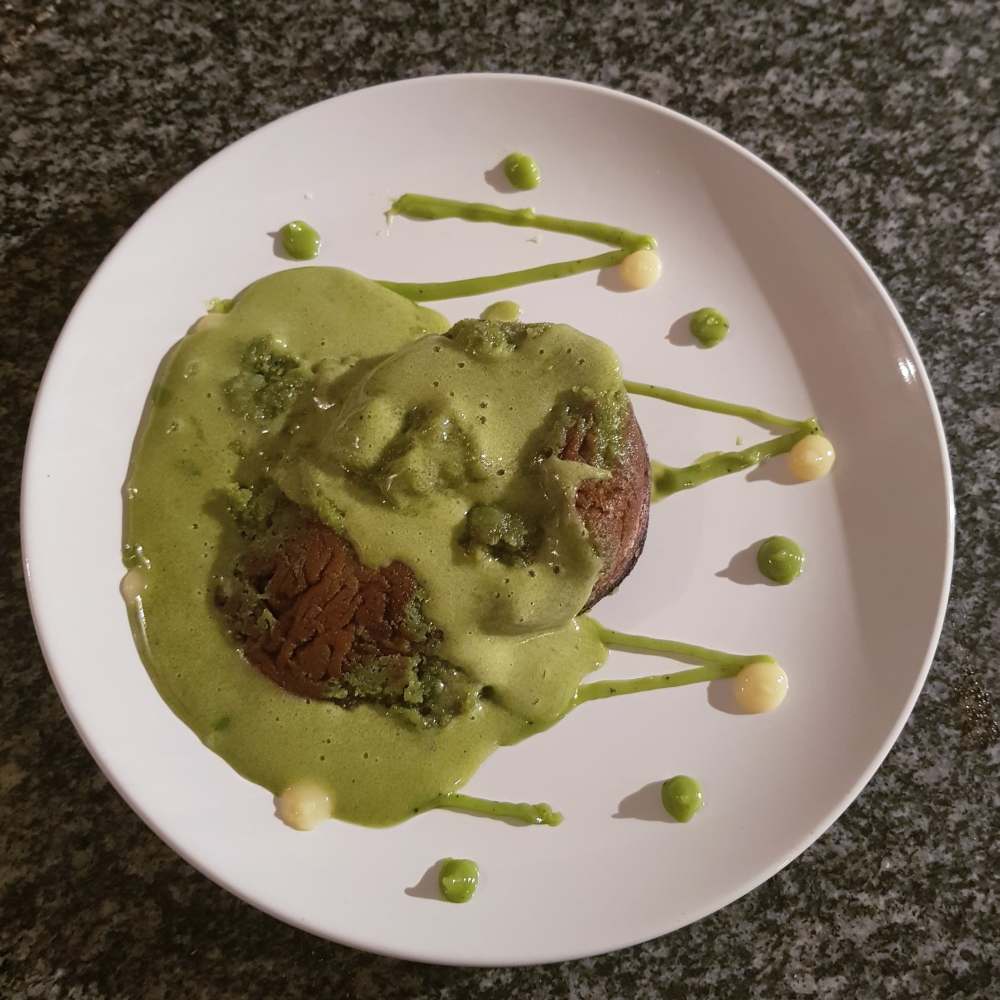
Perfecting the chocolate fondant is a matter of trial and error. If they split when you turn them out of their ramekins, try cooking them for a little longer and if they are solid all the way through, reduce the cooking time a bit. The hard part comes if they start to burn during baking as can happen in some ovens with white chocolate and green tea desserts. The best way to avoid this is to place a little foil over the top of the fondant but it must be loose to allow the dessert to rise in the oven! Using a combination of these changes will allow you to get to know your oven’s preferred baking requirements for fondants and lava cakes.
These are so easy to whip up in a hurry – it only takes ten minutes and then the oven does the rest of the work. They are a personal favourite of mine and hopefully will become one of yours too!
Chocolate Fondants
Makes 3 cakes
Prep time: 10 minutes
Cooking time: 12 minutes
180g dark/white chocolate
25g butter
75g sugar
1 tsp Vanilla extract
2 eggs
30g plain flour
1 tsp matcha green tea (this is only for green tea fondants and you should use white chocolate for these)
Place a baking tray into the oven and preheat the oven to gas mark 6 (200oC).
Line the base of three ramekins with small circles of baking parchment and butter and flour the sides.
Melt the chocolate in the microwave stirring every 20 seconds to prevent it from burning. Set this aside once it is done.
Cream the butter in a bowl and slowly add the sugar until they are combined.
Add the vanilla to the butter and sugar and beat again.
Add an egg and a tablespoon of the four and beat until everything has mixed together. Repeat with the other egg.
Add in the rest of the flour and beat together.

(If you wish to make green tea fondants, add the matcha powder at this point and mix it through the rest of the batter)
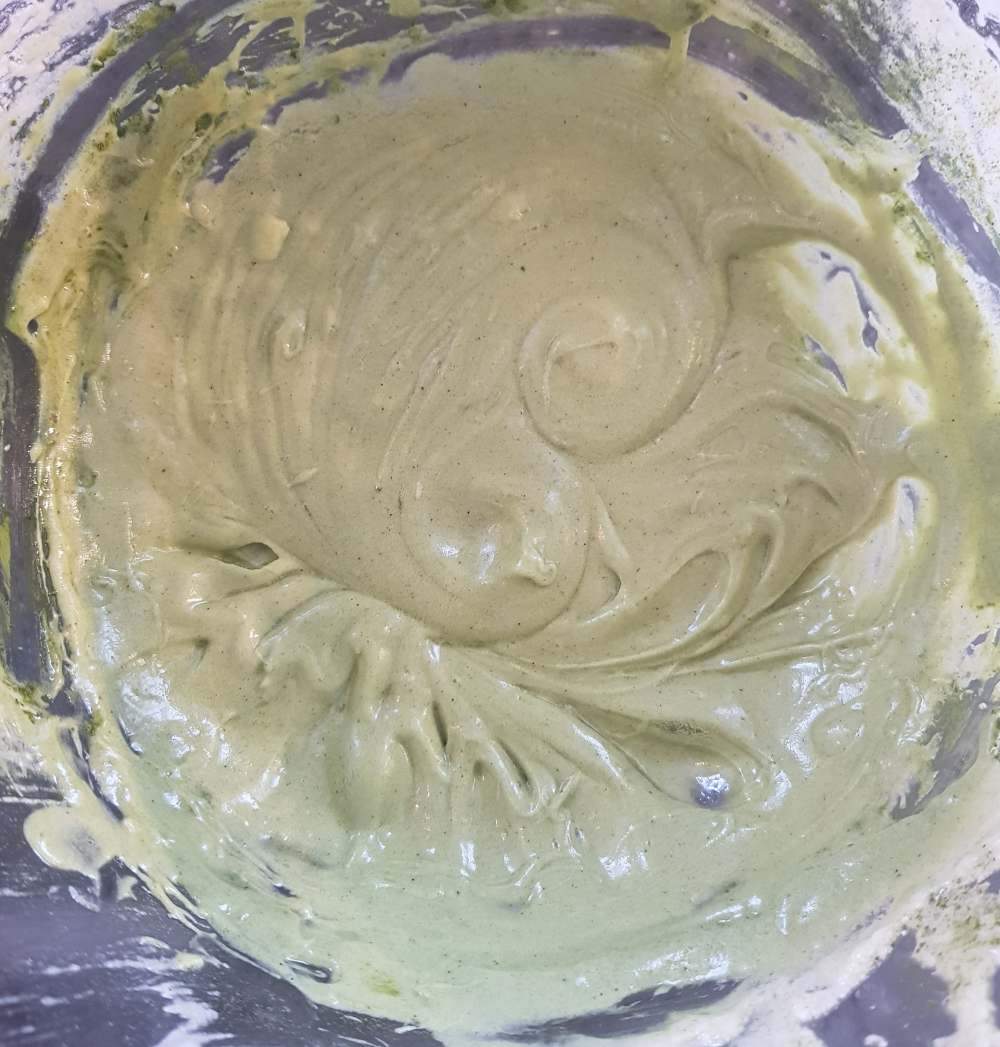
Pour in the slightly cooled chocolate and mix through – the chocolate should be a little cool to the touch but not have started to set.
Divide the batter between the ramekins.
Bake for 12 minutes in the centre of the oven on the preheated tray. This will help ensure that the top of the fondants is fully cooked so they are less likely to split.
To turn them out onto a plate, run a knife around the inside edge of the ramekin. If the knife comes out with liquid filling, place the ramekin back into the oven for another two minutes. This is very important or the cake part with stick and the whole pudding will fall apart.
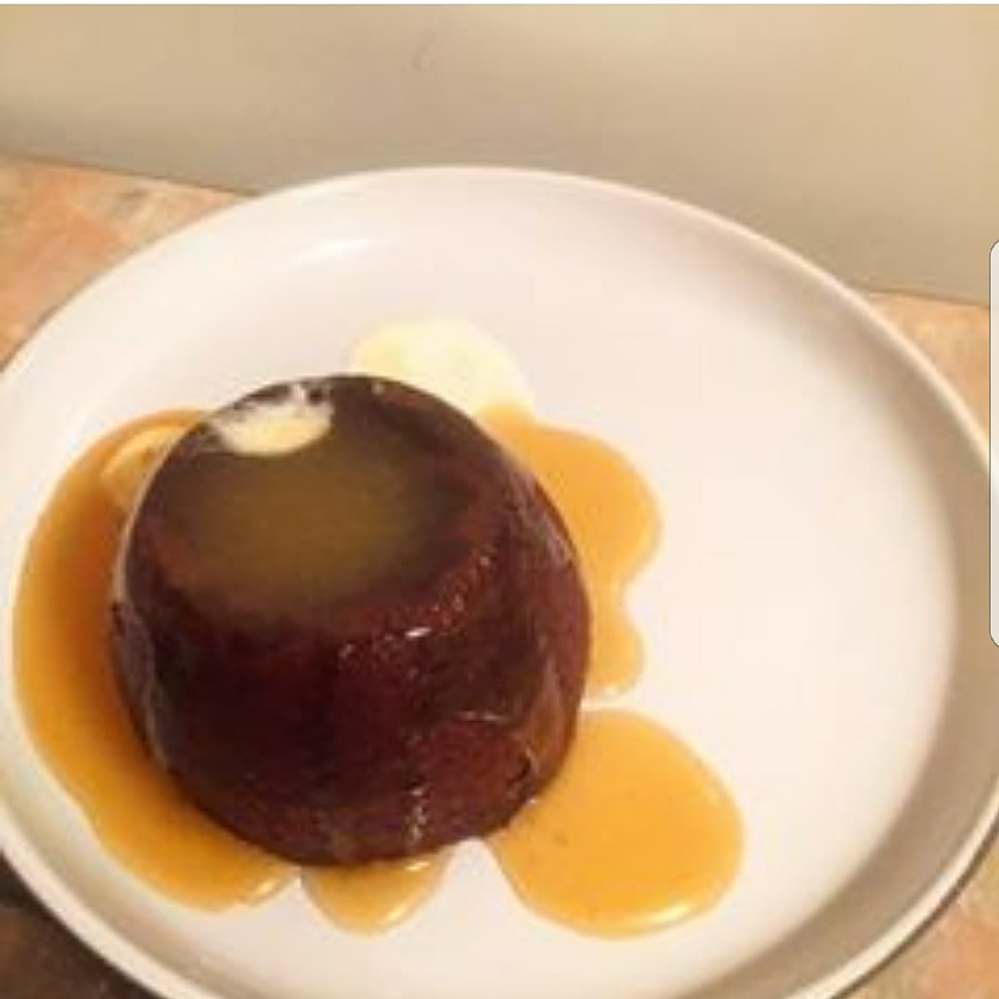
serve immediately with ice cream, double cream, salted caramel sauce or anything else of your choice – the possibilities are endless!
I have discovered that to get the perfect melty centre, you need to make these a couple of times to get used to the oven as the cooking time can increase or decrease depending on the oven that you use.
I hope you enjoyed the recipe. If you fancy making a slightly less rich chocolate dessert, have a look at my recipe for a raspberry and white chocolate tart or if you are in the mood for a delicious main course instead, why not make a Thai curry? They are creamy and spicy and perfect to keep you warm over a cold winter (or at any other time of the year for that matter).
Have a good one and I’ll be back next week with a yummy vegetarian lasagne recipe.
H

Nice recipe
LikeLike