One of the essentials in the home baker’s arsenal is shortcrust pastry. This crumbly pastry is quick and easy to make and is so versatile that it can be used in almost any situation. From quiches to pies to tartlets and petite fours, shortcrust pervades the baking world.
Like most things in baking, shortcrust pastry is all about the ratios. Made with twice as much flour as fat, the basic recipe has barely changed in about three centuries. Butter, lard, shortening or full fat margarine are rubbed into flour and then bound with a small amount of cold water. The butter is rubbed in as opposed to being blended which prevents it actually mixing with the flour. The breadcrumb like result is actually tiny bits of flour surrounded by butter which helps prevent the build-up of gluten. This is also why the pastry is kneaded only enough to come together in a ball. If it were kneaded anymore, gluten would build up making the pasty case incredibly tough and unpleasant to eat. The technique also gives rise to tiny bubbles of butter which melt in the oven leaving lots of tiny holes causing the flaky nature of the pastry.
Many variants on shortcrust pastry exist and tend to be used for specific recipes. Sweetcrust is the most common, where a small amount of sugar is added after the flour and butter are combined and the mixture is bound by an egg yolk. This is used in a lot of fruit tarts, tartes au citron and other sweet treats. Chocolate shortcrust is also very popular for, unsurprisingly, chocolate tarts although sometimes, the pastry is used when the filling isn’t chocolatey and all the chocolate flavour comes from the cocoa in the crust.
For my recipe below, the pastry is baked blind before being filled. This is because the fillings are both set in the fridge as opposed to being cooked in the oven. Blind baking requires weighing the pastry down before it is partially cooked to prevent it bubbling up in the oven. The weight is then removed before the pastry finishes cooking so the base can gain a nice golden colour. Other recipes like Bakewell tarts, where the frangipane is baked after it is added to the tart, still require the initial partial bake as this helps prevent liquid from the filling being absorbed by the pastry and causing a soggy bottom.
The white chocolate mousse that I use is very light. It isn’t too strongly flavoured as white chocolate is exceedingly sweet and although it is paired with raspberries which are relatively tart, the main raspberry flavour comes from the raspberry caramel which is also very sweet. To avoid the tart being too sugary to eat, the white chocolate mouse is mild and the texture is light and fluffy which counters the cloying sweetness from below. Decorating the tart with fresh raspberries also helps balance out the flavours.
This tart is stunning to look at – as well as eat – and is sure to make an impact on anyone you serve it to!
Raspberry and White Chocolate Tart
Prep time: 1 hour
Cooking time: 30 mins
Resting time: 2 hours 30 mins
Total time: 4 hours
For the pastry:
225g flour
120g butter
1 tbsp caster sugar
2 tbsp water
Pinch of Salt
For the raspberry caramel:
200g raspberries (fresh or frozen and defrosted)
80ml double cream
280g sugar
2 tbsp glucose syrup (or another 20g sugar)
25g butter
For the white chocolate mousse:
200g white chocolate
300ml double cream (split into 100ml and 200ml portions)
Rub the butter into the flour until the mixture resembles breadcrumbs.
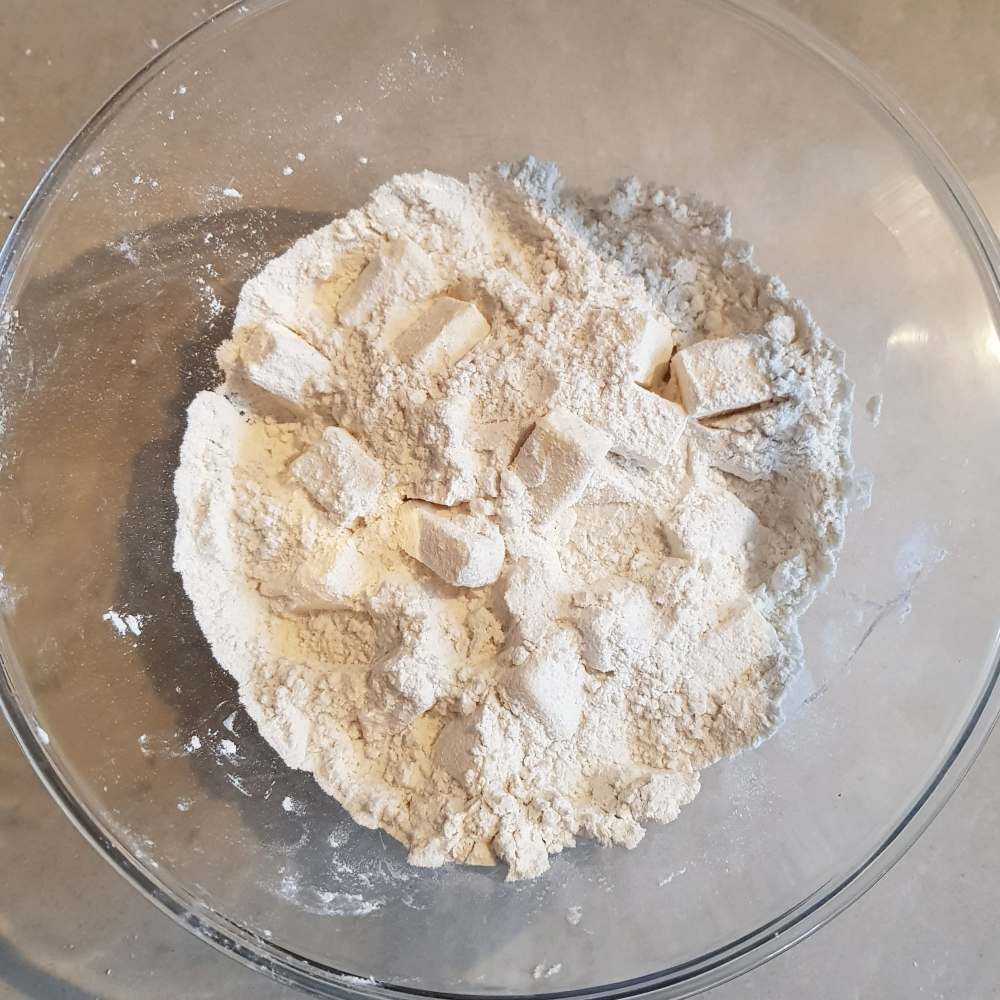
Stir through the sugar and a pinch of salt.
Make a well in the middle and add the water.
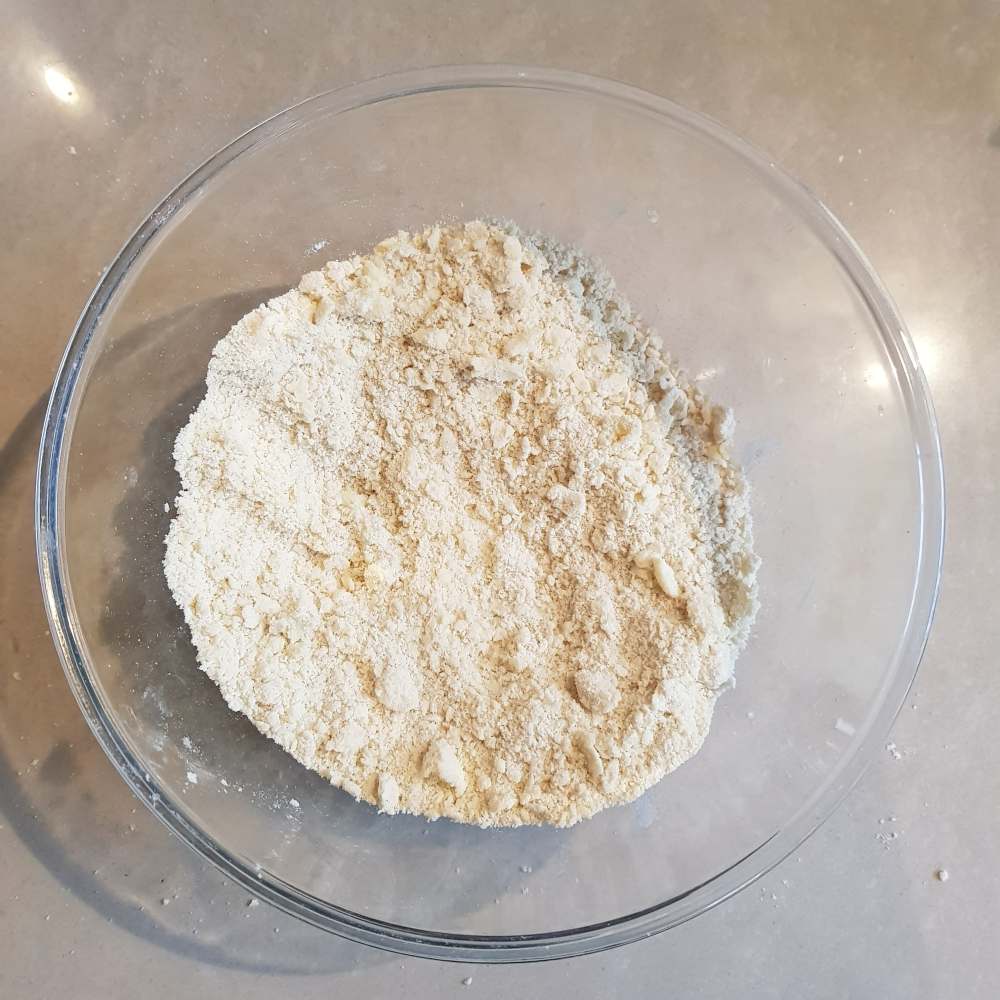
Mix together with a butter knife as much as you can and then pour the dough onto a cold surface and knead/squeeze it until all the little bits come together to form a homogenous ball.

Refrigerate for half an hour – you can reduce this to 15 minutes if you flatten the dough out so it has a larger surface area or put it in the freezer.
Roll out the dough to the thickness of a pound coin.
If you are using a traditional fluted tart tin (as I do in my chocolate and salted caramel tart), place the rolled out dough into the tin and make sure it is smoothed out properly.
If you would prefer to have vertical sides (which I would recommend for this recipe) so the tart is a bit deeper, cut around a 9 inch tin and place the resulting circle in the base of the tin.

Roll out the remaining dough again into a very long oblong and cut into either one strip an inch and a half in height and long enough to stretch around the inside of the tin or two strips which you can combine to make the sides of the pastry case.
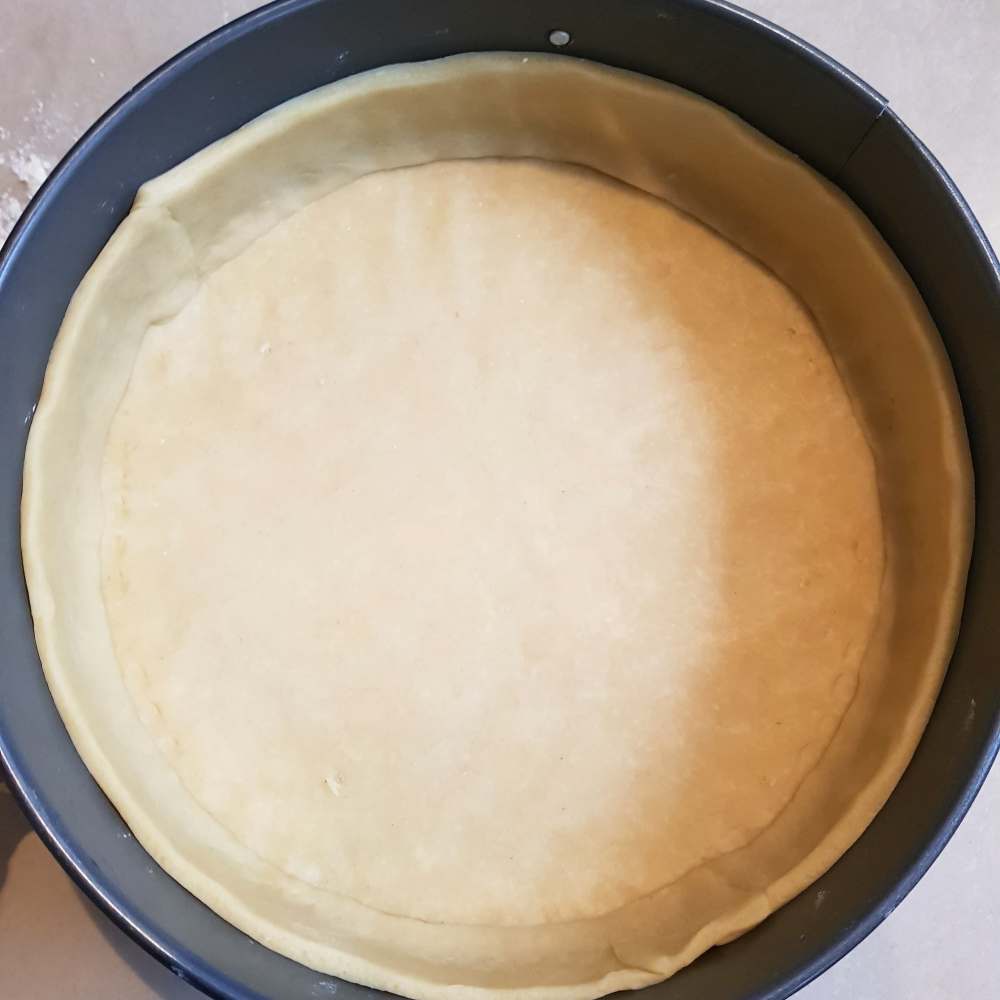
Wrap the long sheet of pastry around the inside of the tin and use a little water to seal it to the base.
Prick the bottom of the pastry case several times with a fork to prevent it from bubbling up while cooking and then place the pastry back in the fridge.
Preheat the oven to gas mark 5 (1900C).
Remove the pastry from the fridge. Place a layer of foil over the case and fill it with baking beads – if you don’t have these then you can use rice/beans/lentils or any other heavy dried food. Just remember if you use food instead of baking beads, the food will have to be thrown out.
Place in the oven for 15 minutes.
Remove the case from the oven and take the baking beads out of it before returning the case to the oven for a further 15 minutes so it fully cooked.
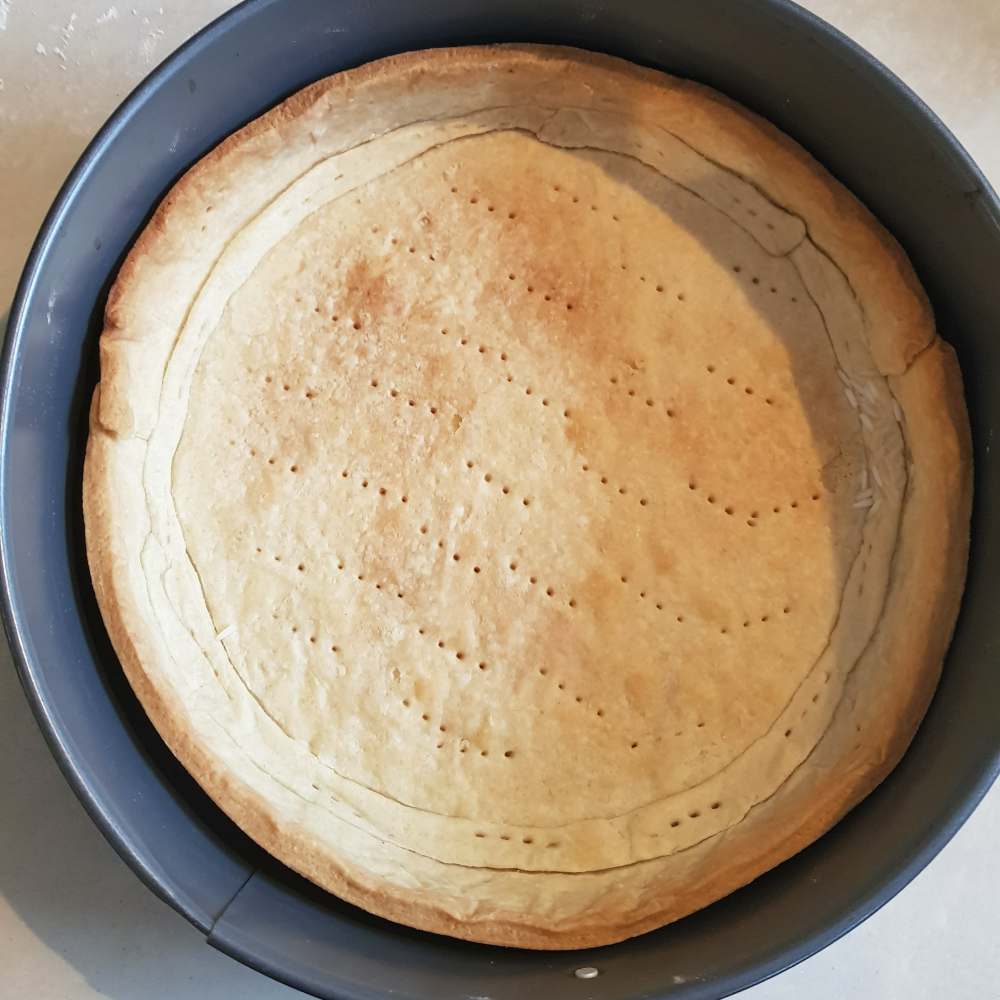
Remove the pastry from the oven and leave it in the tin!
To make the raspberry caramel, blend the raspberries with the cream – if you don’t have a blender, you can use a potato masher.
Strain through a mesh sieve and use a spoon to push as much of the cream through the sieve as possible leaving only a little raspberry pulp behind which can be discarded – you should have just under a cup of raspberry cream.

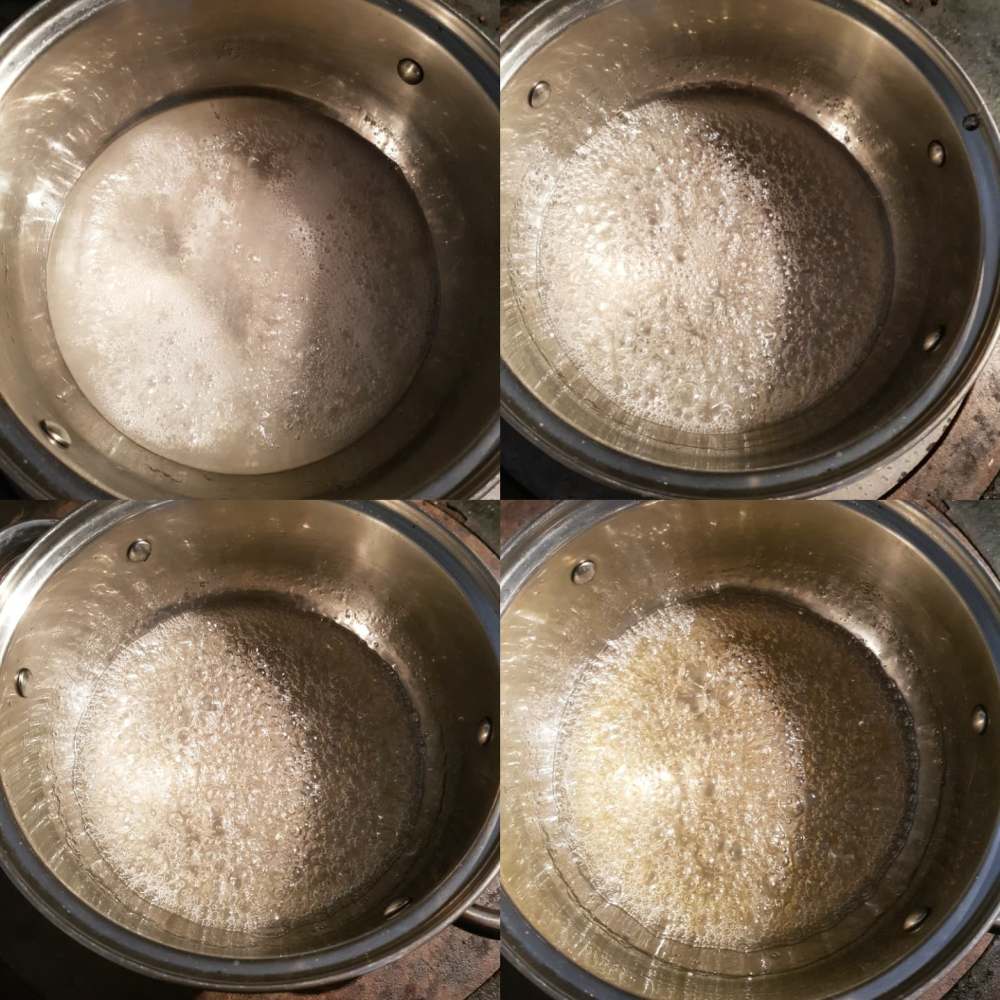
Place the sugar, glucose syrup and a quarter of a cup of water into a pan.
Place this on a high heat and stir until the sugar has dissolved.
Allow the sugar to boil unstirred until it reaches a dark golden colour.
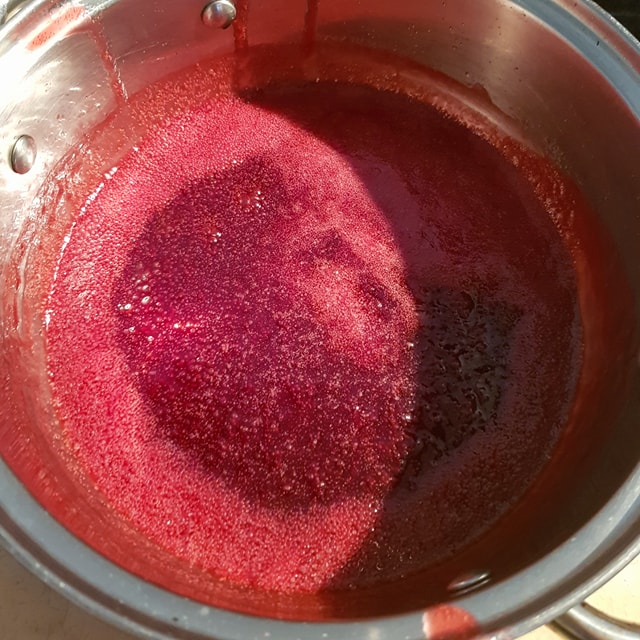
Pour the raspberry cream into the sugar. BE CAREFUL as this will boil rapidly, steam a lot and possibly splatter a little.
Stir the cream through and add the butter.
Boil this for another three or four minutes to make sure the caramel will set properly.
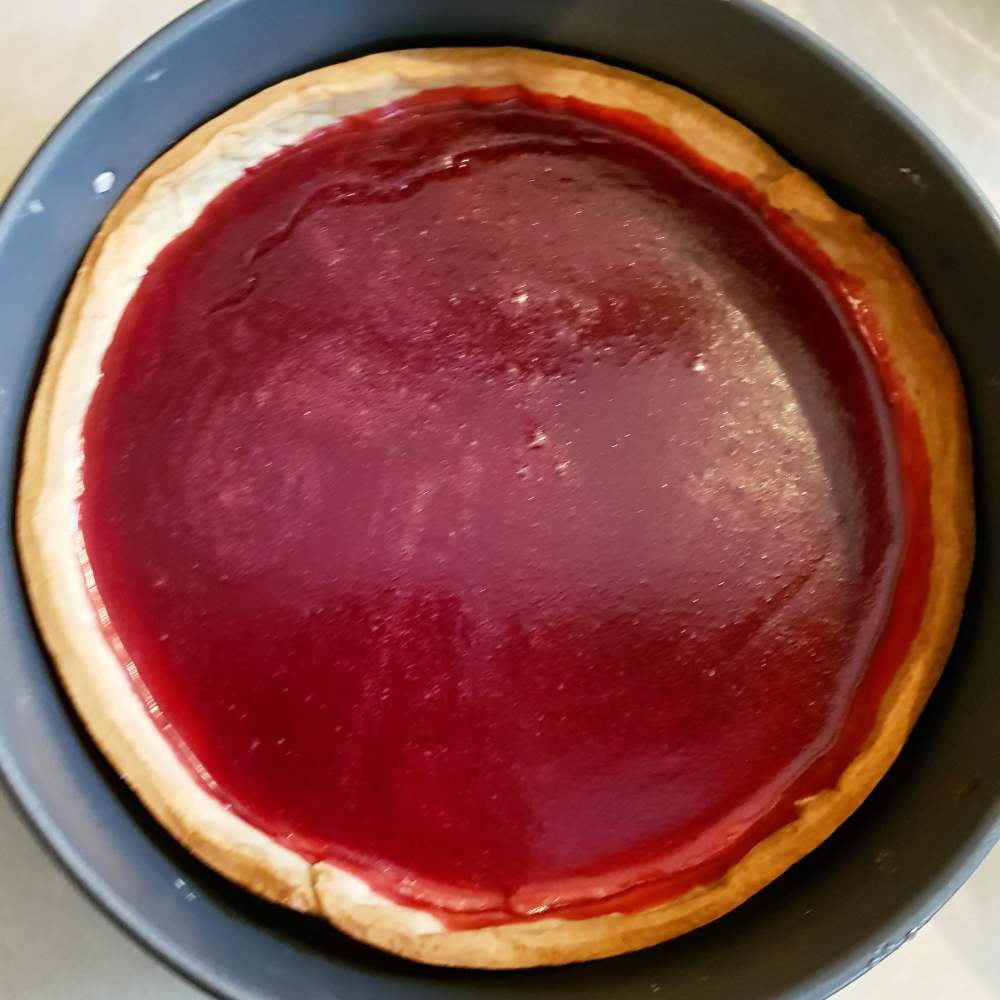
Pour the caramel into the pastry until it comes half way up the case. You can reserve a couple of tablespoons of this for decoration if you wish.
Place this in the fridge for at least an hour or two before you make the white chocolate mousse.
To make the white chocolate mousse, break the white chocolate into a heatproof bowl with 100ml of cream.
Place this in a microwave to melt the chocolate stirring at 30 second intervals. Stop when there is still a little solid chocolate left as you do not want this mix to become too hot and the latent heat in the melted chocolate will be enough to ensure the rest of it melts.
Whip the remaining double cream and fold this into the white chocolate mix.
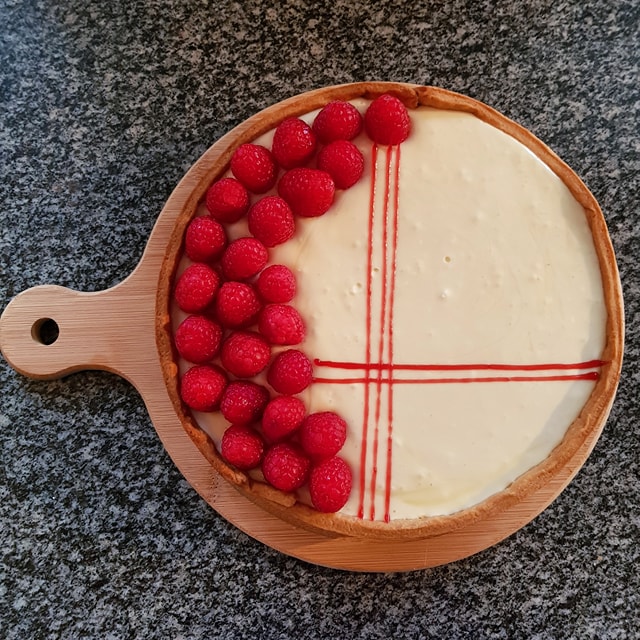
Pour this into the tart until it fills the pastry case and place in the fridge for at least two hours to set.

Using the reserved caramel from earlier, pipe lines across the surface of the tart and decorate with fresh raspberries for a professional finish.
This tart is delicious and the perfect way to round off a meal.
I hope you

Beautifully done my friend! Great work (:
LikeLike
I absolutely love the look of this tart!! It sounds so delicious 😀
LikeLike