Biscuits are my Achilles heel when it comes to baking. They always seem to come out too soft or absolutely rock solid. Luckily, this recipe turns out well almost every time; you just have to be patient when letting the dough rest in the fridge – something I struggle with.
Having been around since the Roman era in one form or another, I feel that it is safe to say that biscuits are one of the oldest types of confectionary out there. Because they kept so well without going off, biscuits were very popular on long distance travels both by horse and on ships. These biscuits were made of just water and flour (sometimes with a little salt) and would be baked several times to ensure they were completely dry – the name biscuit arising from the Latin words bis and coquere meaning twice cooked. Often, they would have to be dunked in brine or tea to make them soft enough to eat! This level of dryness always strikes me as impressive because biscuits soften as they get older so the method of storage would have had to be pretty airtight to prevent the food spoiling over a long voyage which is quite an achievement over 2000 years ago.
One of the most interesting things about biscuits is how they age. This is also one of the main differences between a biscuit and a cake: stale cake goes hard but stale biscuits go soft. This distinction was one of the major factors in the McVitie’s vs HMRC case in 1991 in which the nature of the Jaffa cake was discussed in court to determine whether it was a cake or a biscuit. The argument arose because chocolate covered biscuits are charged at 20% VAT while chocolate covered cakes are not. After a lengthy case – in which McVitie’s baked a giant Jaffa cake to try and prove their point – the court ruled in their favour meaning, for tax purposes, Jaffa cakes are considered cakes.
The premise for chequerboard biscuits can be applied to many different designs. This gives you the chance to get creative. Pinwheels, where you place two rolled out colours of dough on top of each other and roll them up, are a classic. I even made music notes a few years ago. The trick is building the design out of one colour before packing around it in another colour and then slicing the dough to reveal the pattern on each biscuit.
Good luck!
Chequerboard Biscuits
Makes: around 30
Prep time: 45 mins
Rest Time: 2hr 30 mins
Cook time: 10 mins
Vanilla Biscuit Dough:
250g butter (room temperature)
125g icing sugar
250g flour
1 egg (separated)
1 tbsp vanilla extract
Pinch of salt
Chocolate Biscuit Dough:
250g butter (room temperature)
125g icing sugar
50g cocoa
200g flour
1 egg (separated)
1 tbsp vanilla extract
Pinch of salt
To make the vanilla dough:
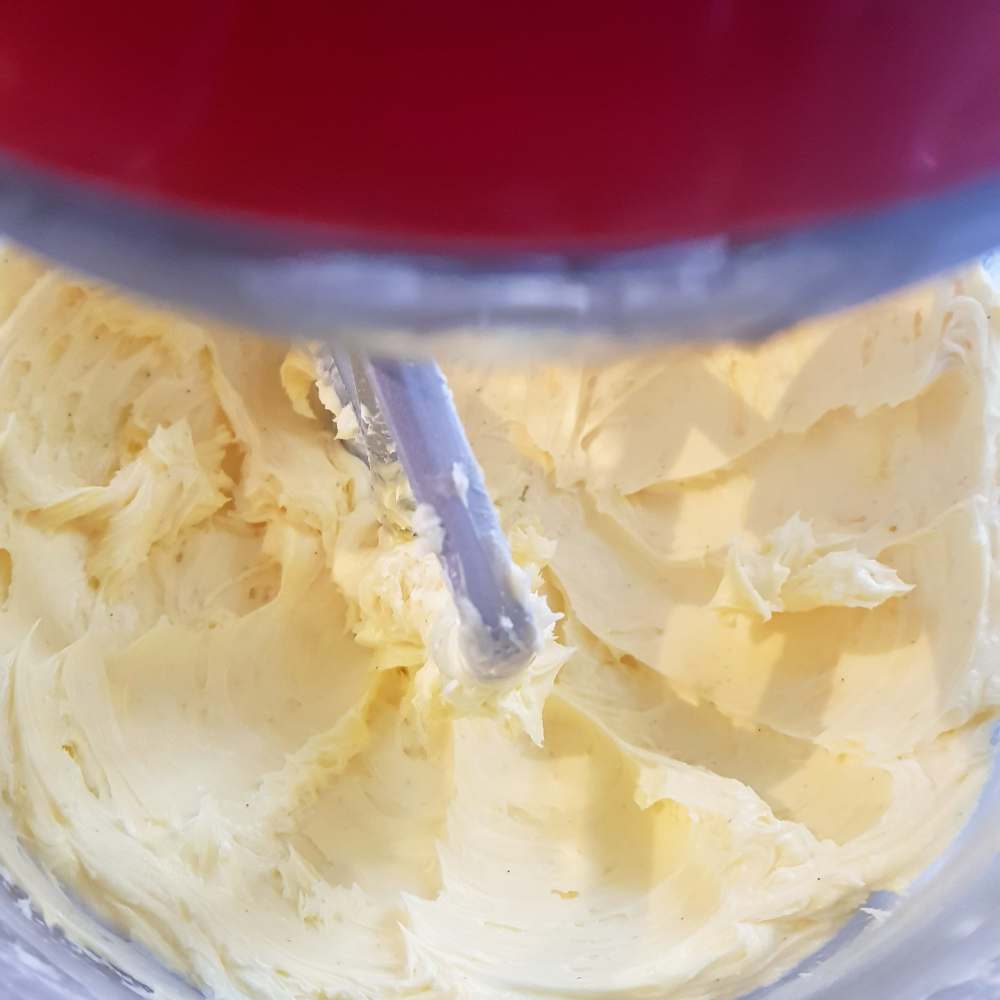
Beat the butter until it is soft and pale.
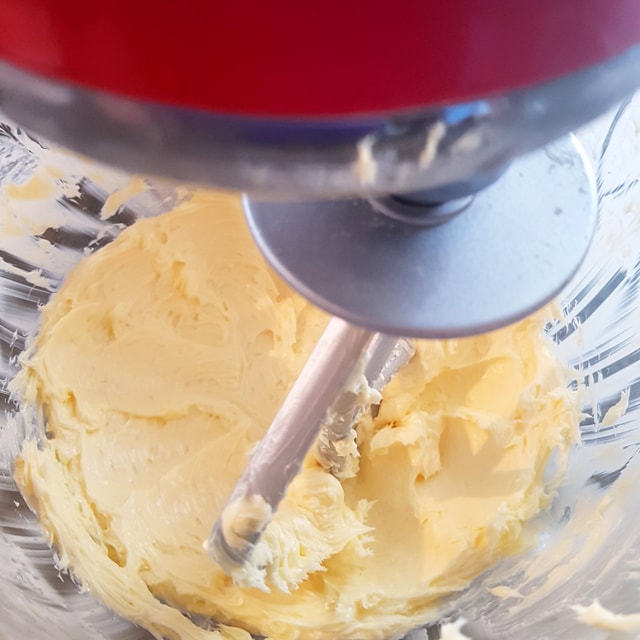
Add the icing sugar and the salt and beat until the mix is light and fluffy.
Mix through the vanilla extract and the egg yolk. Reserve the white for later when you are going to assemble the biscuits.
Add the flour in two additions and beat until just combined.
Form into a ball, wrap in cling film and place in the fridge for an hour or until firm.
To make the chocolate dough:
Repeat the instructions above but add the cocoa at the same time as the vanilla and egg to ensure it is fully combined.

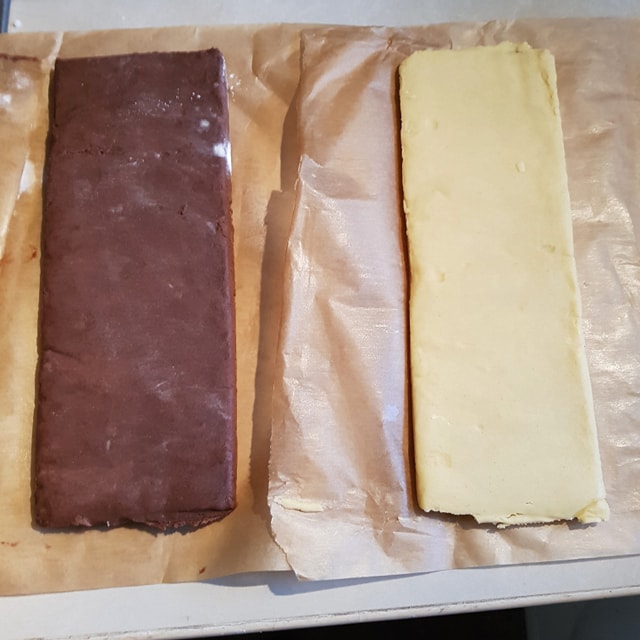
Once the doughs have hardened, roll each one out into a rectangle 12 x 6 inches (30 x 15 cm) and leave them for another half hour in the fridge.
Remove the dough from the ridge and divide each one up lengthwise into 9 even strips.
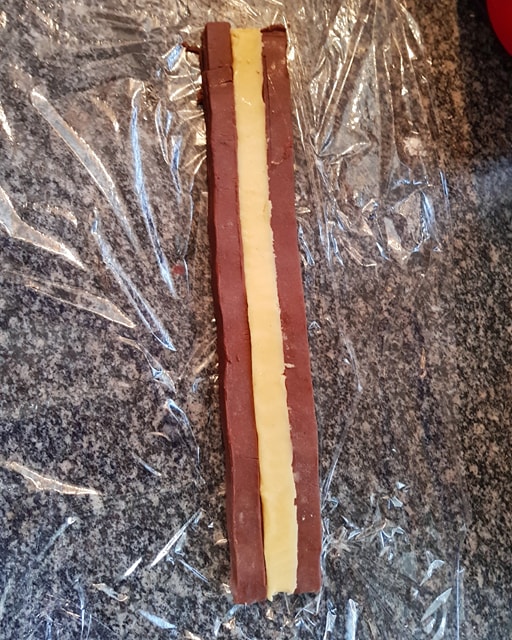
To assemble the biscuits, place a strip of cholate dough onto a piece of cling film.
Brush one side of it with the reserved egg white to help the different pieces stick together.
Align a piece of vanilla dough with the chocolate one and press them lightly together (we will press harder later to fully stick the biscuits together but you don’t want to deform the dough at this point).
Brush the vanilla dough with egg white and add another strip of chocolate next to this.
Once the base layer is complete, brush the top with egg white and repeat with more strips of dough, alternating the colours, until you get a three by three block.
Tightly wrap this in cling film and then use a flat tray to lightly press down on the top to seal the dough strips together. Rotate the dough onto a different side and repeat. This will also help get sharp edges.
Repeat the above steps with the remaining dough (five strips of vanilla and four of chocolate) to get another log with alternating colours to the first.
Place both of these into the fridge for an hour to firm up fully before slicing.
Preheat the oven to gas mark 3 (1600C).
Line two baking trays with parchment paper.
Remove one log from the fridge and slice it into quarter inch pieces (around 7 mm).
Place these onto a baking tray leaving about an inch and a half (around 4 cm) between them for the biscuits to spread in the oven.

Bake for ten minutes.
Remove the biscuits from the oven. They will still be soft so slide the parchment off the baking tray and leave the biscuits to cool for five minutes to firm up a little before moving them onto a cooling rack to cool completely.

If you only have two baking trays like I do, slice up the dough and place it onto baking parchment on the counter top so when the tray comes out of the oven, you can slide the baked biscuits off it, run the tray under cold water to cool it down, slide the raw biscuits onto it and then bung it back into the oven.
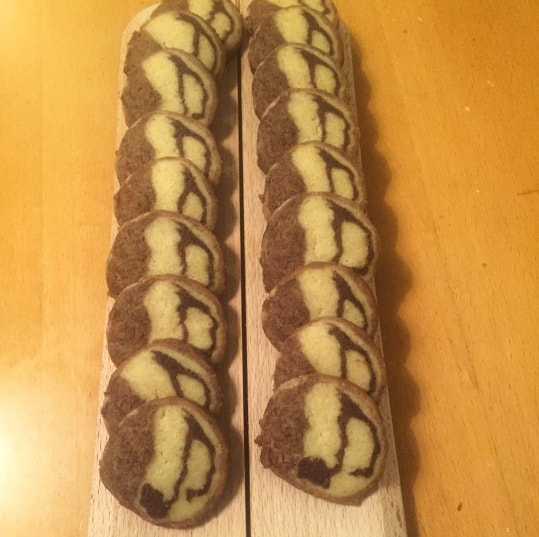
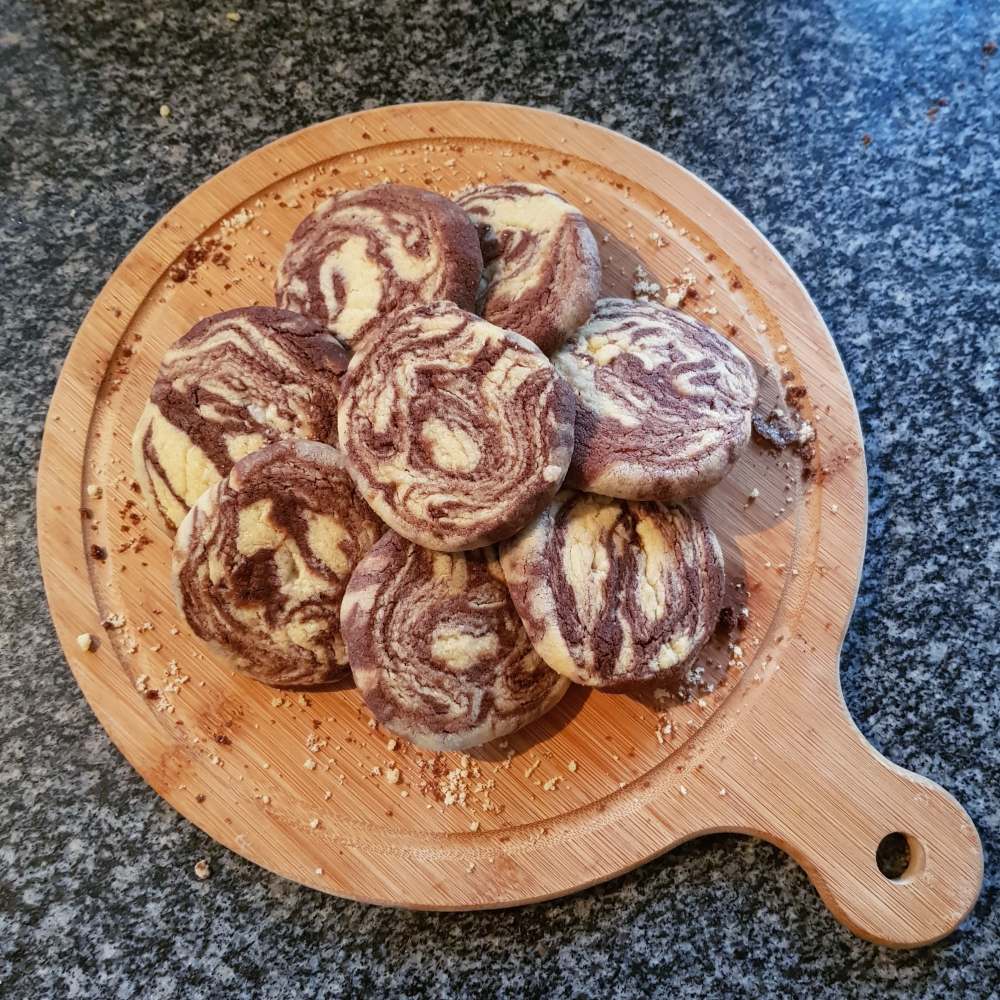
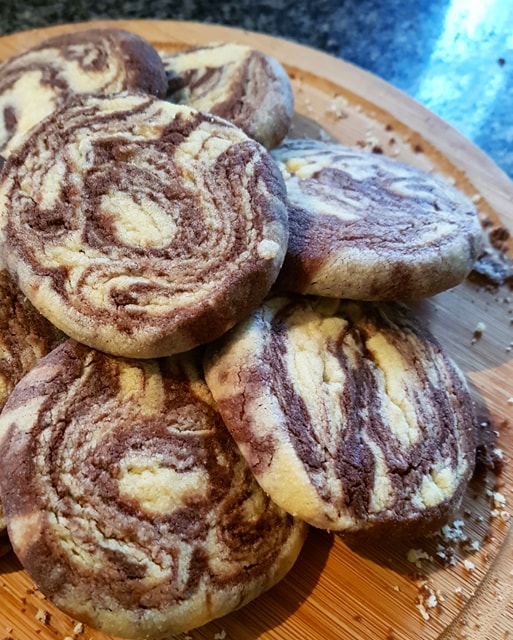
If the chequerboard design doesn’t turn out well or everything falls apart as sometimes can happen, you can always squish the two doughs together and make marbled biscuits. Just make sure to squeeze them into a long round log and cool it before you start to slice the biscuits so you don’t deform them!
I hope you enjoyed the recipe. If you fancy something of the more cakey variety, check out how to make a delicious, moist carrot cake or if you want a meal instead of a sweet treat, why not make yourself a luxurious smoked salmon risotto.
Have a good one and I will be back next week with a recipe involving hot water crust pastry.
H

One Comment Add yours