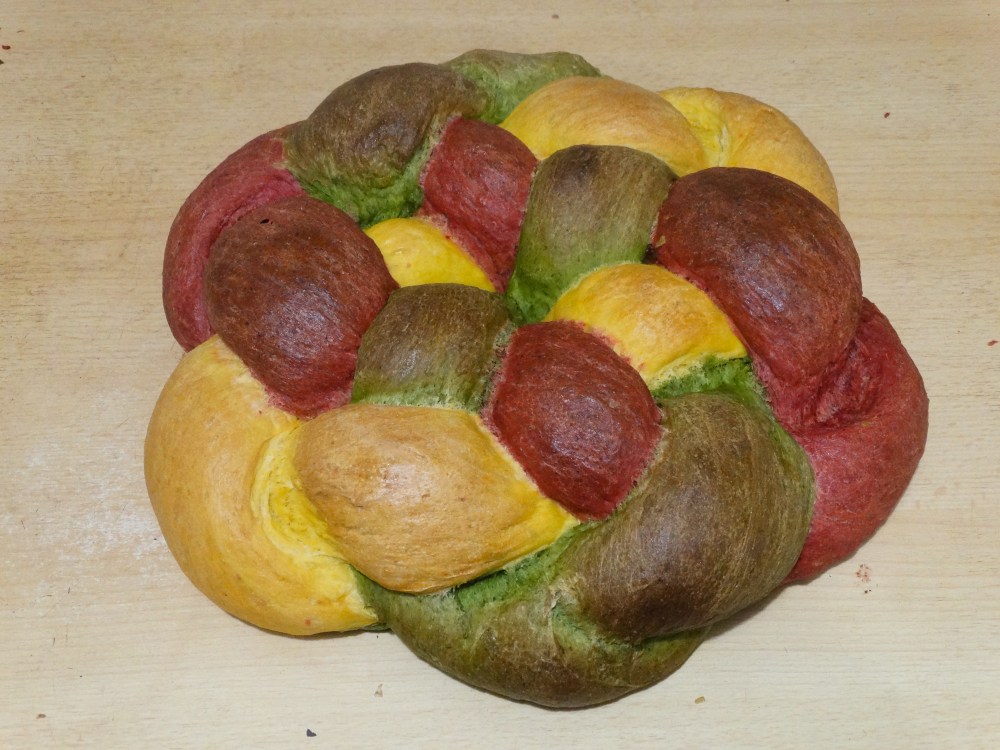
A few years ago, I came across a method of plaiting challah which created a circular braid. It was incredibly exciting as this was not a plait that I had ever seen before and the final shape is really something to behold. It’s stunning. Somehow, it looks even better than the bread you can buy in a shop as it is clearly handmade but is precise and beautiful. Fast forward three years and a vegan friend requested that, instead of a birthday cake, I make her a loaf of bread. At the time I was creating my artisan vegetable loaves recipe, which I suggest you try before this one as this recipe is a little fiddly. (That being said, if you want to just go for it- why not? Even if the braid doesn’t work, you’ll still have a really cool loaf of bread.) This recipe is what I came up with for her birthday as I didn’t want to just do a bog-standard loaf of bread.
Challah is an enriched bread eaten by Jews as part of the Shabbat meal. There are many theories about why it is plaited. Traditionally, two loaves are served and each one has six stands. This brings us to the number twelve (the total number of stands) and this is often taken to represent the twelve loaves of bread which would be offered at the Holy Temple. This theory holds water as the number twelve comes up in lots of different shabbat bread traditions. Some families will actually have twelve mini loaves of bread whereas others will have a tear ‘n’ share style loaf with twelve separate sections. I will make an instructional post about how to braid a six-strand loaf of bread at some point in the future.
Another suggestion for the braiding is to make the challah instantly recognisable. As it is often baked in the oven with a meat meal, the challah is not kosher to eat with any dairy products; to prevent anyone inadvertently doing so, the challah was given a unique shape. This reasoning is less necessary now as people who buy challah need not worry if the bread is kosher to eat with meat or milk, it is parve (classed as neither milk nor meat and thus allowed to be eaten with both). If you make your own challah, you will have most likely considered the ‘meatiness’ of the bread already if it is something which concerns you.
As you will see in the recipe, different amount of sugar are added to the different vegetable doughs. The spinach dough has one teaspoon added and the carrot, half a teaspoon. This is because the vegetables all have different sugar contents which will affect the rise of the dough. By adjusting the levels manually, we can ensure an even rise when the dough is proving which is important if we want the final loaf to keep its shape.
I hope you find the recipe as fun to bake as I found to create. You can swap the vegetables for any of your choice or even just try out the six braid on normal bread. This loaf is also good to egg wash but be careful not to let the egg pool in the divots as no one wants scrambled egg baked into their bread.
Tricolour Vegetable Bread
Prep: 1 hour
Shaping: 30 minutes
Cooking: 40 minutes
Ingredients – makes two loaves
900g flour
1 small beetroot
150g spinach
1 medium carrot
3 teaspoons instant yeast
1 ½ tsp salt
1 ½ tsp sugar
Peel and roughly chop the beetroot.
Blend it with a few tablespoons of water until a mostly smooth paste is formed – it will still be a little gritty as the beetroot is raw so will not puree as well as a cooked one would. This is fine as the beetroot will cook in the oven and blend into the bread.
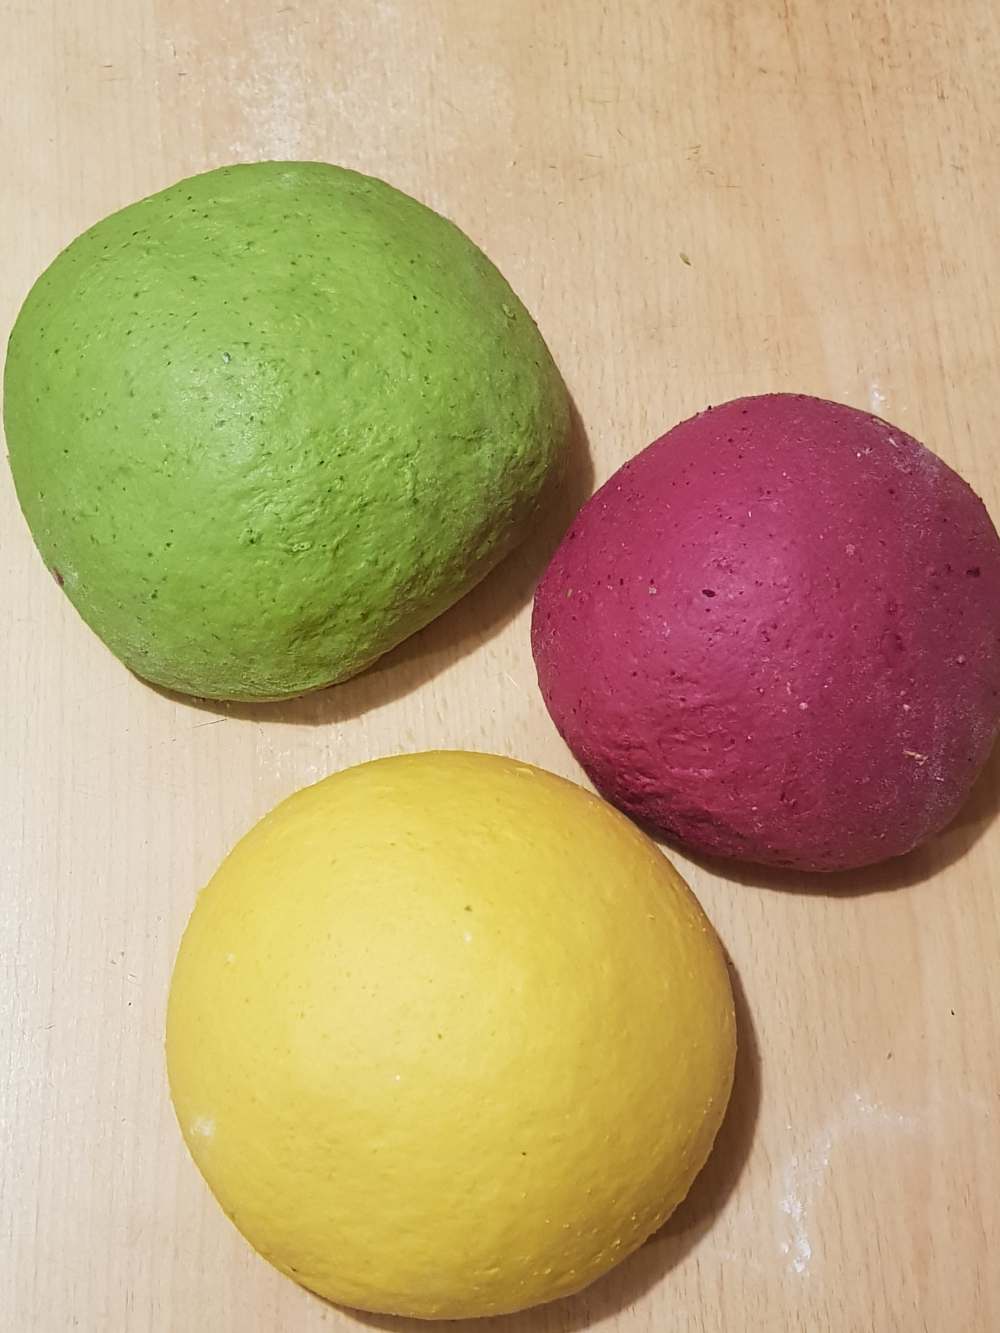
Set this paste aside and repeat with the carrot and then the spinach so you have your three colours of vegetable paste.
In a bowl, place 300g flour, 1 teaspoon yeast and ½ teaspoon salt.
Make a well in the middle.
Add water to the beetroot mix until you have 200ml and pour it into the well.
Mix with a wooden spoon until the dough comes together. If you need to, add more water.
Once the dough has mostly come together, tip it out onto a surface and knead it for five minutes until the dough is smooth and elastic. Remember, the beetroot will ensure that it is never fully smooth on top.
Cover and place to one side to rise.
Repeat the above steps with the spinach paste (adding one teaspoon of sugar to this) and the carrot paste (adding half a teaspoon of sugar).
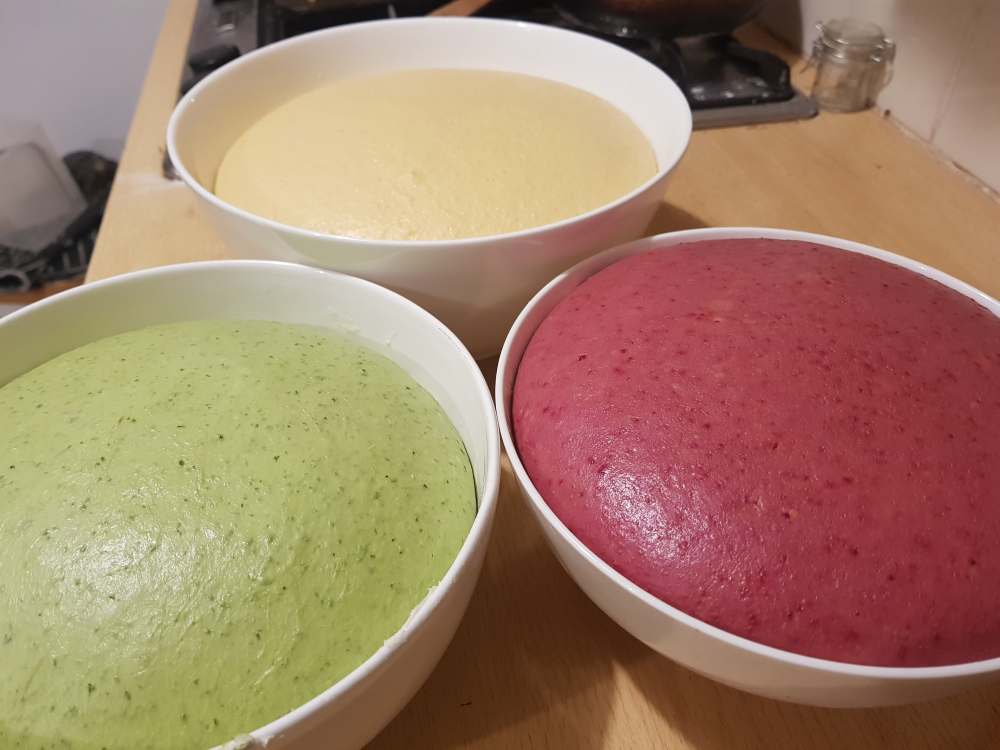
Leave the doughs until they have at least doubled in size – this can take several hours if it is a cold day.
To shape: split each dough into four even pieces and place two of each colour off to one side for later.
Roll out the dough into long stands – I normally go for around twelve inches.
Follow the diagram below to set up your basket weave.

Once you reach step five where all of the stands are in place, number them starting with the top left one and go clockwise around the loaf.
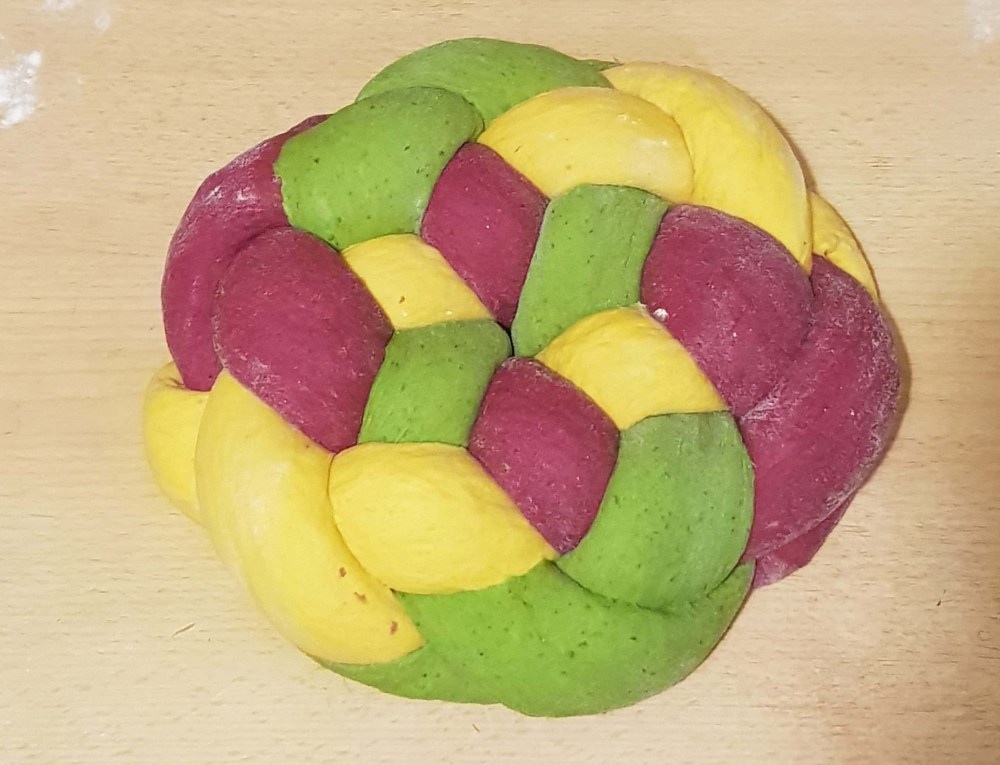
Place strand 1 over 2, 3 over 4, 5 over 6 etc. until all of them have had their first weave and the loaf looks more like the final image (albeit a little neater).
Renumber the strands.
Place 3 over 2, 5 over 4, 7 over 6 etc. until you get all the way around.
Renumber and repeat from the first weaving step until all the dough has been used up.
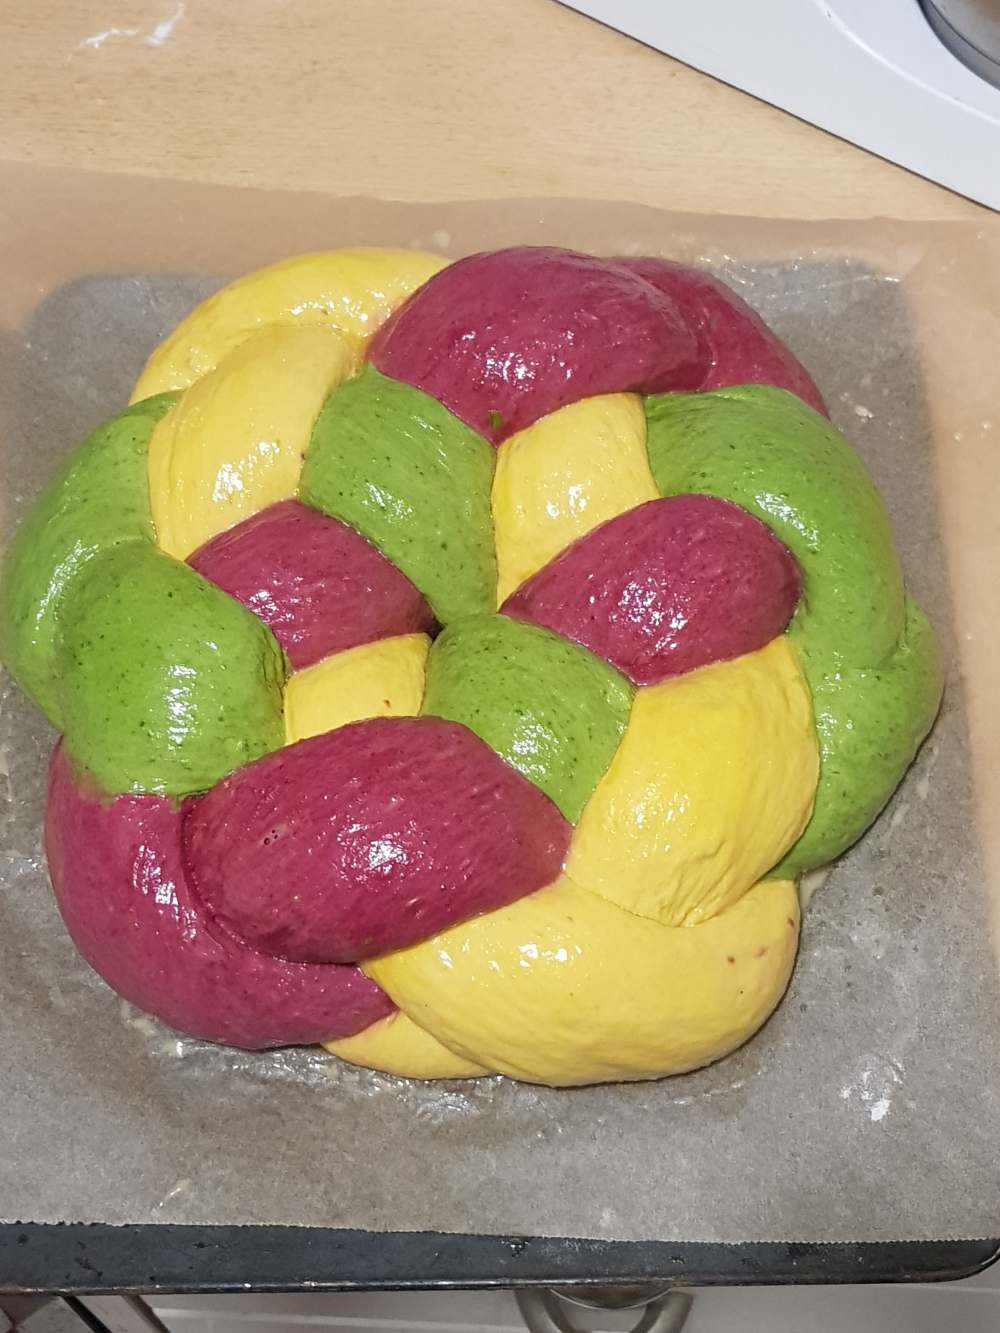
Once there are no bits of dough left on the outside, tuck any remaining edges under the loaf to neaten it up and move the loaf onto a baking tray to rise again.
Repeat with the other loaf
Cover the loaves and leave it until they have doubled in size again – I like to cover them with a tea towel as there are no issues with it sticking which can sometimes arise if you use plastic.
Once the loaves have doubled in size, turn the oven to gas mark 6 (200°C).
When the oven is up to temperature, uncover the loaves and bake for 20 minutes. Turn them and bake for another 20 minutes.
If the bread is still not quite done after the full 40 minutes, give it another five but otherwise, remove it from the oven and leave on a cooling rack until completely cold. If you want to cut into it as soon as possible, leave it for at least two hours to ensure the interior won’t be doughy.
If your oven is small, you may have to bake the two loaves separately – this is fine.
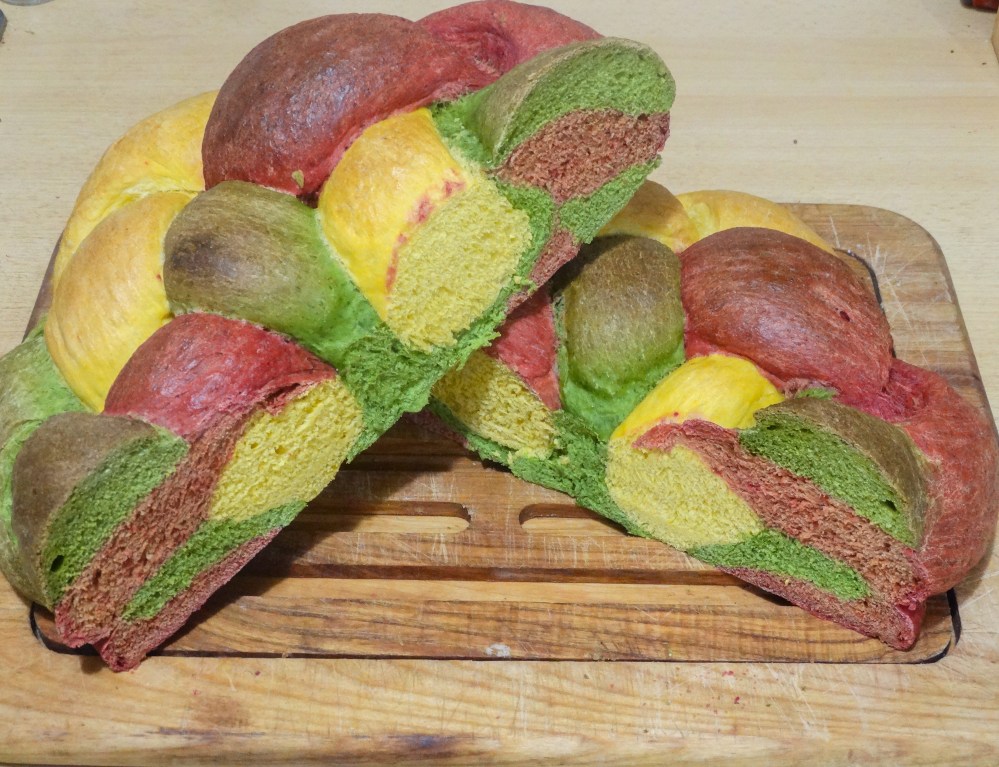
I hope you enjoyed the recipe. This bread is wonderfully savoury and goes very well with soups or even toasted and smeared with a little bit of pesto. If you enjoy baking bread, why not try making bagels? They look amazing and taste delicious!
Have a good one an I will be back next week with a recipe for a rich Christmas cake – just in time for Christmas eve (although I hope you are planned and ready by then.
H
