Puff pastry has achieved a reputation as one of the hardest baked goods to master. I would argue that this is unfair: what puff pastry needs is not skill but patience (and a fridge…. and time). If you follow the instructions and let the pastry cool properly between each fold you can achieve a perfect result every time.
One of the most interesting things about puff pastry is the question of why it puffs up. Why does this pastry puff but others, such as shortcrust pastry, do not? The answer is the same as it is for choux pastry, the only other pastry designed to expand dramatically in the oven: steam. The water added at the beginning evaporates in the heat of the oven. This creates tiny pockets of steam inside the pastry. The butter introduced to the pastry during the folding process creates a miniscule barrier between each layer of dough and this allows the steam produced to lift the layers above it ever so slightly. The effect of the rise is small but when you have over 100 layers, it adds up to a rise that can triple or even quadruple the height of the pastry.
Puff pastry should be cut with the sharpest knife possible or, if you are using biscuit cutters, you must push them down directly. The reason for this is that, if you don’t cut the edge of the shape evenly, the steam can escape from some areas before it raises the pastry whilst other places will puff up as usual leading to an uneven rise. This is also why the edges of the pastry, where the butter is sealed in before the rolling and folding begins, should be incorporated into the dough as soon as possible. They have no butter layer so if they are baked in the oven, these edges will not rise.
While making puff pastry, it is imperative that you allow adequate time for the pastry to rest in the fridge between folds. This gives the butter time to cool down. When you roll out the pastry both the ambient heat of the room and the increase in pressure from the rolling pin heat the butter and, as it warms up, it starts to be absorbed by the flour. If the butter isn’t cooled regularly, it will melt into the pastry and you will lose all the layers you have spent hours trying to create. Not only that but pastry cannot cope with a 1:1 ratio of butter to flour and the butter will melt in the oven, the pastry will collapse/slide off/ liquify resulting in both a mess and a lot of wasted time.
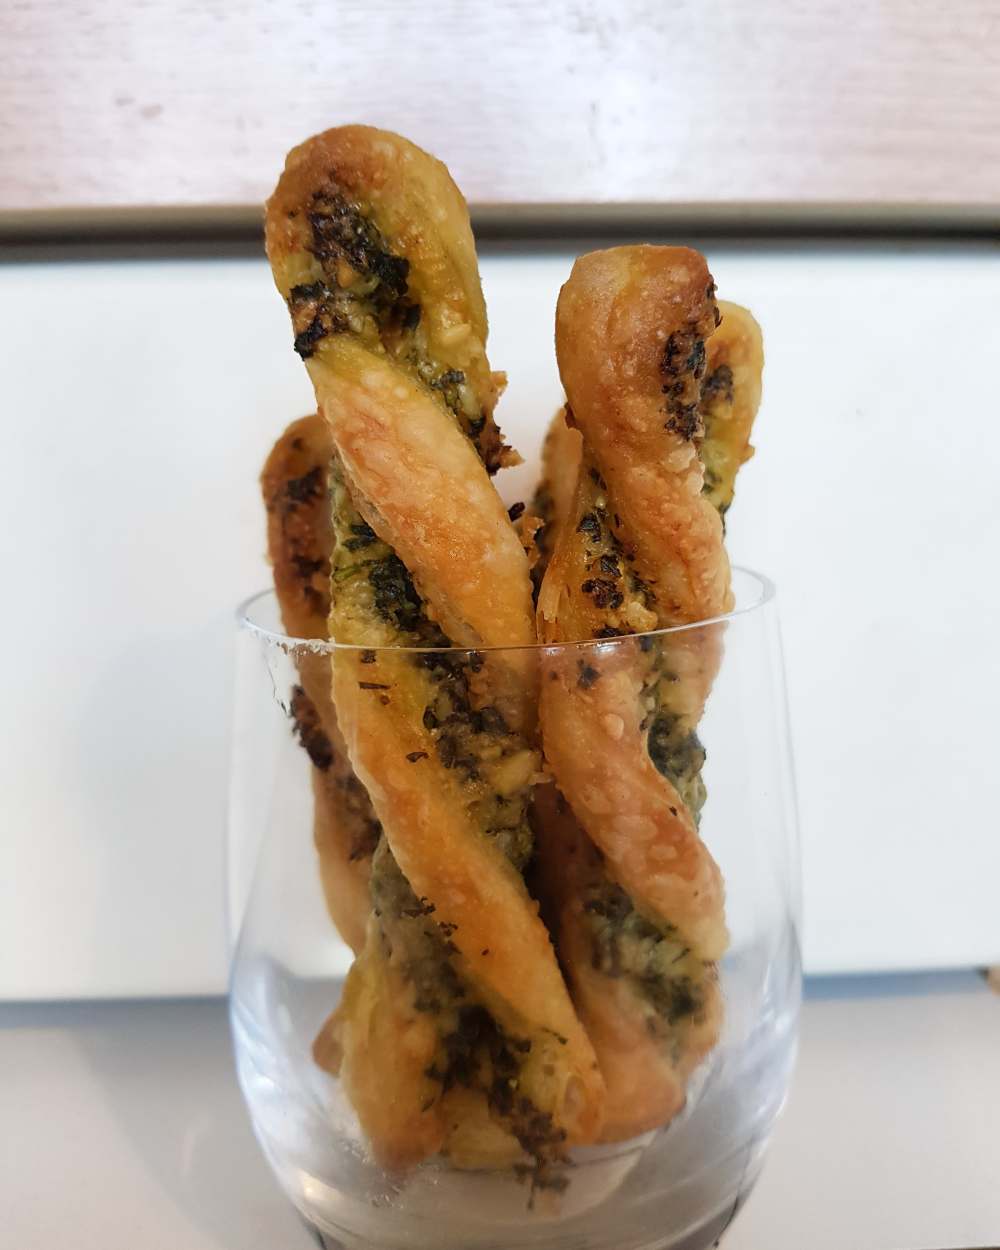
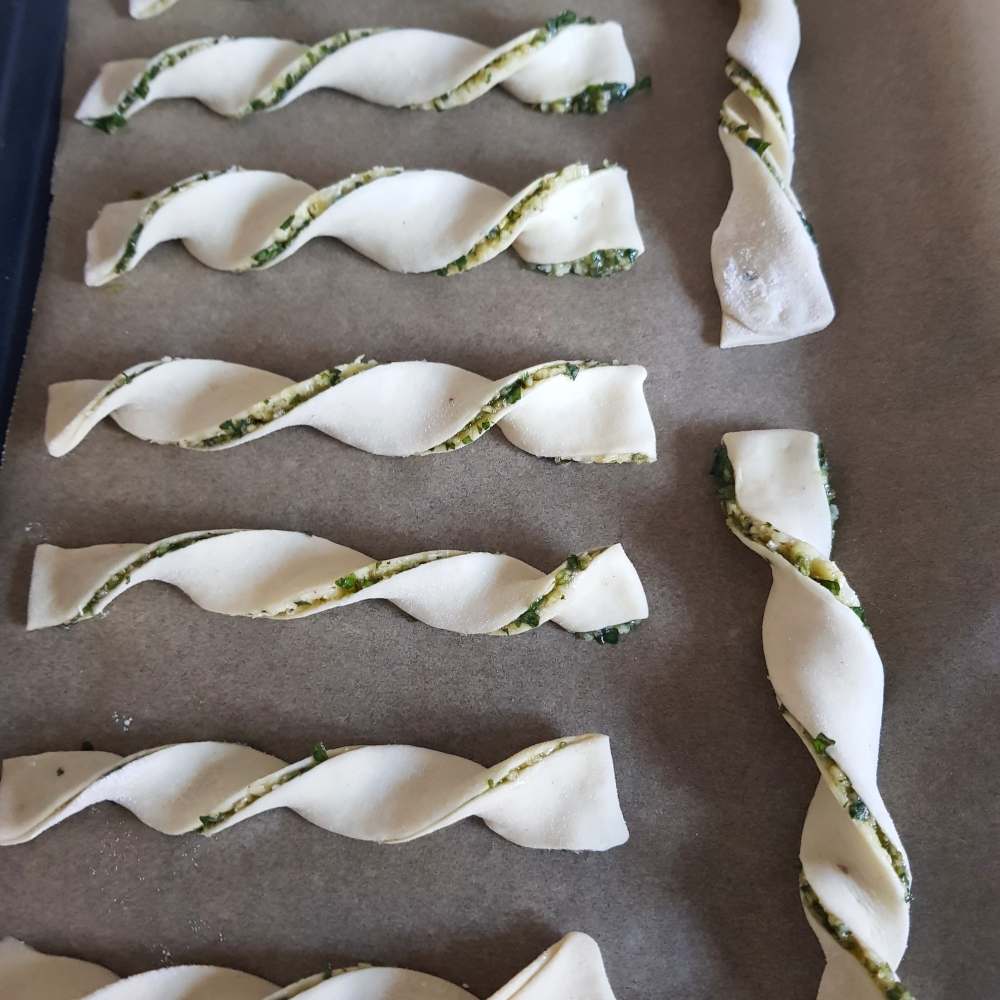
The most basic things you can make with puff pastry are, in my opinion, cheese straws and palmiers. For cheese straws, you grate a large quantity of cheese over the rolled-out pastry, fold it in half (once), roll it out again, and cut into straws which can then be baked. For palmiers, replace the cheese with granulated sugar and, after you have rolled out the pastry with the sugar layer, roll it up from opposite ends into two spirals which come together to make a heart. Slicing with a sharp knife results in lots of identical, sugary hearts which are delicious to eat and beautiful to behold as you can see the layers of the pastry properly.
I hope you will discover how easy puff pastry really is to make and once you have made it for the first time, you can go and buy it from the shops because no one has time to make this stuff regularly. It is very much a special occasion type of food.
Puff Pastry
Work time: 30 mins
Rest time: around 5 hours
Ingredients:
250g plain flour
225g unsalted butter (fridge cold)
150ml water
Pinch of salt
Sift the flour into a bowl.
Sprinkle in the salt, stir through and make a well in the centre of the flour.
Pour the water into the well and mix with a spoon until the basic dough begins to come together.
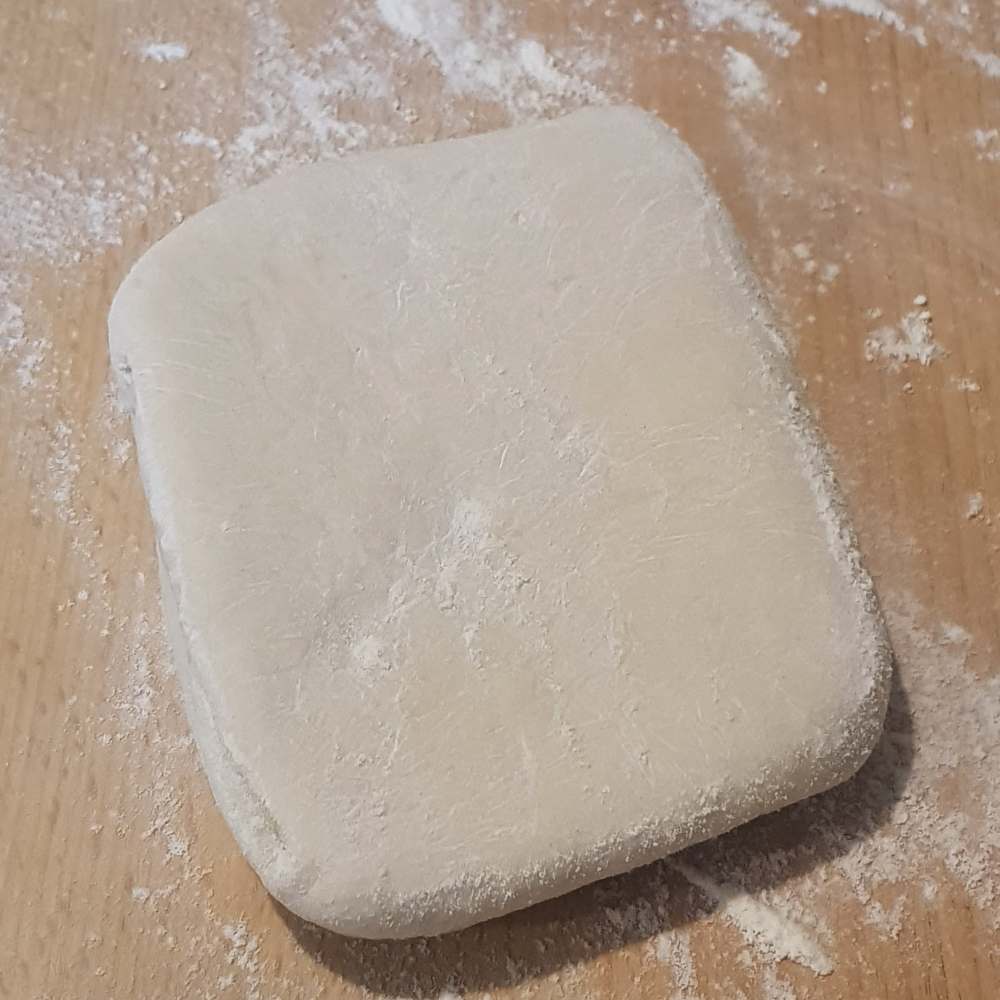
Tip out onto a table and knead for about five minutes until a smooth dough has formed.
Wrap the dough in clingfilm and leave to rest for 20-30 minutes so the gluten can relax.
While the dough is resting, place the butter between two sheets of baking parchment and bash/roll it out to a rectangle 20x15cm (8”x6”). Wrap it up and place it back into the fridge to firm up while you deal with the dough.
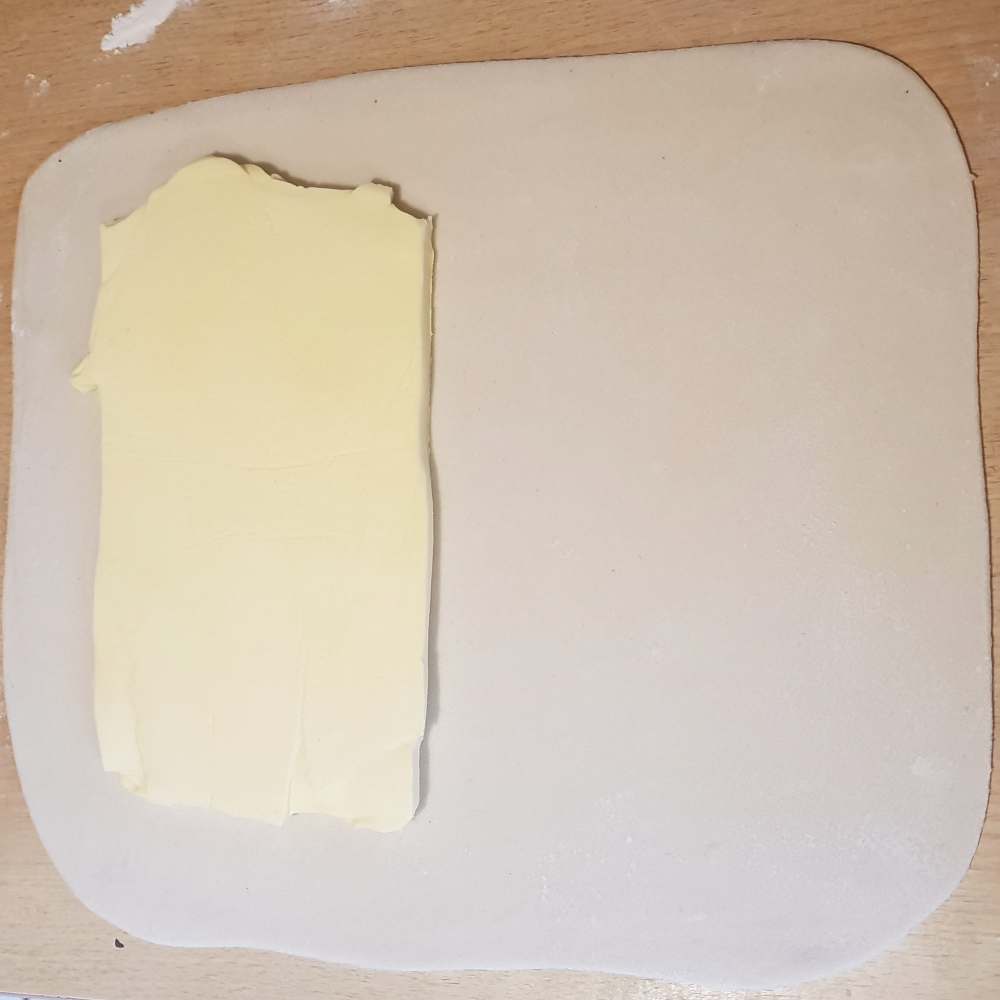
Once the dough has relaxed, roll it out into a rectangle about 25x35cm (10”x14”).
Remove the slab of butter from the fridge, unwrap it. You now have two choices: you can place the butter at the edge of the dough (as in the picture below) or you can shift it up to the centre of the dough. The former will give you three seams where the dough is sealed around the butter whereas the latter will only give two (as the third seam will be in the middle and hidden by the butter). Seal the edges of the dough well to prevent the butter escaping.
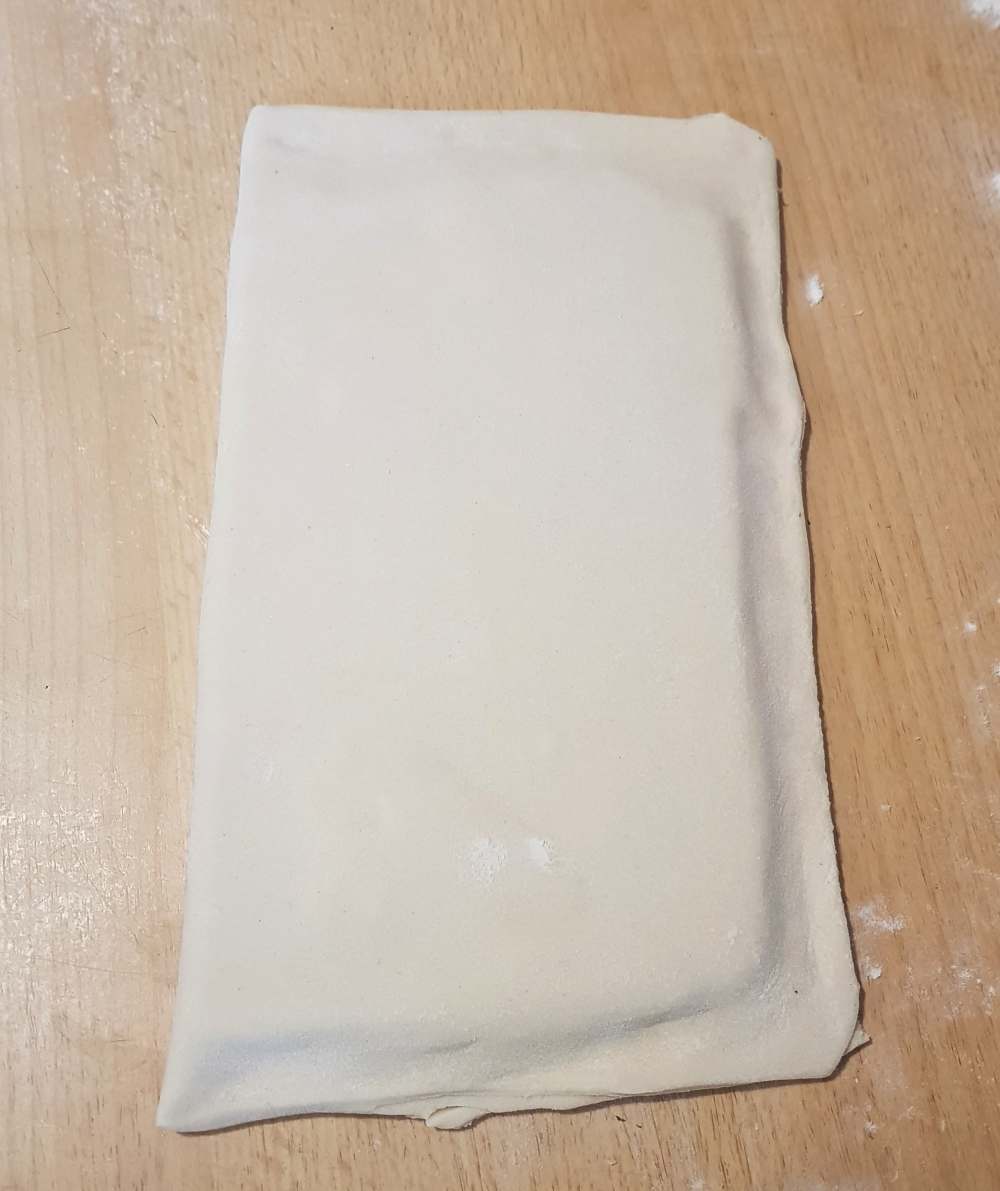
Roll out the dough lengthwise until it has doubled in size (around half a metre long) and then fold the dough into three layers. This will incorporate one of the original seams into the pastry. This is important to do early as sections with less butter will rise less than the rest of the pastry folding the seams in early will help give an even rise. If you see butter start to burst out of the edges, let the pastry cool more in the fridge and try to fold the burst section into the centre of the pastry to prevent it leaking more later on.

Rewrap the dough and leave it to rest for another 20-30 minutes in the fridge. Try not to let the dough rest in the freezer unless completely necessary as the shock cold can cause the butter to seize and shatter which will ruin the pastry.
Once the dough has rested, roll it out again in the opposite direction to the last fold (so the edges with the three layers from before will be folded back into the pastry. Fold the pastry into three again, rewrap and chill for another half hour.
Repeat the previous step another two to four times for proper puff. The full six sets of folds will give your pastry 729 layers which should result in super flaky pastry with a beautiful, even rise.
Keep the pastry wrapped up in the fridge until you are ready to use it. Make sure the oven is hot when the pastry goes in otherwise the butter will melt and leak out leading your baked goods to fry on the bottom and be soggy on top.
You can use this pastry to make tart cases, mille feuille, vol-au-vents and a myriad of other delicious and crispy foods. For basic mushroom vol-au-vents, roll out the pastry and cut small circles out of it. Use a smaller cutter to cut an even smaller circle in the centre of each vol-au-vent BUT ONLY CUT HALFWAY DOWN. Bake these at gas mark 6 until golden and crispy. Remove from the oven and let cool. The half cut in the centre will allow you to partially hollow out the vol-au-vents without removing the base. Spoon in a generous helping of mushroom duxelle (the recipe for this can be found with my beef wellington recipe)

I hope you enjoyed the recipe. If you are interested in recipes using puff pastry, check out my takes on beef wellington and salmon en-croute.
Have a good one and I will be back next week with a recipe for some delicious Chinese potstickers.
H

3 Comments Add yours