As I have said several times in the past, there is a bizarre mystique that surrounds many baked goods causing people to believe that they are too difficult to make at home. The swiss roll is one item which has been given this reputation by nefarious rumours but is far simpler than you may imagine. They are surprisingly sturdy and once rolled, can be wrapped up in clingfilm or parchment paper and moved easily from one place to another without having to worry about them losing their shape.
The Great British Bake Off has helped bring swiss rolls back into fashion like so many other baked goods. The classic questions which arise when making a swiss roll are: how to prevent it from cracking? How to get a tight roll? I will address these one at a time but the answers are intrinsically linked as what both boil down to is how the cake batter is mixed.
When it comes to preventing a swiss roll from cracking, each backer has their own method which they swear by. I have tried a couple of different methods and will give you my opinion on them, but please remember that everyone has their own way and I can only judge the techniques from the results that I have had. There first of three main methods that I have encountered regarding the prevention of cracking is the pre-roll. This involves rolling up the cake while it is still hot and very soft. You let the cake cool in the rolled position before unrolling it, applying the filling and then rerolling the cake. This is meant to cause the cake to ‘remember’ the rolled-up shape so when the filling has been added, it is easier to roll up again. I do not like this method and, truthfully, I have had the most disasters while using it. Why would you handle a fragile cake more than you need to? You are rolling/unrolling this cake three times more than if you wait for it to cool before filling and rolling. The second method involves cooling the cake flat, still in its tin, under a damp tea towel. The tea towel prevents too much of the steam from escaping but also stops it condensing and being reabsorbed into the cake leading to a soggy mess, as would happen if the cake were covered with a hard object. This method seems to work, but you may have to remoisten the tea towel if it dries out from the heat as you want to keep the cake in a humid environment. The final method involves adding a little water to the recipe or simple syrup to the finished cake. The additional moisture in the cake gives it more flexibility allowing for a tighter roll as the cake can bend more without breaking.
If you want to get a tight roll, the easiest way to learn is by practice. Trying to avoid too much filling at the end of the cake where you start rolling is imperative, as if there is too much cream it will prevent the cake from folding over into a super tight swirl and you will end up with a cake more reminiscent of an arctic roll. The other thing to do is to make sure that you don’t underfold the mixture when you are adding the flour, if there is too much air left the cake will overinflate in the oven and will be too thick to roll properly – of course you must be careful not to overmix the batter and knock all the air out but, like I said before, practice is key.
Once you have mastered the swiss roll, you will see that it is a great last-minute cake as you can make the entire thing from start to finish in under an hour (assuming you aren’t trying anything ultra creative). The one given in the recipe is slightly more technically challenging because of the addition of the chocolate stripes but if you don’t feel like attempting them, you could always chop up some chocolate and sprinkle it over the filling before rolling to keep the chocolate flavour but avoid the faff of a second batter.
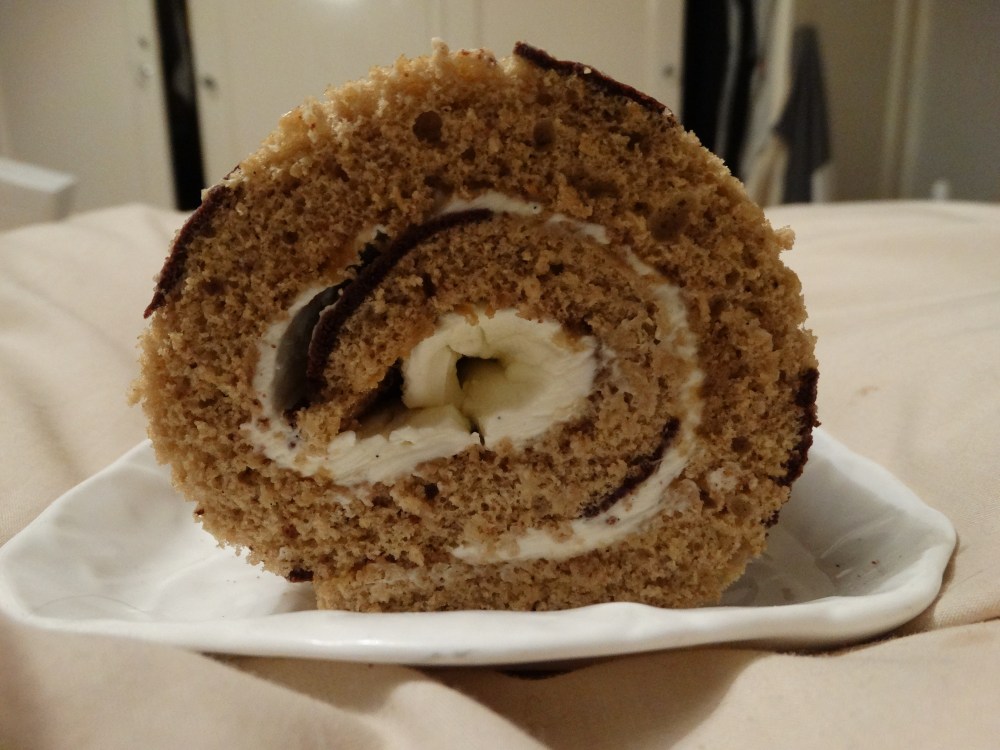
Tiramisu Swiss Roll
Time: around 2 hours
For the chocolate stripes:
50g butter
50g icing sugar
30g flour
20g cocoa
2 egg whites
For the coffee cake:
3 eggs
125g caster sugar
120g plain flour
2 tbsp instant coffee powder
1 tbsp tepid water
Pinch of salt
For the syrup:
100ml water
100g granulated sugar
½ tsp instant coffee
2 tbsp kahlua/tia maria/rum (optional)
For the Filling:
250g mascarpone
100ml double cream
50g icing sugar
1 tsp vanilla extract
Make the stripes:
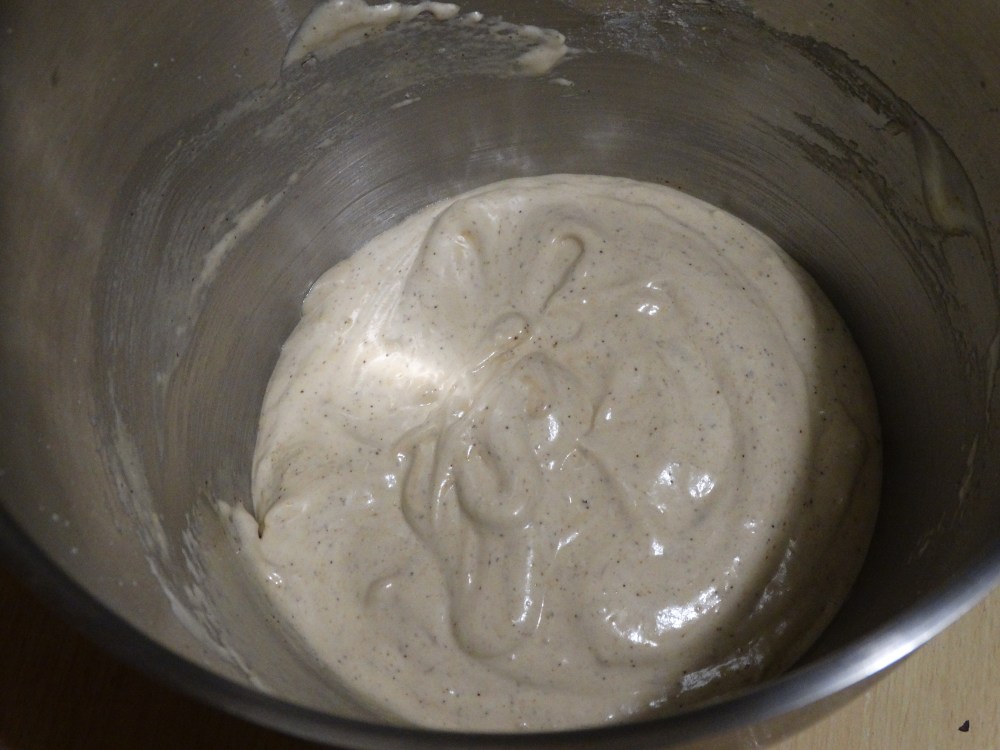
Cream the butter and icing sugar in a bowl.
Mix in the egg whites until completely incorporated.
Mix through the flour and cocoa.
The mixture should be a spreadable paste. If it is very thick, add water ½ tsp at a time until the paste is a little thinner.

Cut a piece of baking parchment the same size as the base of your swiss roll tin.
To decorate the outside of the cake you have a few options: you can pipe swirls etc across the sheet of parchment, you can cover the whole thing and use an icing scraper to scrape away sections to give perfect stripes or you can use Sellotape to cover areas of the paper to give you completely straight edges on your stripes when you have spread the chocolate mix over the gaps and then removed it.
Once you have decorated the paper, place it on a flat tray in the freezer for fifteen minutes to half an hour.

While the design is hardening up in the freezer, butter the edge of your swiss roll tin, this will help you remove the cake later as they can stick rather spectacularly.
Preheat the oven to gas mark 6 (200°C).
Sift the flour and coffee powder into a bowl and set aside.
Place the sugar and eggs into the bowl of an electric mixer with the whisk attachment fitted.

Whisk until the mixture has turned light, foamy and thick – around seven minutes. It will not reach the same stability as pure egg whites, the mixture will still flow but will be absolutely full of air.

Remove the bowl from the mixer and fold in half of the flour mixture along with salt.
When the first batch is mostly incorporated, add the remaining flour and fold it in.
Pour the water around the edge of the mixture in the bowl – if you pour it into the middle, it can deflate the mixture.
Fold the water through. This additional liquid will help give an even textured cake and prevent it from cracking when you roll the cake up.
Remove the parchment paper from the freezer and place it into the bottom of the swiss roll tin.
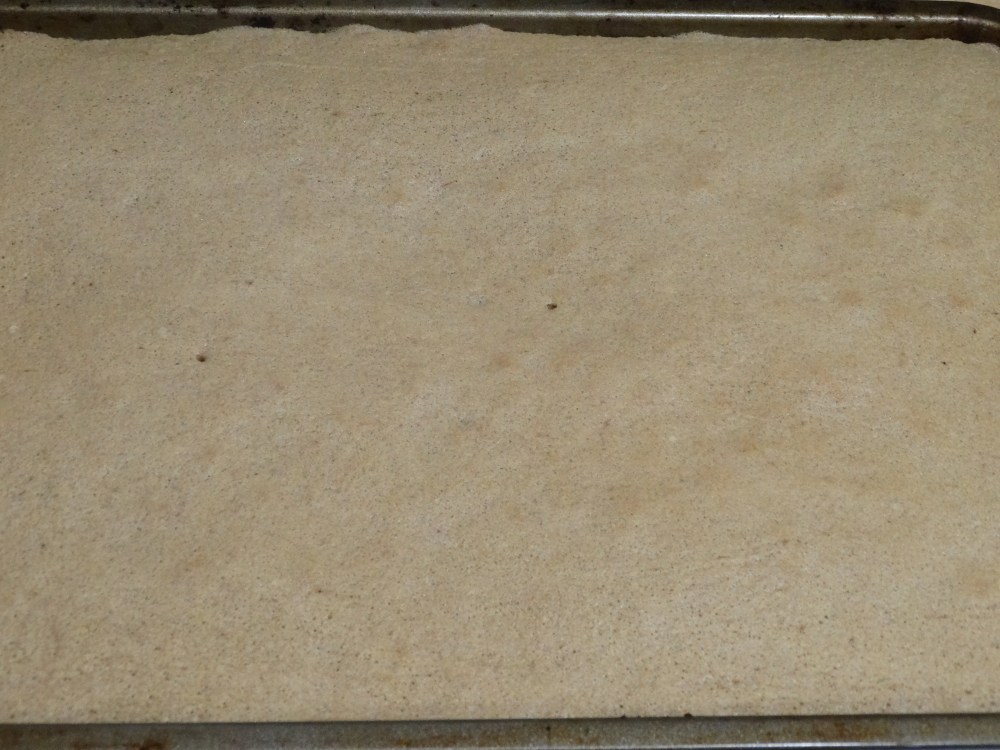
Pour the batter on top and gently spread it out. Be careful not to be too aggressive when spreading as you don’t want to disrupt the pattern on the base of the tin.

Bake for 10-12 minutes until the cake is just golden on top and a skewer inserted into the centre comes out clean.
While the cake is baking, make the syrup.
Combine the water and sugar in a pan.
Bring to the boil and stir to dissolve the sugar.
Add the coffee and stir again.
Pour the syrup into jug and set aside to cool.
After it has cooled for ten minutes or so, add the alcohol of your choice.
The syrup should be no more than slightly warm to the touch when you use it.
Remove the cake from the oven.
Lay out a sheet of baking parchment, which is bigger than the cake, on a flat surface.
Dust the top of the cake with icing sugar, loosen the edges from the side of the tin.
Flip the cake out onto the baking parchment so the base with the design is now on top.
Gently peel off the parchment which is on the designed side of the cake.

Cover the cake with a damp (but not wet) tea towel and leave to cool.
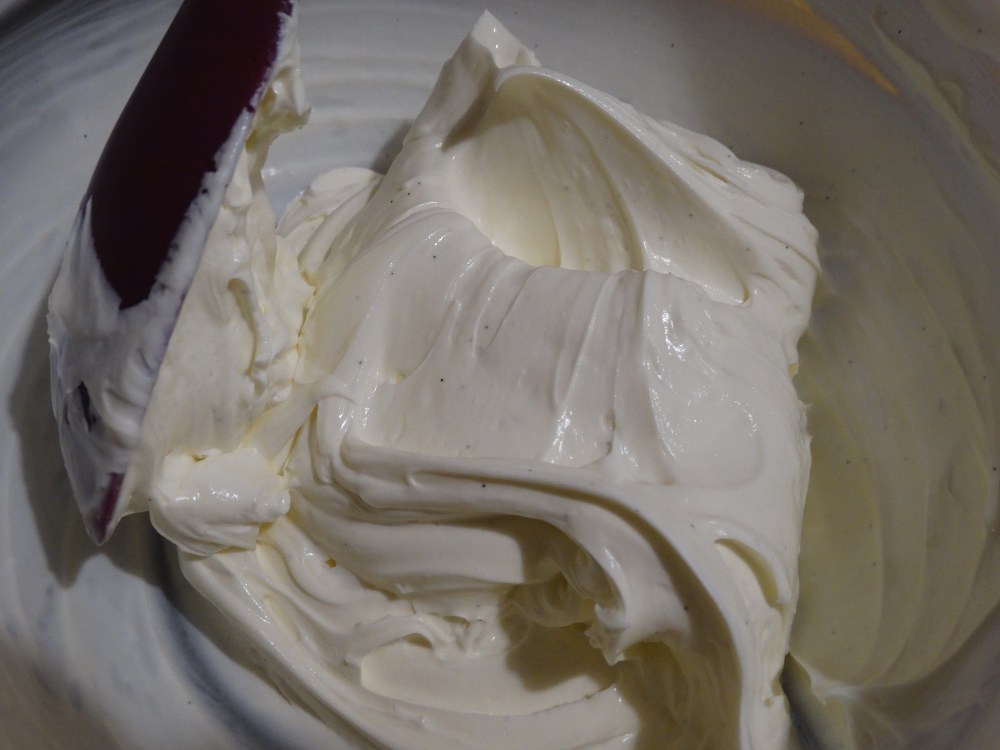
To prepare the filling, beat the mascarpone, vanilla and icing sugar until the mascarpone has softened.
Add the cream and mix again. The mixture will go very runny and then as the cream is beaten, it will thicken up again. Stop when the filling reaches a thick but spreadable consistency as you don’t want it to rip the cake apart when you add it.
To assemble the cake:
Gently flip the cake onto a new piece of baking parchment so the patterned side is down.
Lightly brush the top of the cake with syrup. This will help prevent cracking.
Spread the filling across the top of the cake leaving a centimetre strip filling free along both short ends of the cake.

Starting at one of the short sides, use the parchment to help fold the end of the cake up and over before rolling the cake up down its length. Make sure the seam is underneath the cake as the weight on top will prevent the cake unrolling.
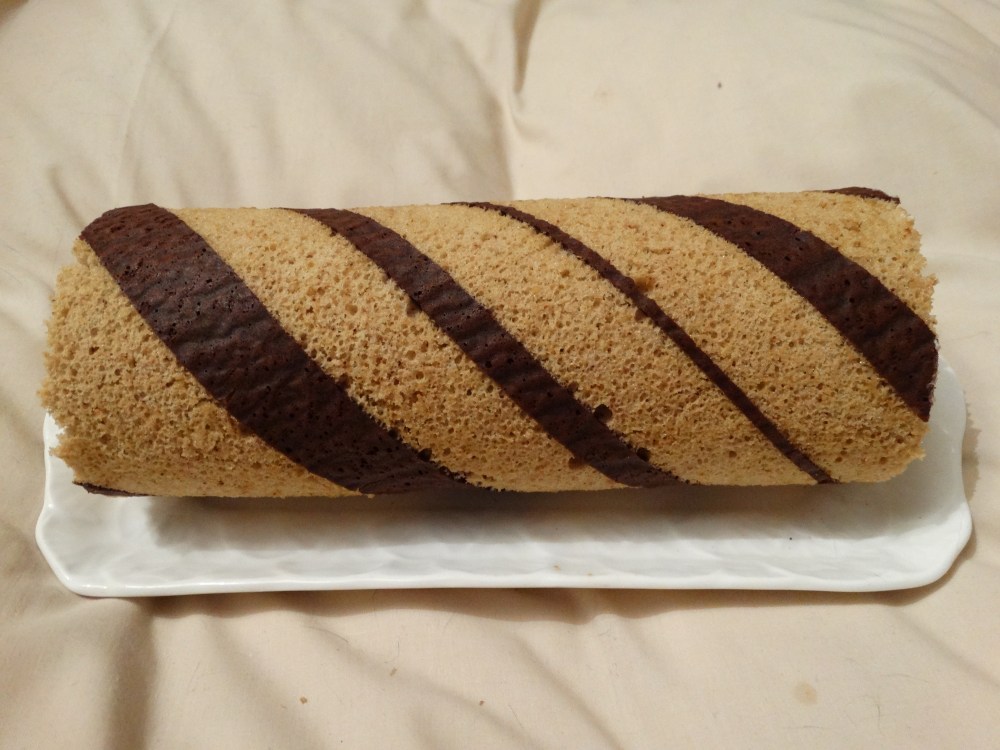
Trim the edges to neaten them up and transfer the cake onto a serving platter.
I hope you enjoyed the recipe. If you are a fan of swiss roll style cakes, why not try your hand at a chocolate log (they aren’t just for yule) or if you would like a slightly simpler tiramisu, check out my recipe here.
Have a good one and I will see you next week with a spicy beef dish which is great for dinner and as a cold lunch the next day too.
H

One Comment Add yours