For something so simple, ravioli really do take a lot of effort to make. Homemade ones are delicious; you can tailor them to your own tastes or the tastes of those you are cooking for – however I really would recommend saving them for a special occasion. Homemade ravioli would be perfect for the starter of a dinner party where you want to really make a good impression – they would not be perfect for a week night meal.
The filling for my mushroom ravioli is wonderfully versatile as not only can it be used in the ravoli but it can be thinned down with a little water and have some cream cheese melted in to make a wonderful, mushroomy sauce for normal pasta.
The worst thing that can happen to ravioli is that they split when cooking. The amount of effort wasted if your ravioli pops while being boiled is nigh on tear inducing however there is a way around this: aggressive sealing. When you seal a raviolo, you have two choices (technically three if you just try to press the top and bottom sheets of pasta together but this is a complete waste of time and effort – it will not work): water or egg. The “glue” of your choice is brushed around the filling before the top layer of pasta is laid over and the ravioli are formed. You can also make ravioli by folding small pieces of pasta around filling to make parcels (tortellini) and while the technique that I will describe in this recipe is different, the same premise applies when you are sealing them.
From my experience, egg seals the ravioli far better than water does (although there are people who swear by the water approach). Water causes the formation of gluten when it is combined with flour. The proteins in the flour – glutenin and gliadin – combine when the water is added and kneading dough (like in bread) increases the quantity of gluten. I would assume that this is because, as you knead the dough, you force more of the proteins together forming more and more gluten. When you use water to seal pasta, you have to press incredibly hard around the outside of the ravioli to make sure a seal is formed. In effect, you are pressing until the top layer pasta has physically melded with the bottom layer by causing gluten formation between the layers creating a single piece of pasta with a pocket in the middle full of filling. If you do not seal the edges properly, you are also at risk of the water boiling and pushing the pieces of pasta apart during cooking causing the cooking water to rush into the ravioli (and the filling to rush out)
With an egg seal, you are still pressing the top and bottom together to meld into one but the pasta is far more forgiving as the egg cooks the moment it enters the hot water and glues the top and bottom pieces of pasta together which will cover up and small unsealed sections of dough. You will not be able to taste the egg used to seal the ravioli (trust me, I do not like the taste of egg and I would absolutely know if it was present)
Mushroom Ravioli
Time:
Work time: 2 hours
Cooling time: 1 hour
Makes: 24 ravioli
Serves: 3 (main course size portions)
Ingredients:
1 batch fresh egg pasta – you will need to make this!
For the filling:
600g mushroom
1 medium onion
4 cloves garlic
1 mushroom stock cube
2 tbsp olive oil
2 tbsp cornflour
Salt and pepper
4 tbsp cream cheese (optional)
For assembly:
Flour for dusting
Water/egg white for glue
Optional:
Sage, garlic and butter for dressing the pasta with
Make your pasta and leave the dough, wrapped, in the fridge until it is needed.
To make the filling:
Puree 150g mushrooms and three cloves of with 80ml water.
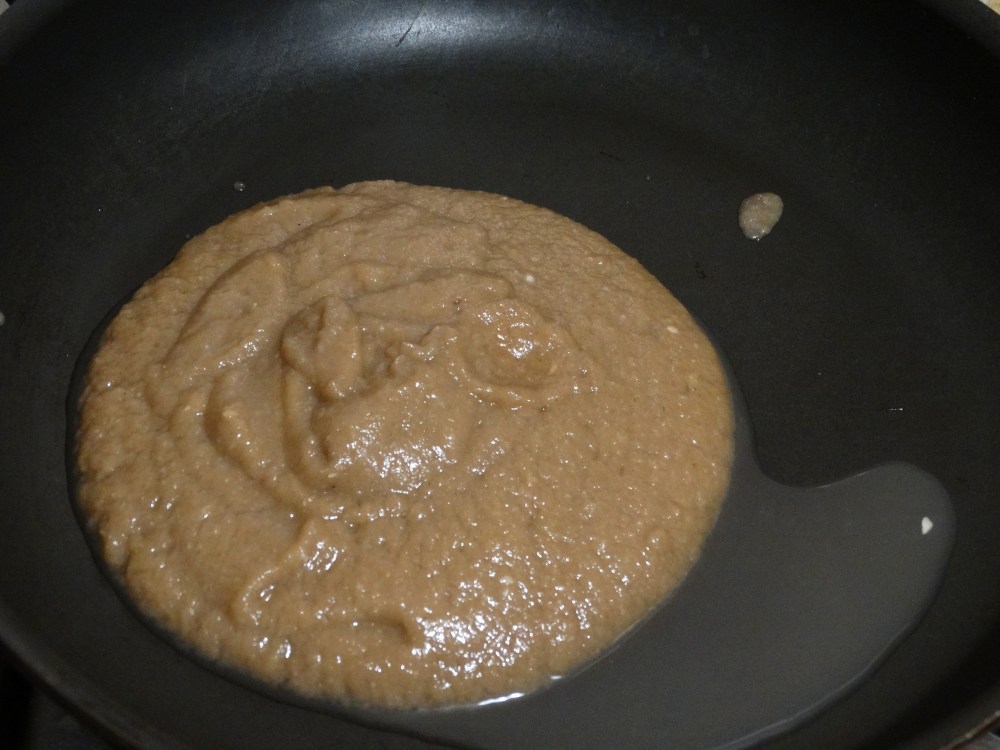
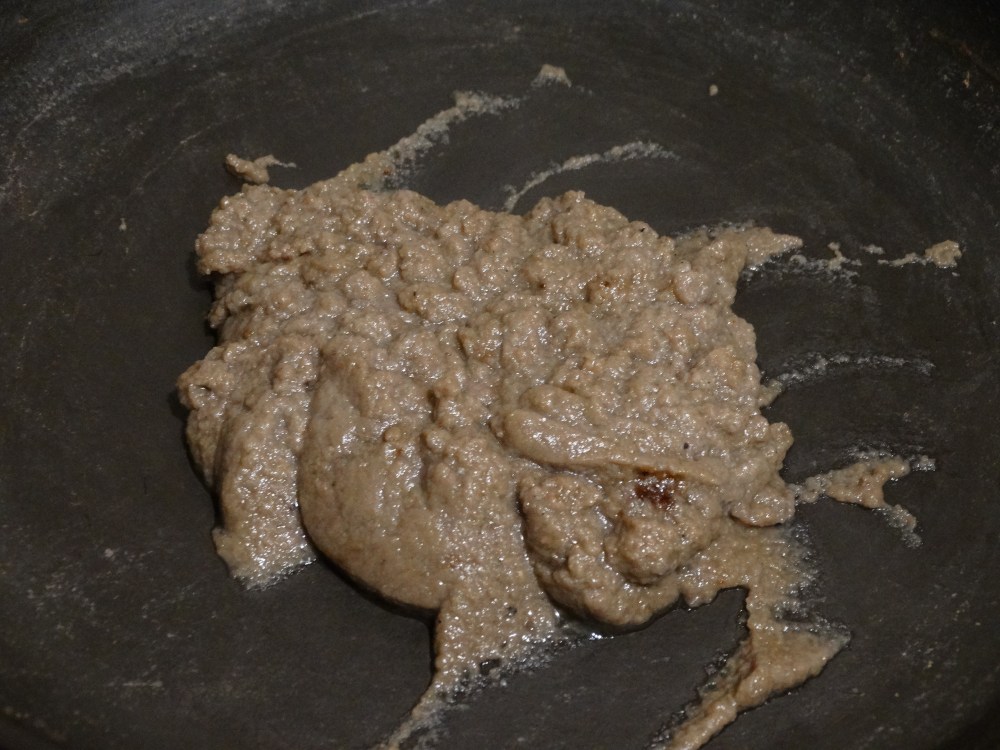
Pour into a pan and cook, stirring regularly, until the puree become thick. The mushrooms will release a lot of liquid and the mixture will become rather runny before the water boils off leaving a thick, mushroomy paste.
Crumble the mushroom stock cube into the pan and stir it through.
Set this to one side.
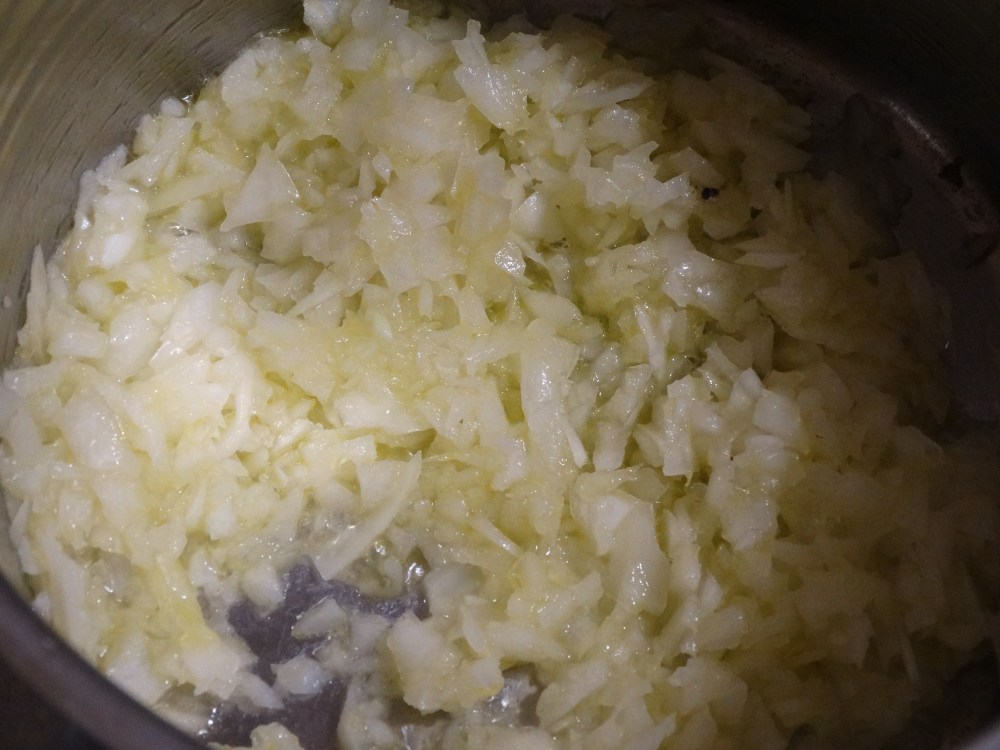
In a food processor, pulse the onion and remaining garlic clove until you are left with small pieces – you do not want to puree it, just dice it very finely.
Tip this into a large pan along with the olive oil and sauté until the onion starts to soften.
While the onion is frying, tip the remaining mushrooms into the food processor and pulse until they are finely diced, around the same size as the onion pieces. It is important to keep the small pieces for texture later on!
Once the onion is soft, add the mushrooms and 60ml water.

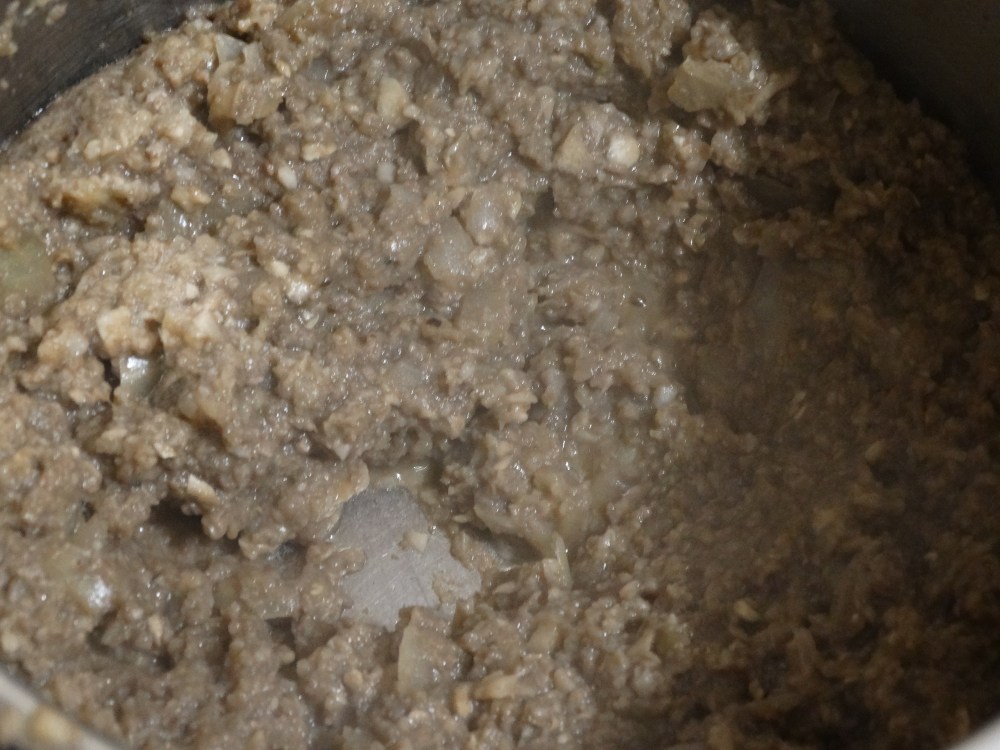
Cover the pan and leave to cook for five minutes, until the mushrooms start releasing their own liquid. Continue to cook uncovered for another five minutes and then drain off the remaining liquid and set it to one side.
Stir the mushroom paste through the cooked onions and mushroom mix.
Add two tablespoons of cornflour to the slightly cooled, drained mushroom liquid and mix until a slurry is made.
Return the cornflour slurry to the pan and stir it through the filling mixture whilst continuing to cook. As the cornflour cooks, this will thicken up a little. It will also thicken significantly as it cools.
If you want to add cream cheese, do it now and let it melt into the filling.
Season to taste with salt and pepper and set aside until completely cool.
To assemble the ravioli, split the pasta into quarters. Rewrap two of them and set to one side.
Roll each of the remaining quarters, in turn, through the pasta machine on its thickest setting. Fold it in half and repeat. Continue to repeat until the pasta becomes smooth. This will take four or five rolls.
Change the pasta machine onto the second thickest setting and roll the pasta through it again.
Continue decreasing the thickness and rerolling until the pasta reaches your desired thickness. On my pasta machine (which a hand cranked model by Imperial which is probably about ten years old) the thinnest setting is a number six (with one being the thickest) and this is the perfect thickness for ravioli.
Generously dust one sheet of pasta with flour (I would use the smaller one) and lay it out on a surface. Dollop blobs of mushroom filling onto it. I used about two teaspoons of filling per raviolo and managed to fit nine along the length of the pasta.

Brush around each blob of filling with either water or egg white. I find that egg white works far better but water is absolutely fine if an egg white is not available.
Gently lay the second piece of pasta over the first. You may have to lightly stretch it by hand to make it fit over the filling – this will be fine if you are gentle as pasta dough can be very forgiving if you treat it well.
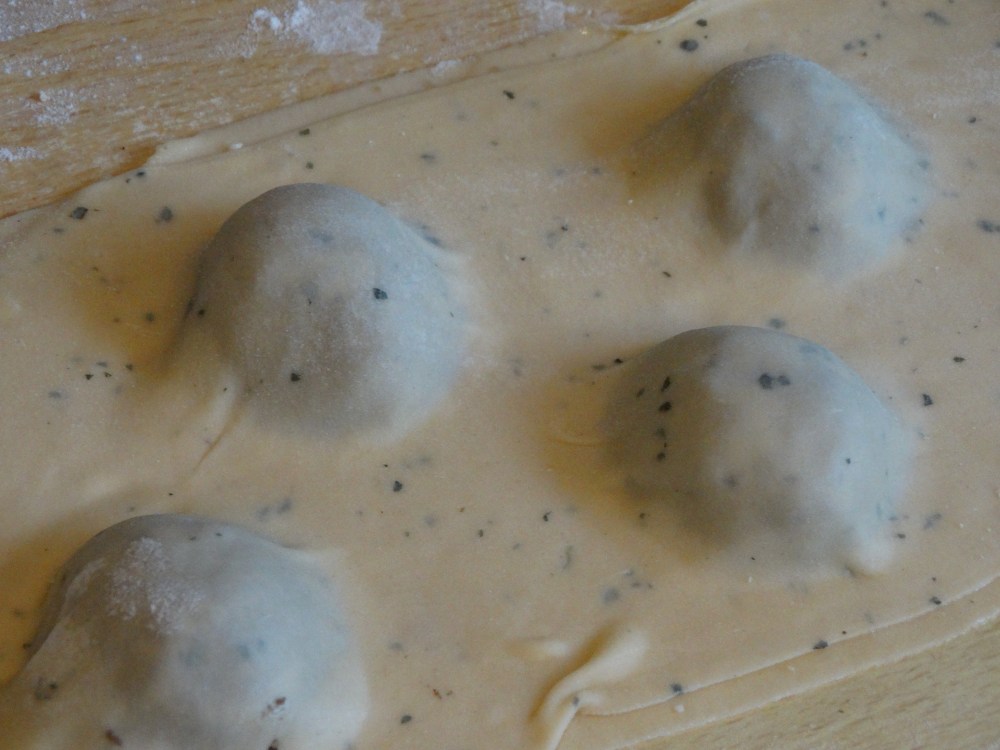
Starting from one end, press around each piece of filling to remove air bubbles and then seal the raviolo. I tend to try and push all of the air in one direction along the length of the pasta sheet and then out at the end. If the entire packet is sealed, you may need to poke a tiny hole to let the air out as it will ruin your ravioli!
Use a biscuit cutter to cut around the ravioli and then remove the excess pasta. Move the ravioli to a floured board and set to one side. Ball up the offcuts of pasta and save for later.
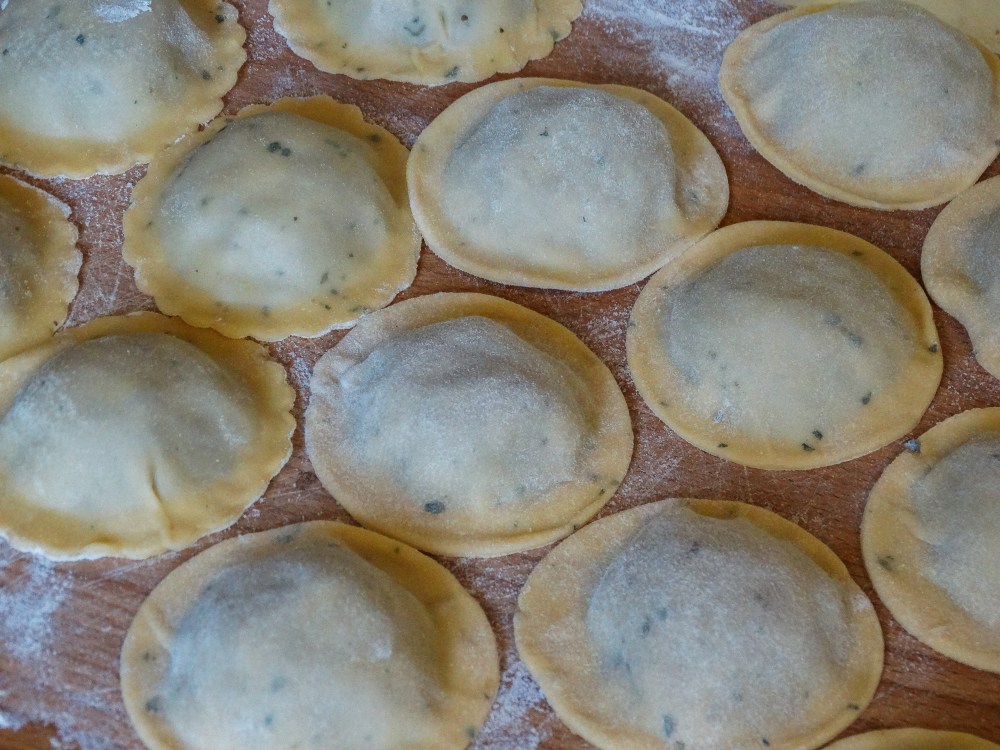
Repeat the ravioli formation with the remaining half of your dough from before.
Use the offcuts from the first two batches of ravioli to make a third.
The ravioli can be cooked immediately, frozen or left to dry for a bit before cooking.
Cook the ravioli for three minutes in salted water at a rolling boil. If the water loses its boil when you add the ravioli, don’t start timing until it starts bubbling again.
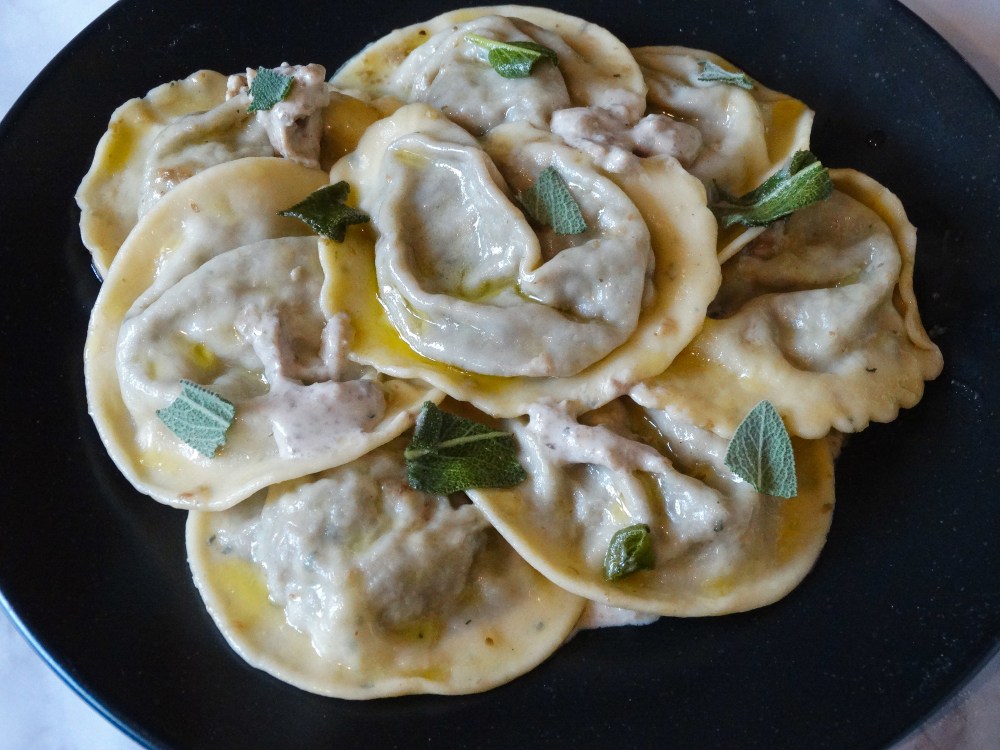
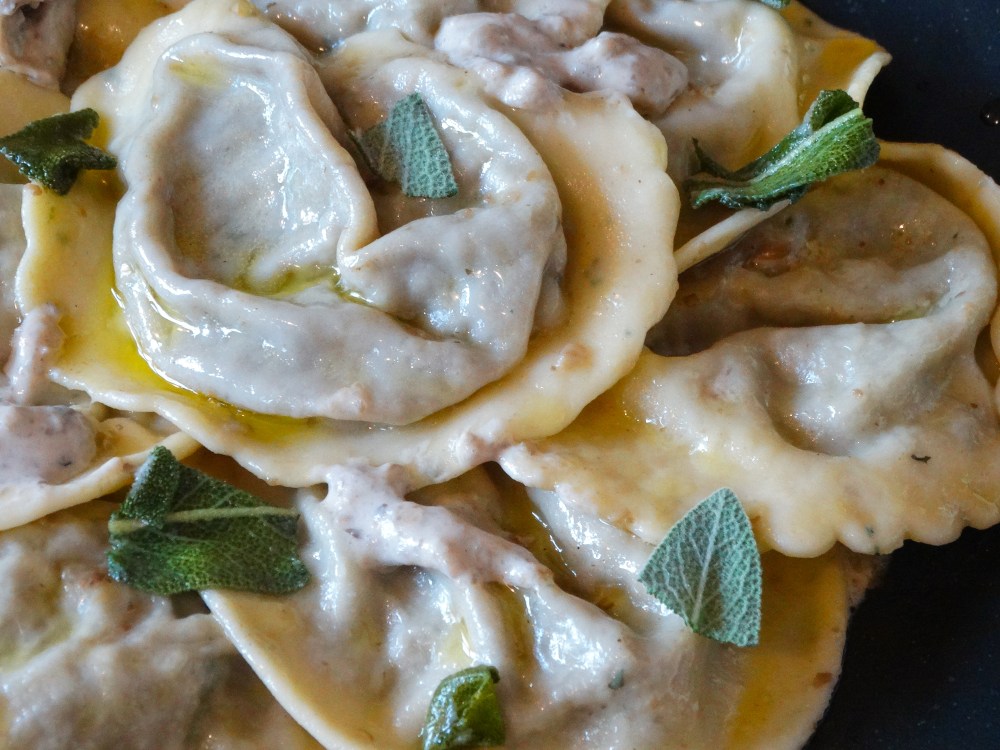
These can be served as they are or you could melt some butter and lightly fry some sage leaves and garlic in it.
Remove the garlic the moment it starts to brown, drain the ravioli and toss them in the flavoured butter before serving.
These are delicious but they do take quite a bit of effort. If you fancy a slightly easier but just as tasty meal with mushroom and pasta, check out my decadent mushroom pasta bake or even my chicken and mushroom pasta bake which was one of the first recipes on this site! This recipe is also super simple to make dairy free – just don’t use cream cheese and remember to not toss the ravioli in butter at the end!
Have a good one and I will be back next week with this year’s Thanksgiving pie.
H

Very delicious!
LikeLike
The finished ravioli look wonderful!
LikeLike
Reblogged this on BRUT IMPERIAL ANTARCTICA.
LikeLike