If the name fusarium oxysporum cubenese doesn’t strike fear into your heart, you are probably like most people in the world. When information about pathogens, whether they affect humans, animals or plants, is disseminated to the public, the full scientific name of the causative agent is rarely used – if it is used at all. This is because most people don’t care about the tiny fungus/bacteria/virus etc. as the science of the pathogen is irrelevant to them. What they want to know is what this thing does and how it can be treated – in the cause of fusarium oxysporum f.sp. cubenese, what is causes is Panama disease.
You are far more likely to have heard of Panama disease than the fungus that causes it. The name rolls off the tongue better, it’s short and it mentions a place that you probably recognise. It is also the biggest threat facing bananas. The fungus is resistant to fungicides and as it displays no symptoms on around 40% of growing stems and buds is easily spread when cuttings of the plant are taken. Banana plants are reproduced asexually – cuttings are taken and grown into new plants – so there is almost no genetic variation across the community. The most commercial variety is the Cavendish banana – the classic curved, yellow, sweet bananas you buy in shops – and the near identicality of the plants makes them highly vulnerable to disease. Genetic variation within the banana plants relies on random mutations which results in far less diversity than is gained by reproduction which requires two plants.
Panama disease has struck before. Back in the 1950s, it almost completely wiped out the Gros Michel banana – the variety that was most commonly available at the time – and banana farmers were forced to change to a new variety (the Cavendish banana) or face bankruptcy as their crops failed. There are currently some varieties of banana which are resistant to fusarum oxysporum cubenese Race 4, the type that affects the Cavendish banana, but these are not commercially available yet. Changing an entire species is an expensive thing to do, the plants take time to grow and there is always the threat that the fungus will mutate again to affect the new variety of banana at a later date.
The disease has been known about since the cultivation of Gros Michel bananas started in the late 1800s – this was fusarum oxysporum cubenese Race 1. The first formal identification was in Panama, whence the name derives, but the disease did not reach its devastating pandemic levels until the 1950s. When a plant is infected symptoms display first on the older leaves and sections of the tree before spreading to the newer growths. The fungus causes the equivalent of an immune response in the plant which causes it to secrete a form of gel into the xylem (the vessels which carry water around the plant – think of them like the veins of a plant). This gel forms a barrier inside the xylem that blocks it off preventing any flow along it. The plant gets the equivalent of thrombosis before the affected areas start to wilt and die.
There is still hope though. As I have mentioned, this has happened before and the banana survived so don’t be too afraid. There is a lot of ongoing research into new, resistant strains of bananas and of course, fungicides which will actually affect fusarum oxysporum. That being said, you should still definitely make this cake as soon as you can because it would be a shame to miss the opportunity. The cake takes the classic flavours of a banoffee pie and transfers them into a new form: banana bread style layers sandwiched with caramel buttercream and brûléed bananas. It simply must be tried to be fully appreciated!
Banoffee Cake
Time: 4+ hours including cooling
Caramel:
200g caster sugar
90g unsalted butter
250ml double cream
For the cake:
290g plain flour
125g caster sugar
100g brown sugar
250g butter
2 tsp baking powder
2 tsp bicarbonate of soda
4 bananas
150ml buttermilk
2 tsp vanilla extract
4 eggs
Icing:
To fill between the layers, use the quantities below. If you want to cover the sides of the cake too, double the recipe.
200g butter
300g icing sugar
Brûléed bananas:
5 bananas
A sprinkling of brown sugar
(you will need a cooks blowtorch)
To make the caramel:
Tip a third of the sugar into a heavy based steel pan – non-stick pans encourage crystallisation which ruins caramel.
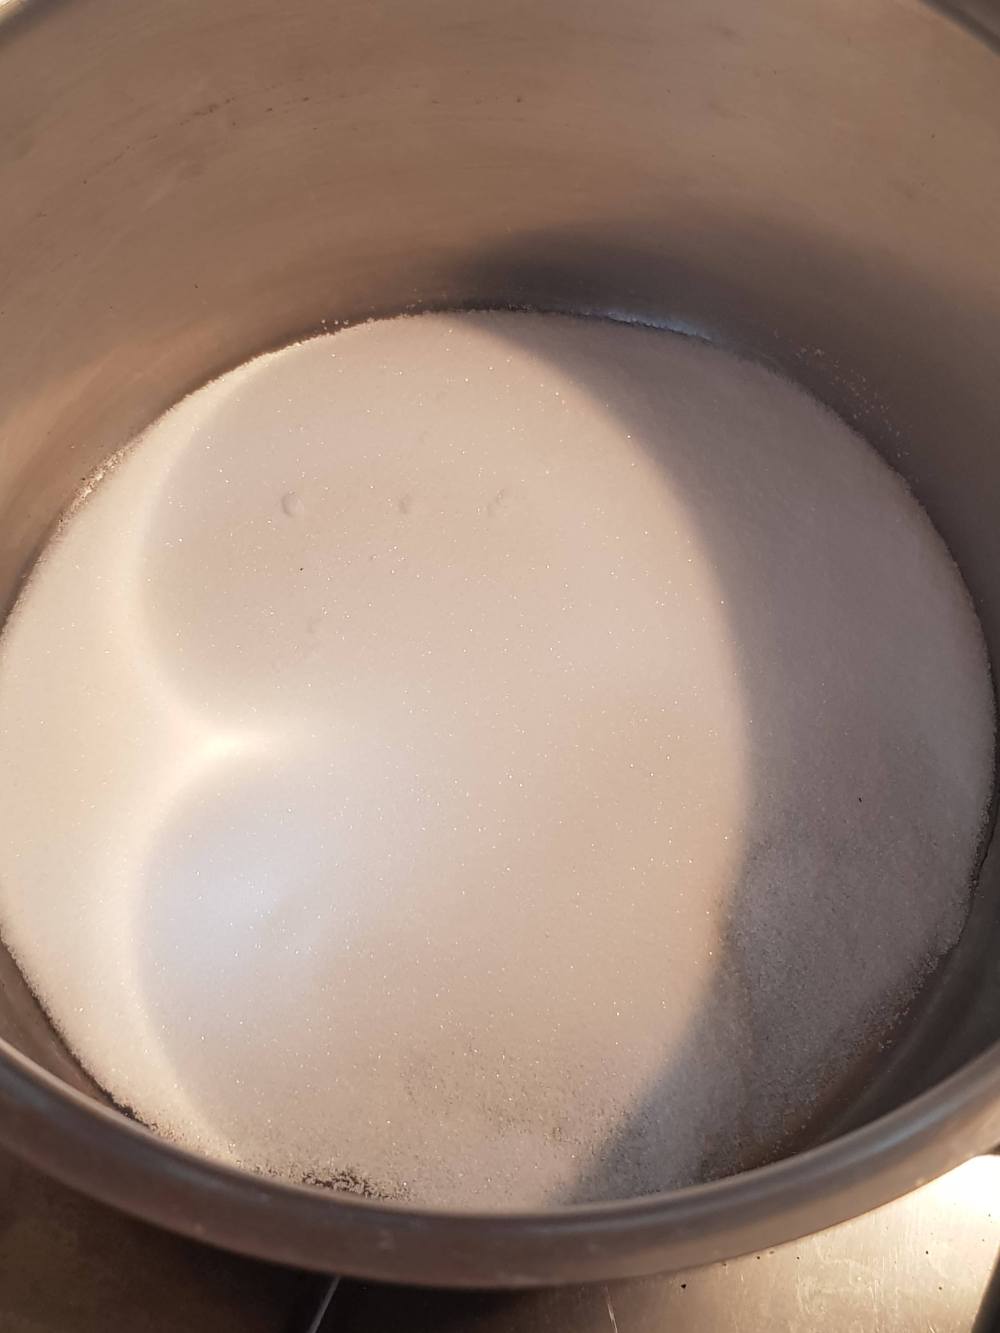
Heat the sugar on a medium heat and as it starts to melt, use a wooden spoon to gently move some of the unmelted sugar into the melted areas. Move the pan on the hob so no area gets too dark when melting. You don’t want to burn the sugar. Turn the pan onto a medium to low light for the rest of this.

Once about half of the sugar in the pan has melted, sprinkle on half the remaining sugar and gently stir the melted areas. The sugar may start to clump but don’t worry!

As more of the sugar melts, sprinkle on the remaining sugar and continue to agitate the melted areas in the pan to prevent burning and to bring the unmelted sugar into contact with the heat.
Once the sugar has all melted, you should have a light caramel. If it is cloudy, that means not all the sugar has melted! Swirl the sugar in the pan a little to help stir it but at this point, do not use the spoon as it will make the sugar crystallise.
When the caramel is clear, continue heating slowly until it is a deep golden colour. Swirling it gently will help to mix it in the pan so it doesn’t burn.
The moment the caramel is a rich golden brown, turn the heat to minimum and immediately pour in the double cream. BE CAREFUL – the cream will bubble and steam vigorously so make sure you are using a big pan so it doesn’t spit out of the pan. Stir the caramel to make sure it is all mixed. The area with the cream may be thicker than the melted sugar as it is cooled a little but it will remelt and everything will mix together nicely.

Add in the butter chopped into small cubes or slices. Do this slowly and mix after each addition.
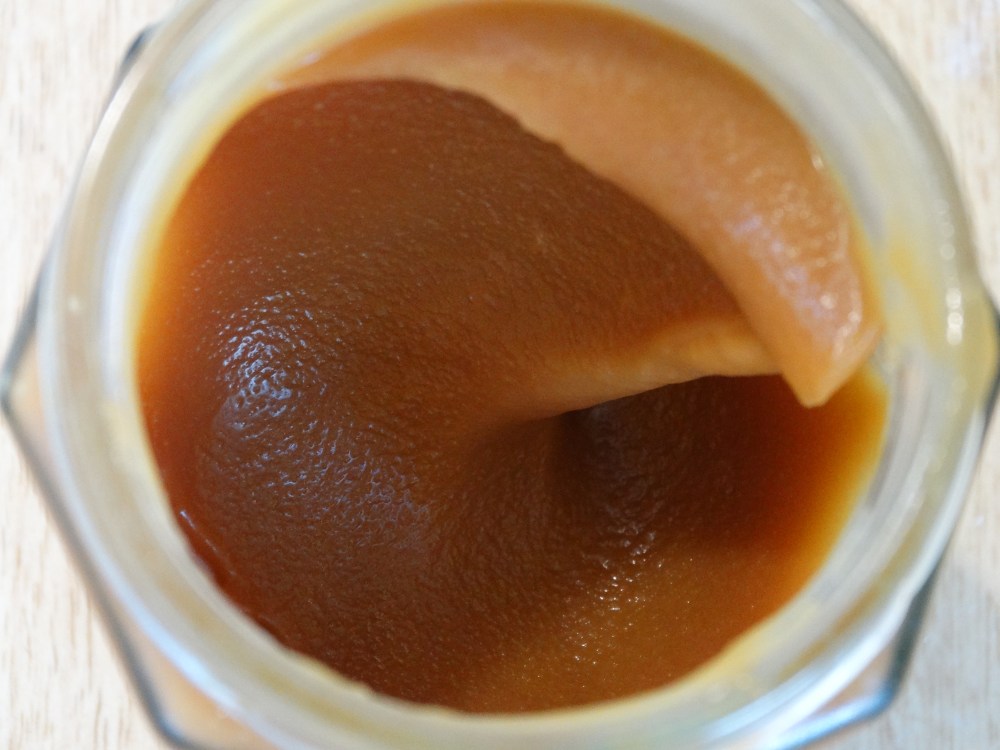
Leave the caramel to cool.

To make the cake:
Preheat the oven to gas mark 4 (200°C).
Line three eight-inch cake tins.
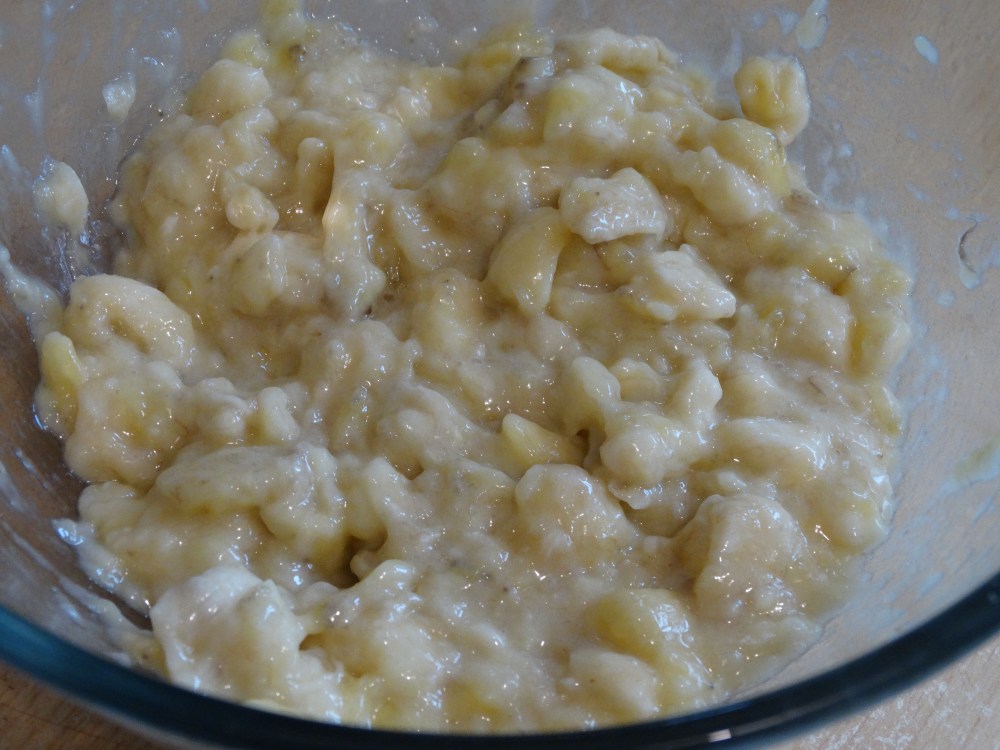
Peel the bananas and put them into a bowl. Using your hands or a fork (I find hands are much faster, more efficient and give you a better end result) mash the banana.
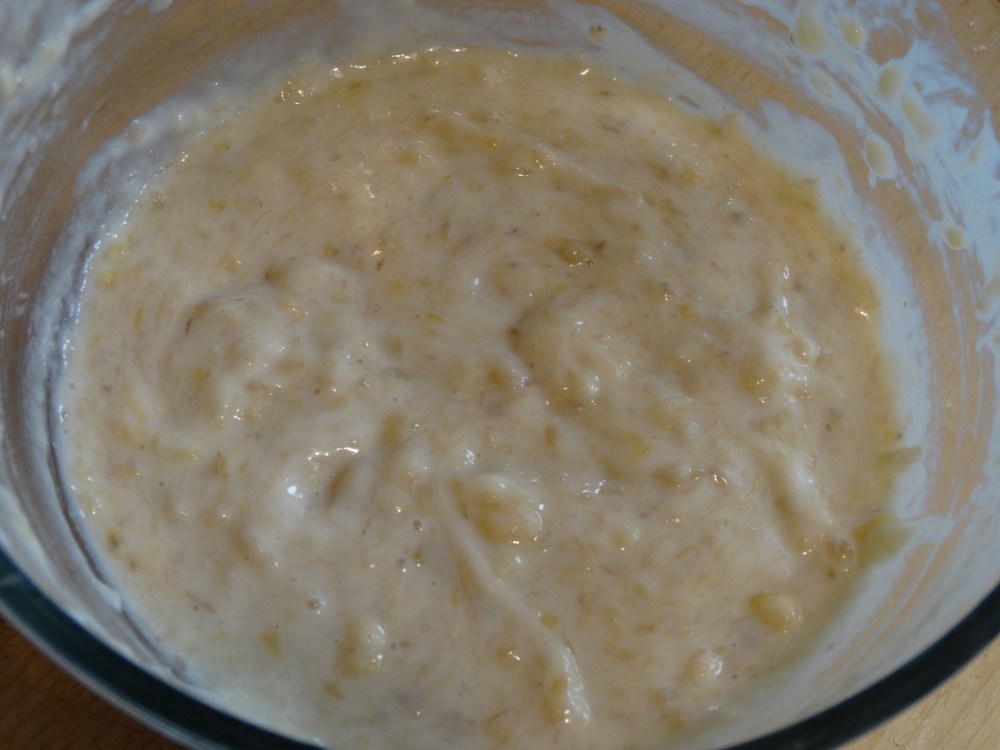
Pour in the buttermilk and stir it through.
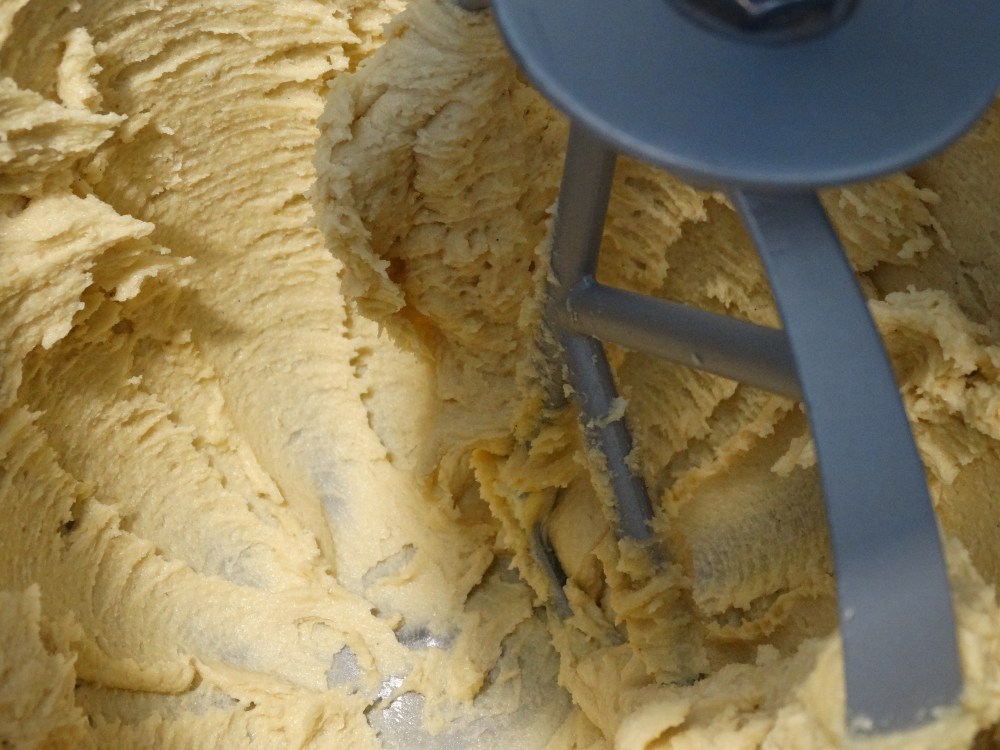
In the bowl of an electric mixer fitted with the paddle attachment, beat the butter and sugars until light and fluffy.
Add the baking powder and bicarbonate of soda to the flour.
Beat the eggs into the butter mixture one at a time. If the mixture begins to look curdled, add a small amount of the flour.
Slowly beat in the flour in three additions.
With the mixer on minimum, add the banana mixture and stir it through.
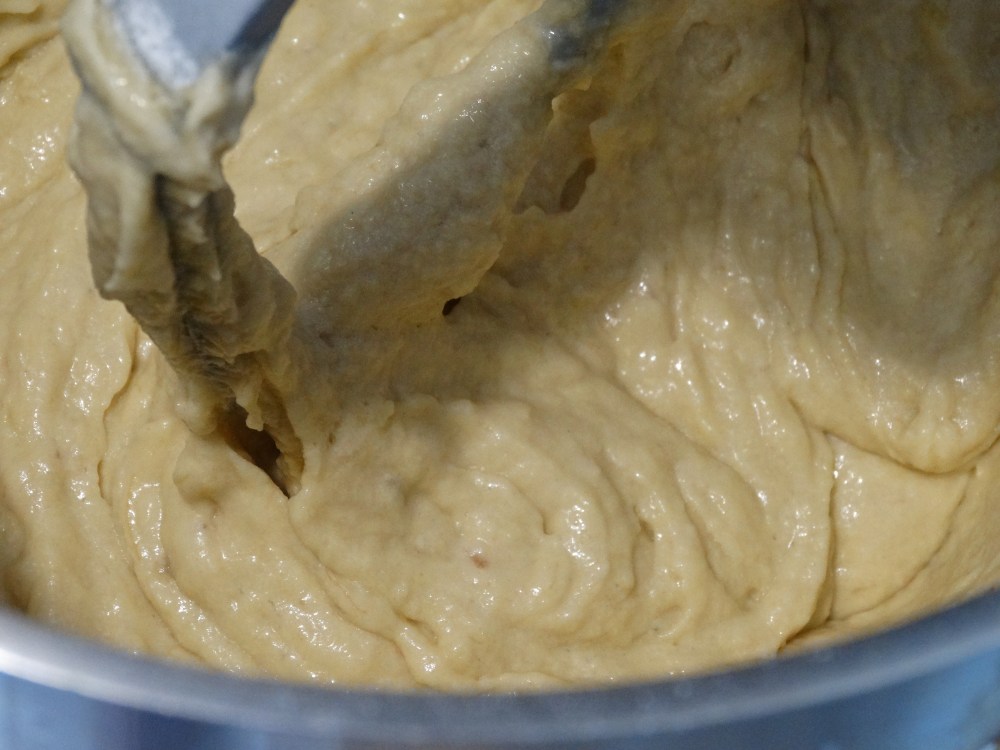
Divide this batter between the tins and bake for 25 minutes or until a skewer inserted into the centre of the cake comes out clean.
Let the cakes cool in the pan for ten minutes before removing them and leaving them to cool fully on a wire rack.

To make the buttercream:
Beat the butter until light and fluffy. I find this easiest with the whisk attachment on a stand mixer but you can use the paddle instead.

Sift the icing sugar and add a third of it with the mixer on slow as you do not want to cover your room in a cloud of sugar. Once the icing sugar has mostly been incorporated, switch the mixer back to high for a minute to beat everything together again.
Repeat with the rest of the icing sugar.

Add a couple of tablespoons of the cooled caramel until you get to your desired flavour. Remember that the caramel will soften the buttercream so don’t add too much if you want to do intricate pipework.

Once the buttercream has been made, you are ready to brûlée the bananas and assemble the cake.
Peel the bananas, slice them into 1cm thick rounds and lay them out snugly on a heatproof mat or surface.
Sprinkle with brown sugar until there is a thin layer over them.

Using a chef’s blowtorch, caramelise the sugar – it is ok if it burns in a few places!
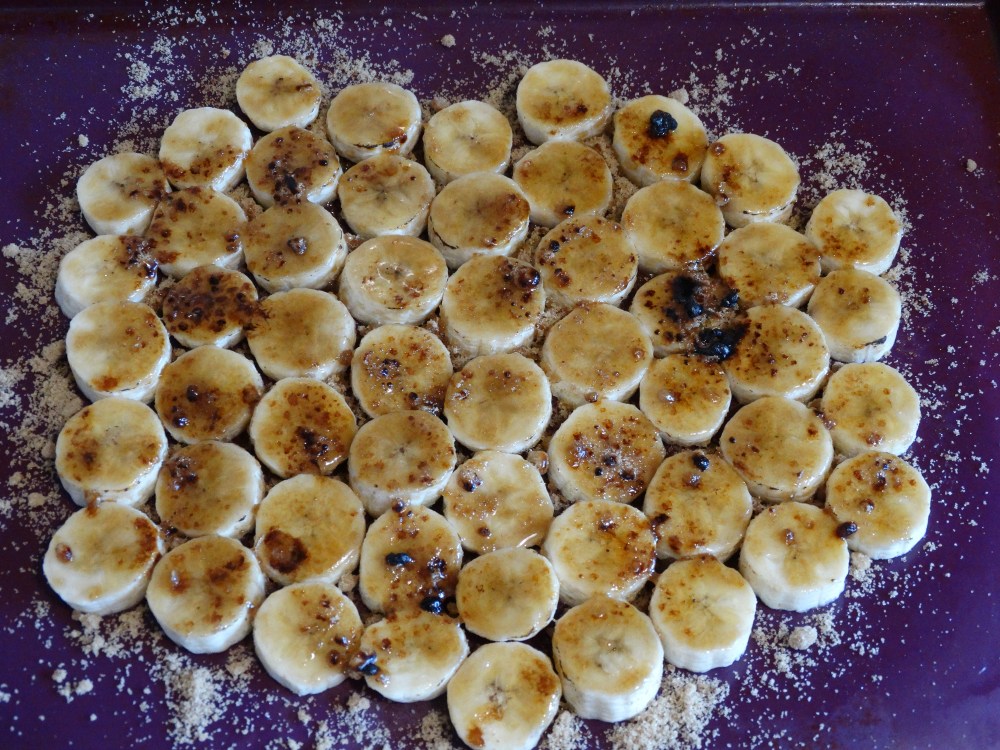
Leave for five minutes to cool.
If your cakes are very domed, you may wish to level them but this step is up to you.
Place one layer onto your serving dish/cake board and spread a thin layer of icing over it.
Lay half of the banana on in a single layer on the top of the cake. You may wish to pipe a thin border around the edge to ensure they do not slip out but this isn’t strictly necessary.

Add another layer of cake, icing and the remaining bananas.
Add the final layer of cake and top with the rest of the icing.
Optional: if you also wish to ice the sides, spread a thin layer of icing around the sides and on the top. It is ok if you can see the cake through this as this is only a crumb coat. Refrigerate the cake for 30 minutes and then add the rest of the icing to the outside, smooth it with a bench scraper or another flat edge that is taller than the height of the cake. You can buy specialist tools for this if you so wish.
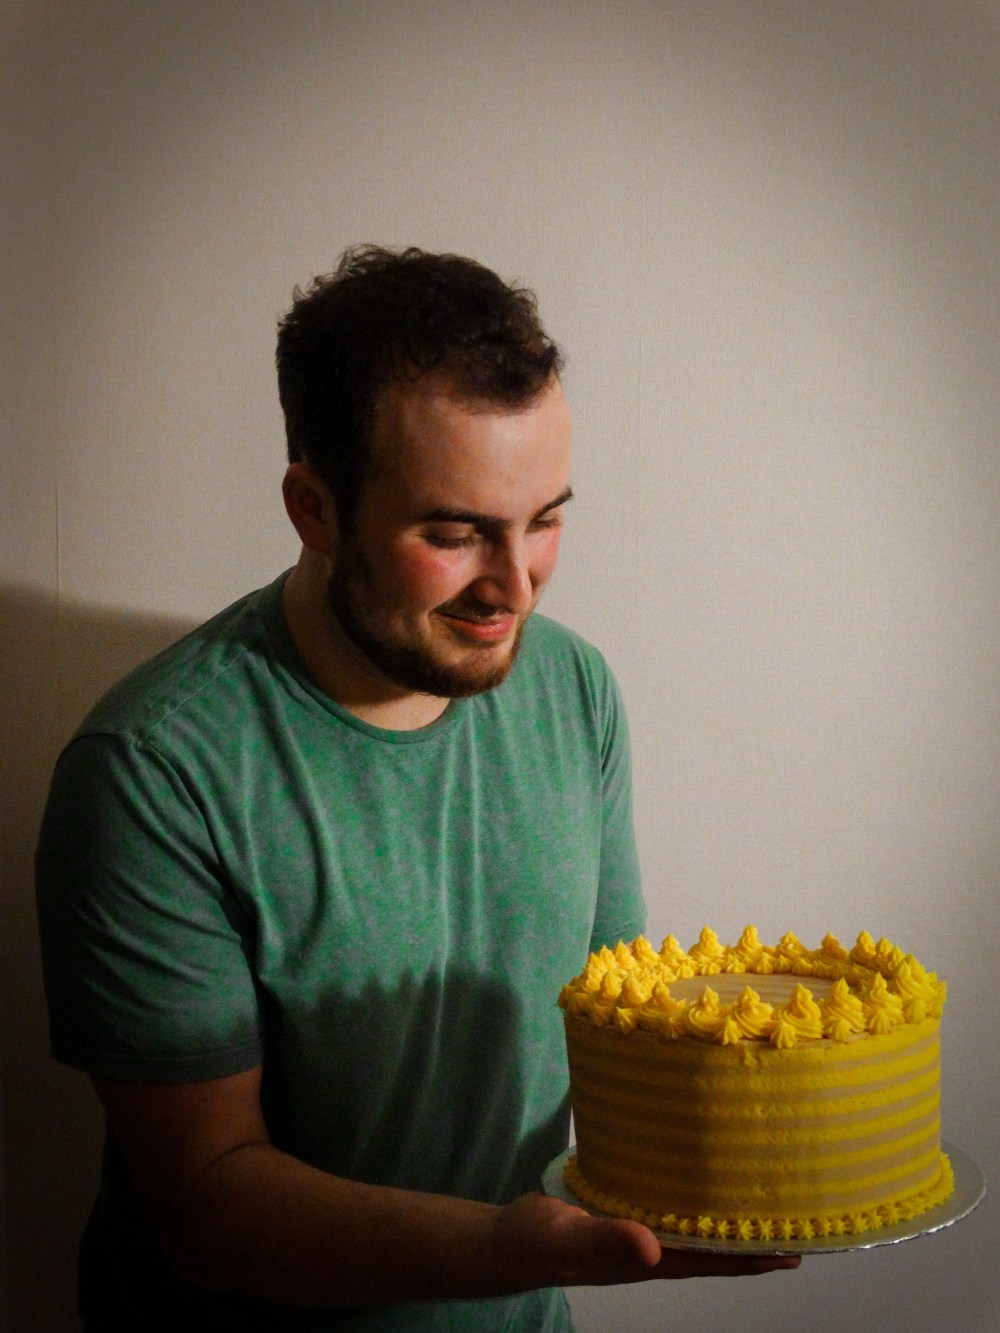
Decorate as you see fit. I decided that I wanted to dye some of the remaining icing yellow and ice it with the same design I would use for cream on a real banoffee pie but it is totally up to you. Yolanda Gamp at How To Cake It, where the idea for this cake came from, uses toffees along with banana and plantain chips to cover the outside and give another texture if you are stuck for ideas.
I hope you enjoyed the recipe. If you have a sweet tooth and are thinking of other caramel recipes, my chocolate and caramel layer cake and tart are both amazing or you could push the boat out with my white chocolate mousse and raspberry caramel tart. For something a little bit more on the simple and savoury side, my hummus and falafel recipes have gone down tremendously well so why not have a go at one of them?
I hope you enjoyed the recipe and I will be back next week with a recipe that has survived the test of time, it originated over 4000 years ago!
H

That cake looks absolutely incredible!!!
LikeLike