I love chocolate brownies. They are some of the most amazing things to have been created in the kitchen however they still cause dispute between people who make them. Should they be cakey? Should they be fudgy? Personally, I fall very strongly on the fudgy side of the argument. If I wanted something chocolatey with a cake like texture, I would make a chocolate cake, not a chocolate brownie! These brownies are about as fudgy as you can get. You need to watch out though as with such a high butter and chocolate content, they are liable to soften up in the heat if you make them in summer and whilst not an issue if you are at home, this can cause problems if you are taking them on a picnic! Try adding an extra minute or two to the cooking time if you know they brownies will be in the heat for an extended time before you eat them as they will stay fudgy but won’t melt everywhere which from experience, is incredibly messy (but really, really yummy)!
The fudgy chocolate brownie is generally accepted to be a descendent of the Bangor Brownie. This came about after the creation of brownies in the late 1890s and in the 1900s, the Bangor Brownie with its fudgy, dense texture was created. It differed from the original brownies by adding extra chocolate and eggs to the mixture. The recipe I am using today is a take on the Nigella Lawson recipe from How to be a Domestic Goddess – a book I wholeheartedly recommend to anyone who enjoys baking. Unlike Nigella, I do not put walnuts into the brownies and have been known to add chocolate chips to them.
They are very simple to make too requiring minimal experience and always go down well. Not only that but you don’t have to eat them just as brownies. If you are hosting a dinner party or having friends over, chocolate brownies make a wonderful base for a dessert or can be warmed up and served with ice cream. Baking times really do vary dramatically by oven so making something like brownies a couple of times is a good way to get to know your oven and also leaves some rather nice leftovers.
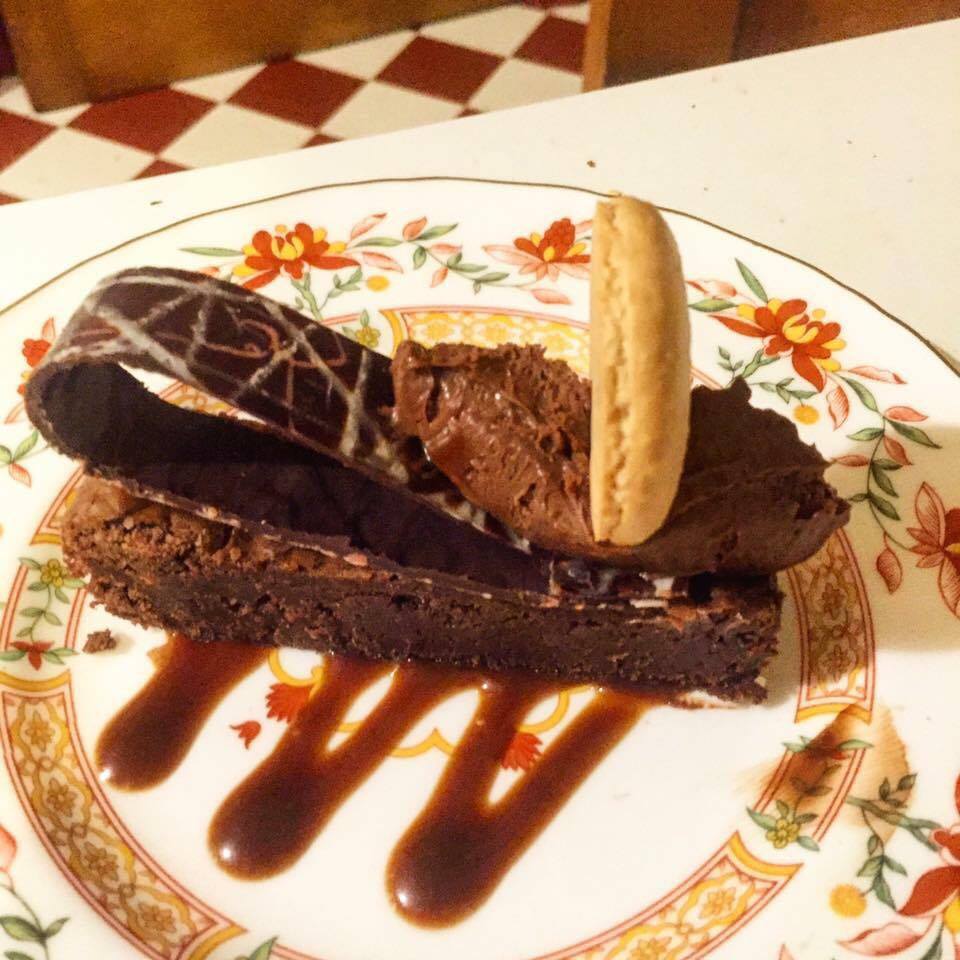
If you are feeling adventurous, why not try adding a swirl of caramel or peanut butter (thinned down with a little milk and sugar to make it smooth) into your batter in the tins to make the brownies a little more exciting? You could also add small pieces of fudge, candied orange peel, chopped nuts or a tiny amount of coffee to add to the flavour and texture.
Chocolate Brownies
Prep time 25 minutes, cook time 25 minutes
Ingredients:
375g dark chocolate
375g unsalted butter
500g sugar
6 eggs
2 tsp vanilla extract
225g plain flour
Optional:
100g white chocolate roughly chopped (or chips)
100g dark chocolate roughly chopped (or chips)
Preheat the oven to gas mark 4 (180oC)
Line two eight inch square pans with baking parchment
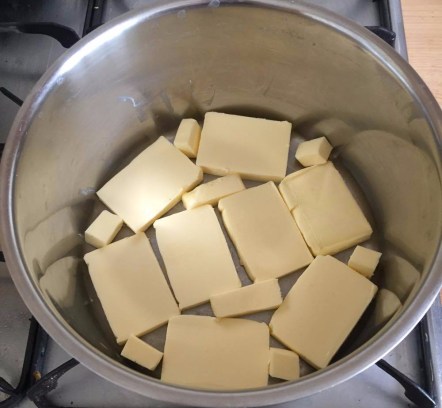
Place the butter and dark chocolate into a large, thick based pan together and heat on a low light until it has all melted and combined. Keep stirring to prevent the chocolate from burning. I have also found that putting the butter into the pan first helps prevent the chocolate from catching.
Measure out the sugar and the eggs into a jug
Add the vanilla to them and beat until they have all come together

Once the butter and chocolate have melted together, remove from the heat. Allow the mixture to cool for a minute if it feels hot to prevent the egg from curdling when it is added.

When the chocolate mixture is slightly warm, slowly pour in the eggs and sugar whilst stirring to combine it all together – depending on the temperature of the chocolate at this point, the combined mixture may thicken slightly as the egg is added
Once all the other ingredients are combined, slowly stir through the flour in two or three batches making sure that there are no clumps left over. I tend to do this with the balloon whisk that I use for beating the eggs and sugar earlier

Add in the chocolate chips and stir through and immediately divide the mixture between the baking pans to make sure the chips don’t melt into the rest of the batter

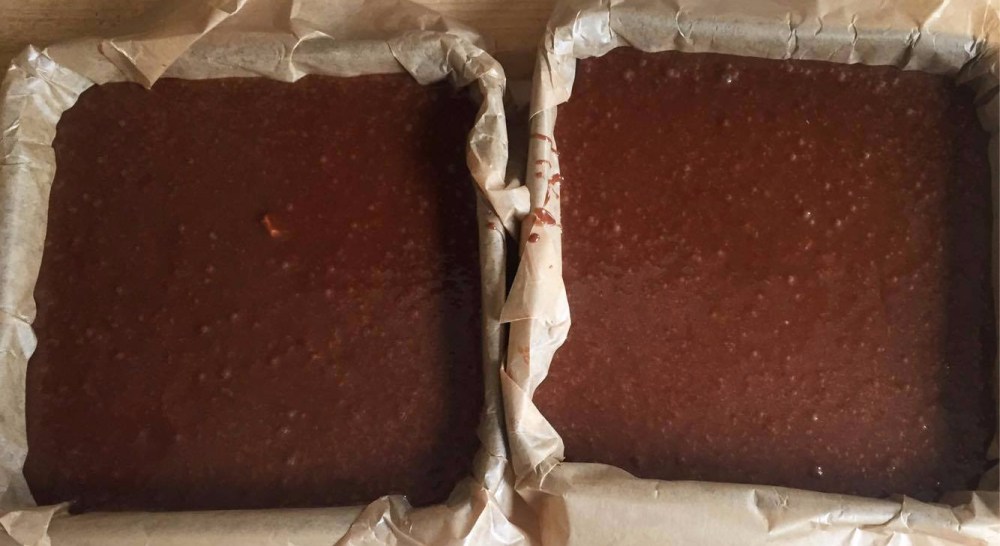
Bake for about 23/24 minutes or until the surface looks cracked and there is a slight wobble. The brownies will still cook a little after they are removed from the oven but make sure they are not raw in the middle!

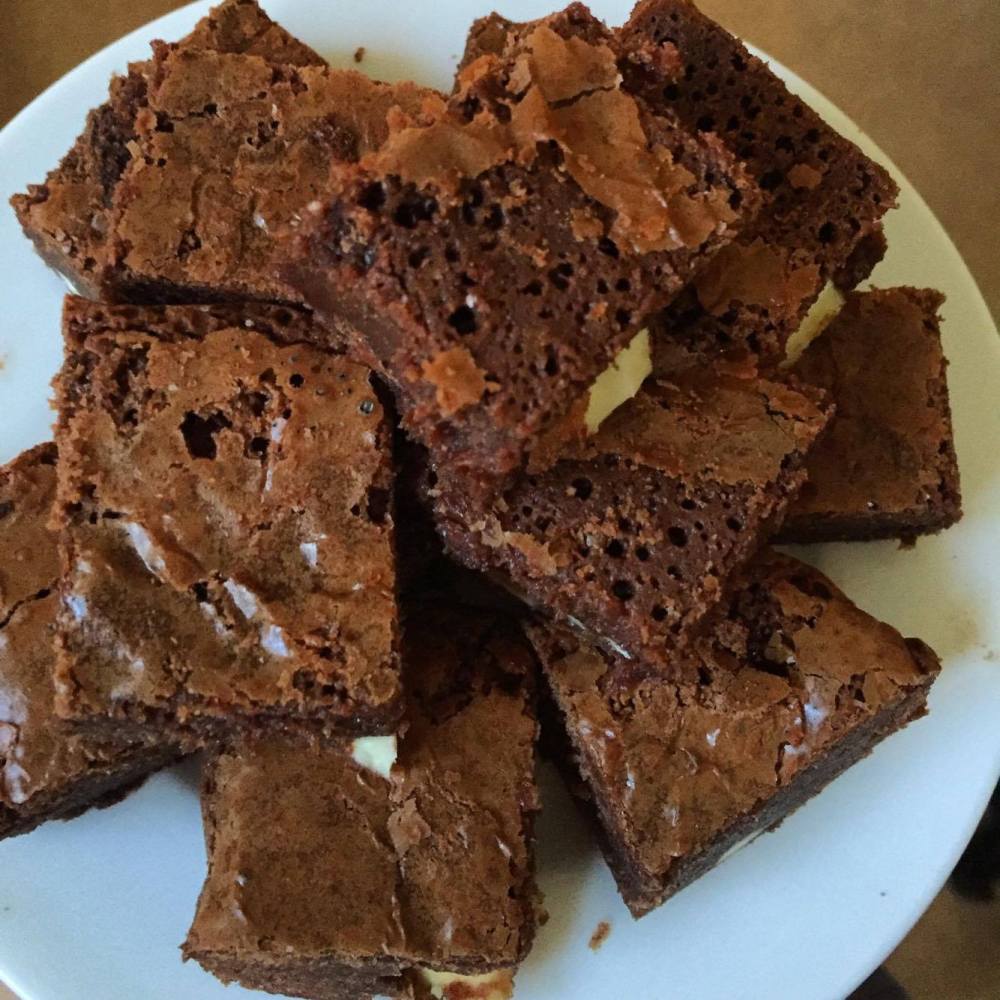
Once the brownies are cool place them in the fridge to firm up before cutting as they can be really fudgy if they aren’t quite cooked enough for the flour to set.
Let me know how these went for you in the comments – I love seeing what you guys have been making at home! See here for last week’s Cooking from Basics recipe for Chicken and Mushroom Pasta Bake and here for the last recipe in the Baking section, Artisan Loaves.
Have a fab week and see you all next monday!
H

2 Comments Add yours